How to Install Oracle Express on Your PC
In this post, I'll explain how to download, install, and set up an Oracle Express Database on your own computer.

Different Ways to Set Up Oracle
There are several different ways to set up Oracle on your computer:
- Use Oracle Live SQL: free and no setup required.
- Download and setup the full Oracle Database
- Download and setup Oracle Express
- Create a cloud-based database (e.g. Oracle Cloud, AWS)
We'll be covering the Oracle Express setup in this guide, as it's the easiest way to get started with Oracle on your computer.
Requirements to Install and Set Up Oracle Database
To be able to run the Oracle database on your computer, you'll need:
- Internet access to download the required files (or the files downloaded to be used offline)
- Windows or Linux operating system. At the moment, there is no way to install Oracle on a Mac, unless you use a virtual machine such as Parallels. If you do, check out this guide here.
Step 1 - Download Oracle Express
The first step is to download Oracle Express. The current version as of early 2020 is 18c, which is pretty new.
Visit the Oracle website at oracle.com.
Click on Products at the top of the page, and under Software, click on Oracle Database.
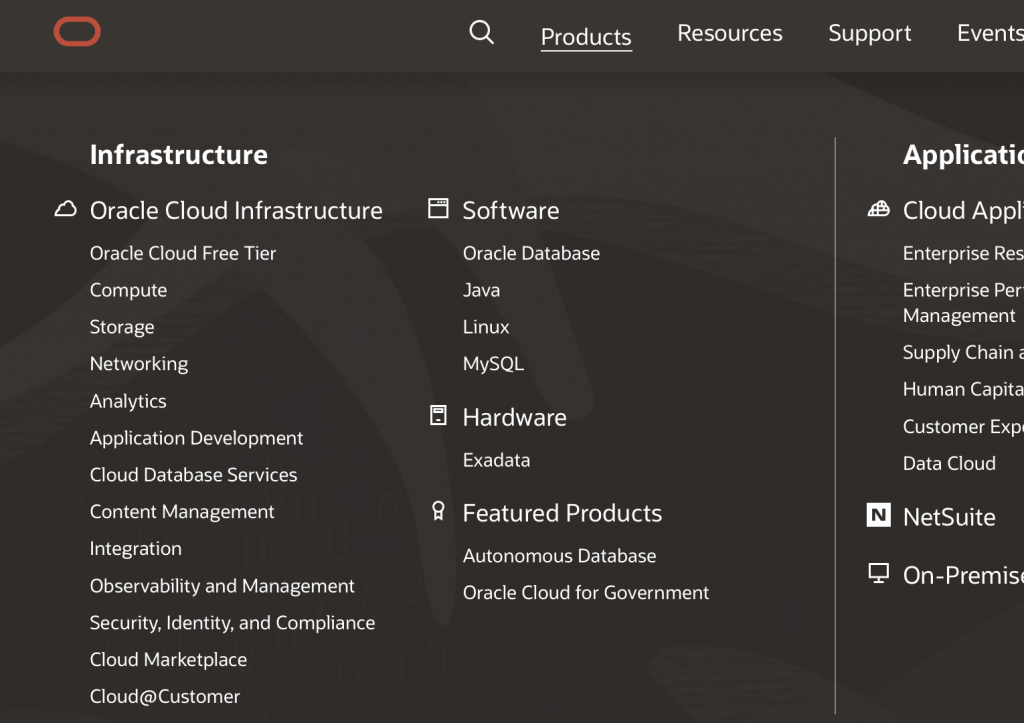
Scroll down and select Other Database Products on the left, and click "Database Express Edition XE".

This page will be displayed:
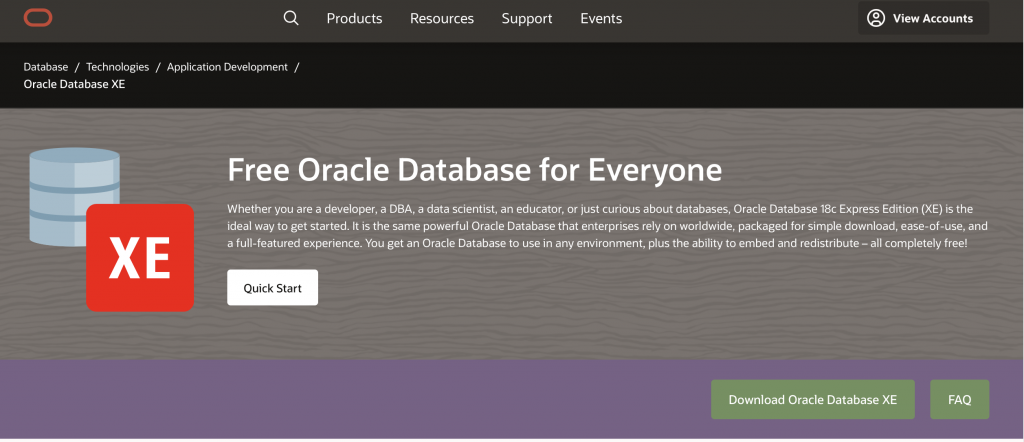
Click the button that says "Download Oracle Database XE".
You'll see the Oracle Database XE Downloads page.
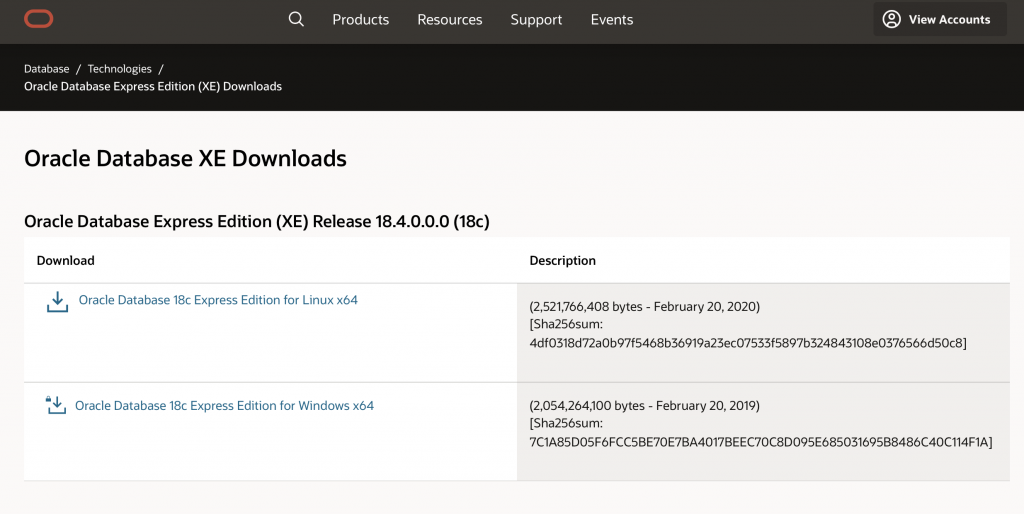
Choose the Windows link if you're on Windows, or the Linux link if you're on Linux.
Once you click the link, you'll be prompted to accept the conditions.
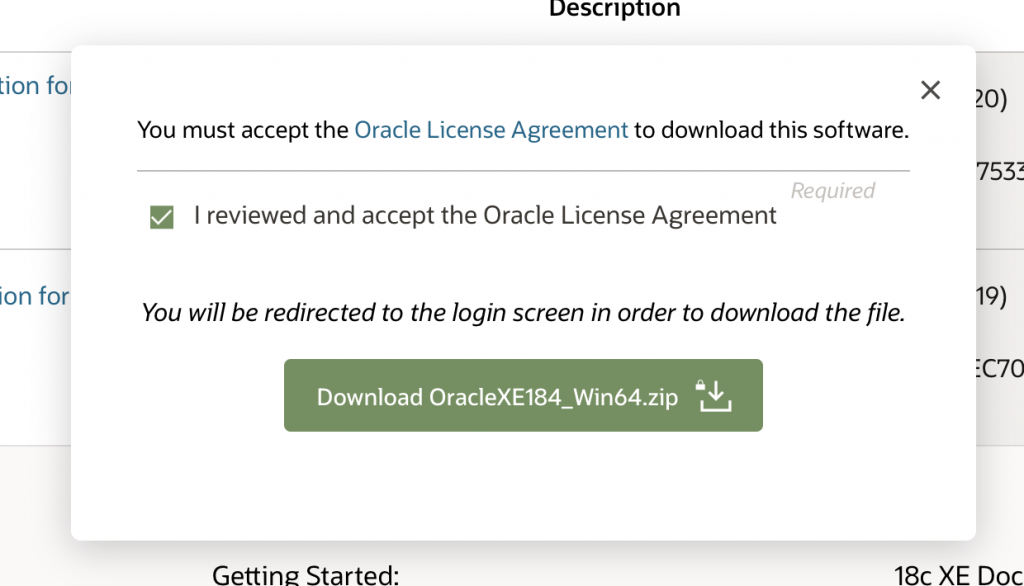
Click the green Download button.
You'll see the Oracle Sign In page. In order to download Oracle software, you'll need an Oracle account. This is a free account that you can create and use right away.
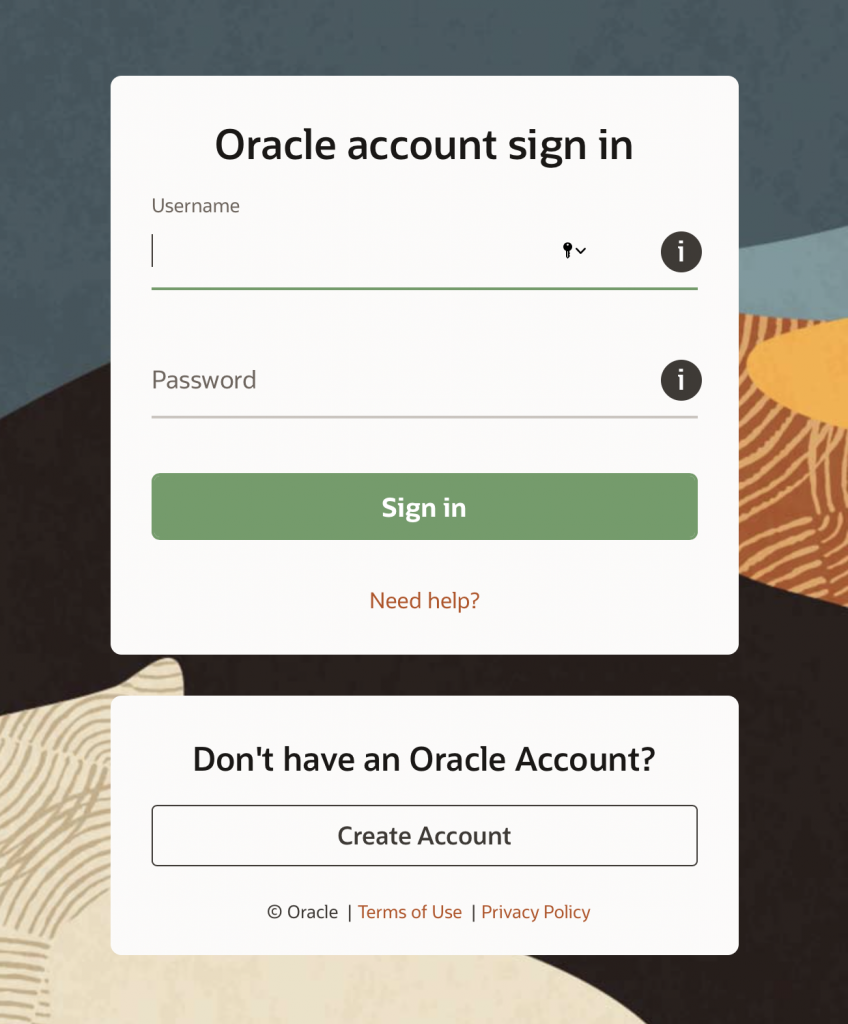
If you have an account, you can sign in. If you don't have an account, click on the Create Account button.
If you click Create Account, you'll see this page where you can enter your details and create a new account.
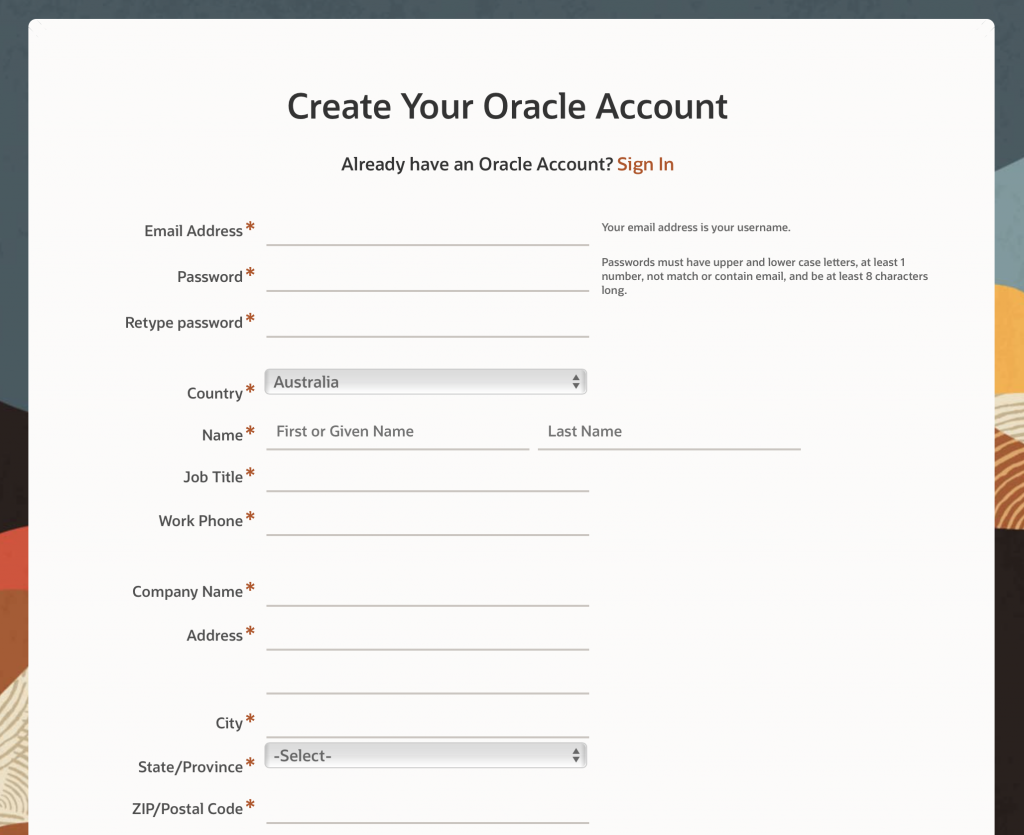
Enter your details and continue.
Oracle Express will then be downloaded onto your computer.
Step 2 - Install Oracle Express Database
Once Oracle Express is downloaded, you'll need to install it. To install the Oracle Express, follow these steps.
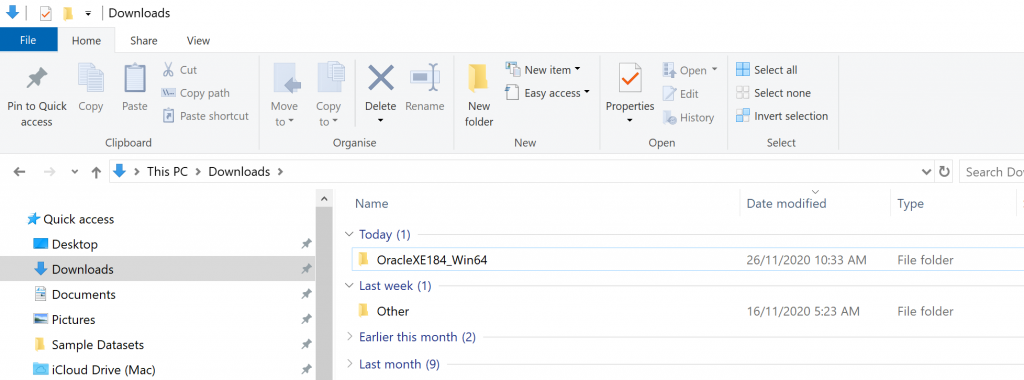
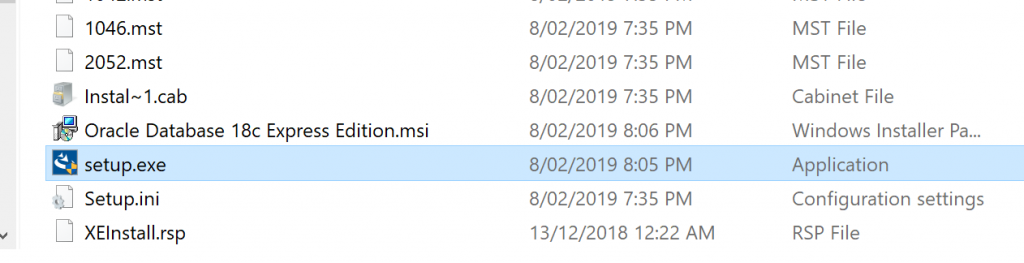
First, browse to where you saved the file you downloaded. Extract the file.
Run the setup.exe file.
The welcome screen is displayed.

Click Next on the Welcome screen.
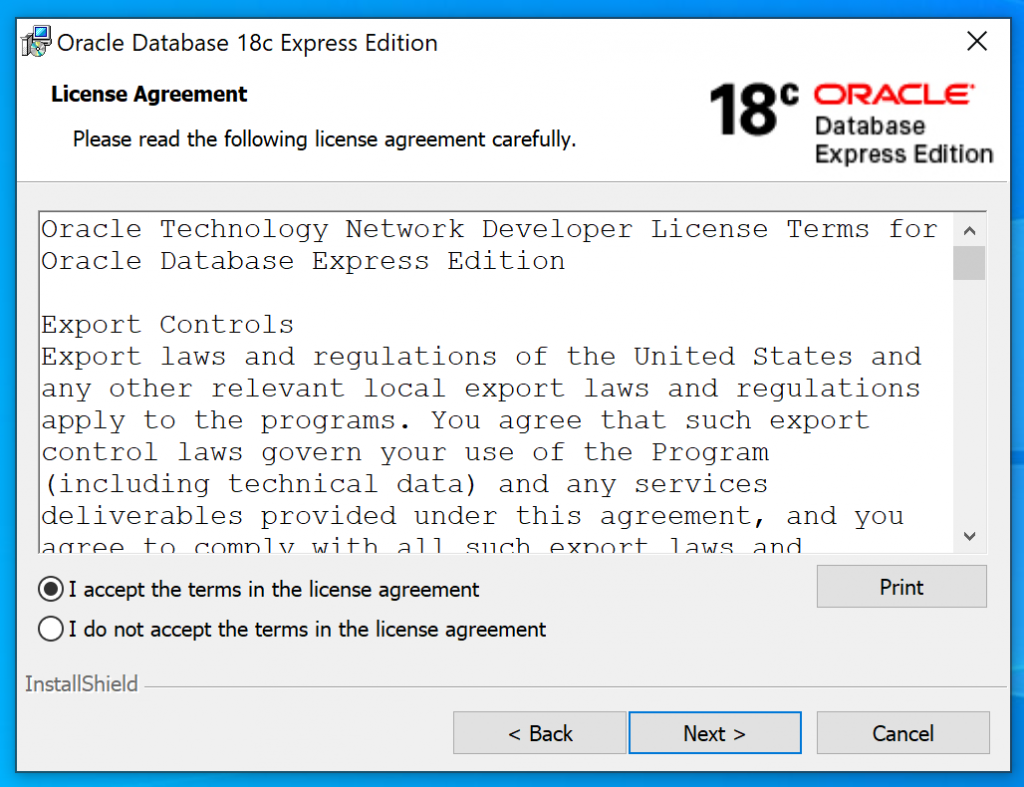
Accept the terms and conditions.
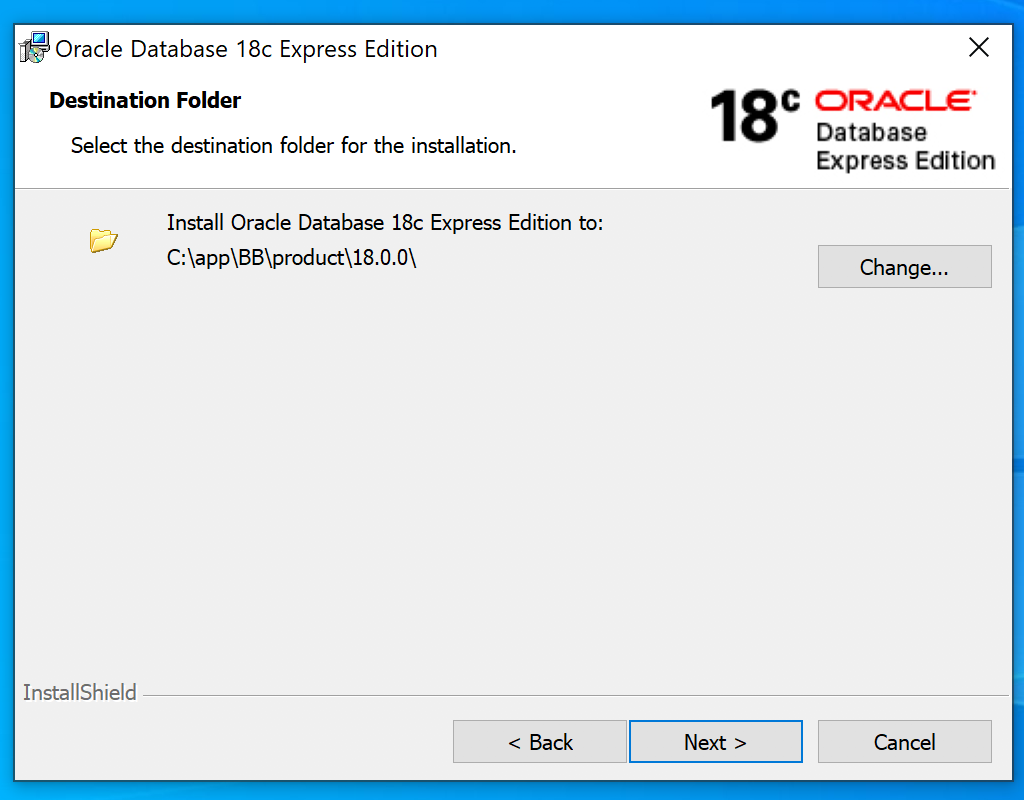
Click Next to leave the default directory selected. You won't likely need to change this.
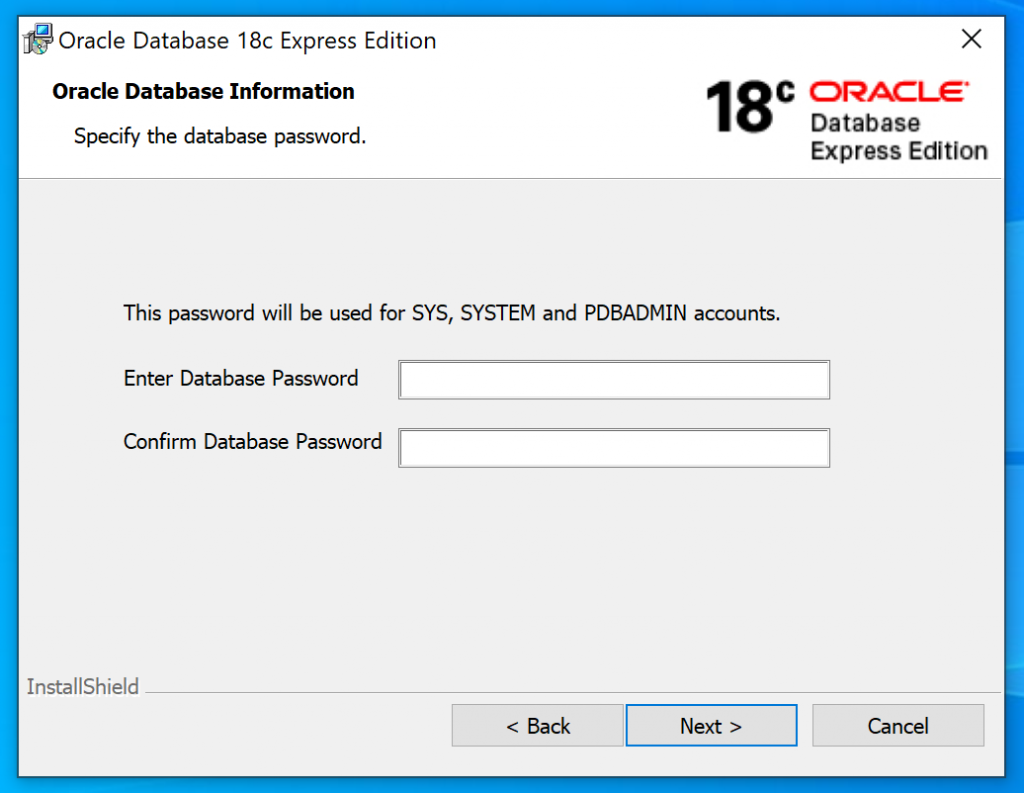
Enter a password to use for both the SYS and SYSTEM accounts.
This is a new password and you'll need to remember it for logging into the database.
Remember the password you enter here.
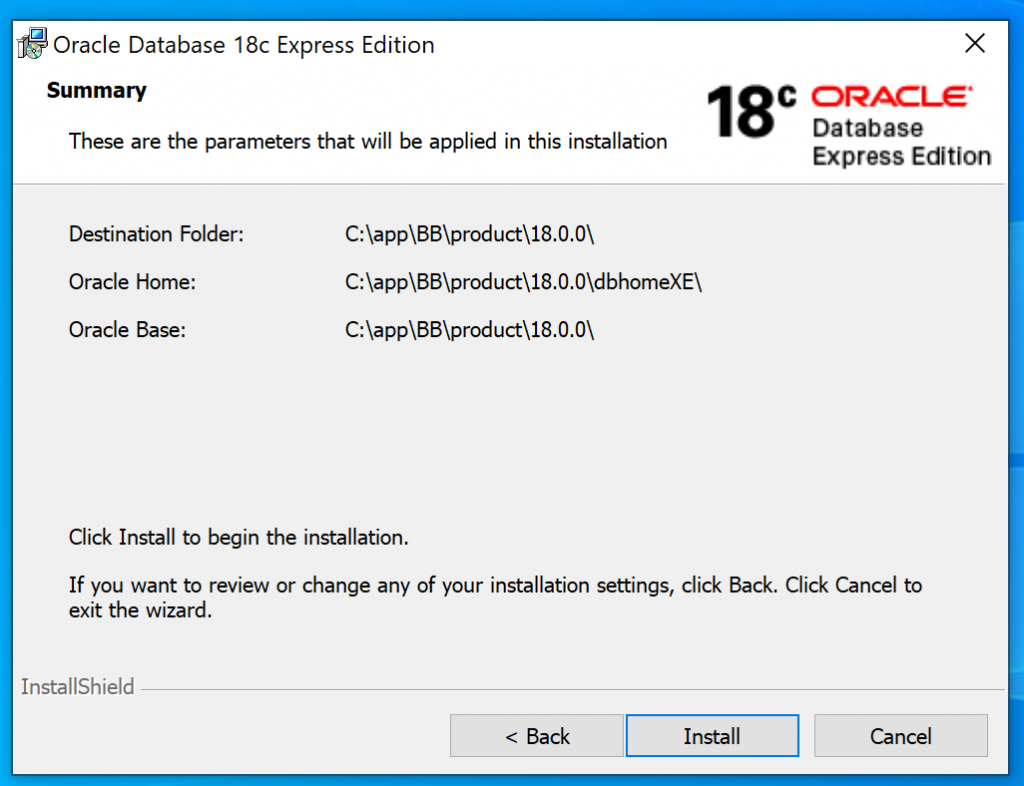
On the Summary screen, click Install.
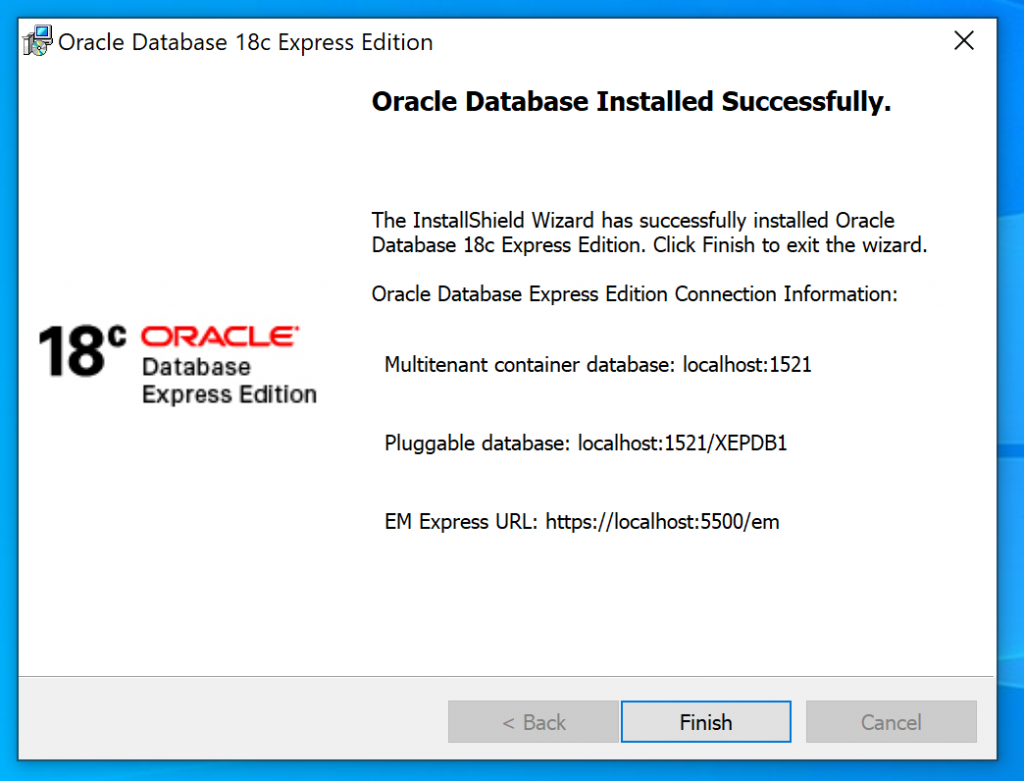
Oracle Express is then installed and should be successful.
Step 3 - Download Oracle SQL Developer
To download Oracle SQL Developer, which lets you run queries on the database, follow these steps.
Visit the Oracle website again at www.oracle.com.
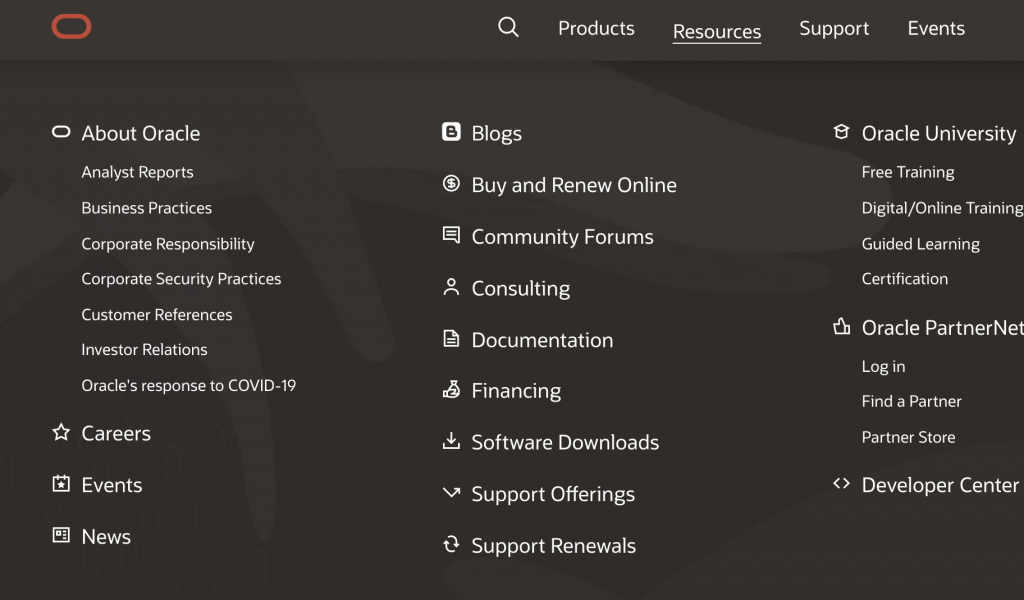
Click on Resources on the top menu, then Software Downloads.
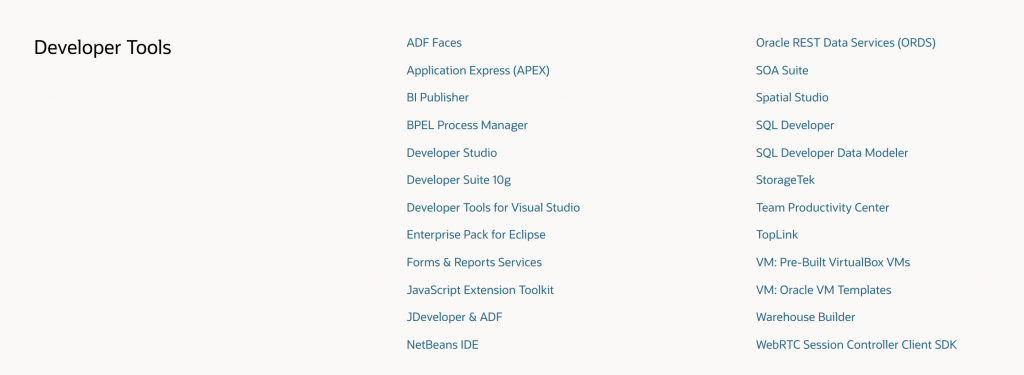
Navigate to Developer Tools, then click on SQL Developer.
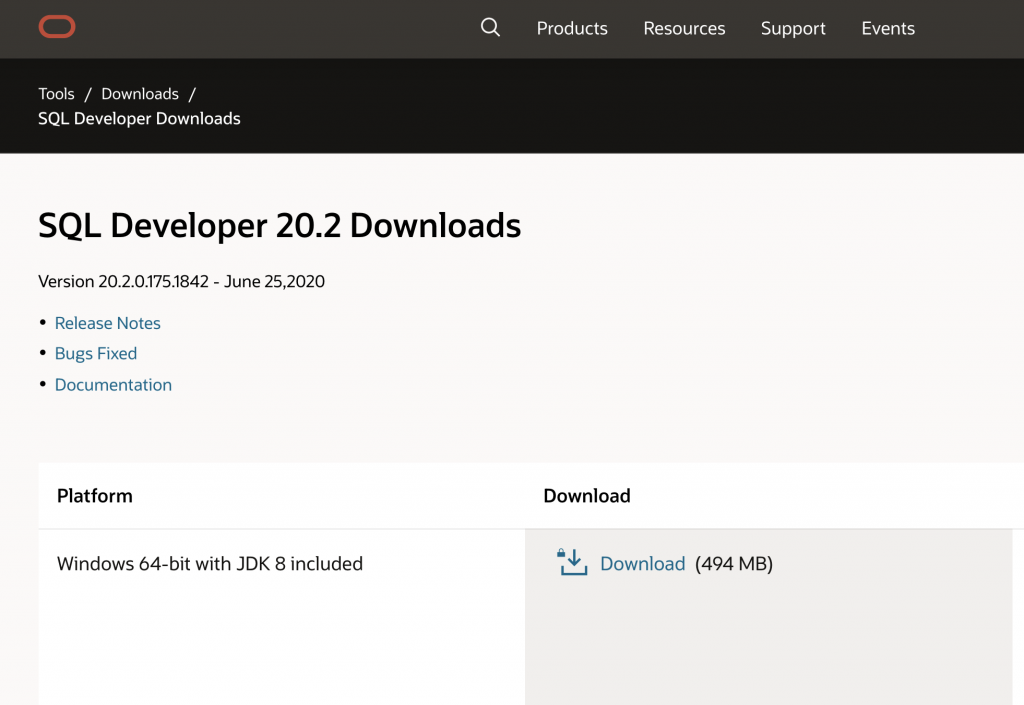
Scroll down to see the version of the tool that matches your operating system. It's available for Windows, Mac, and Linux.
Click the Download link next to the version you want to download.
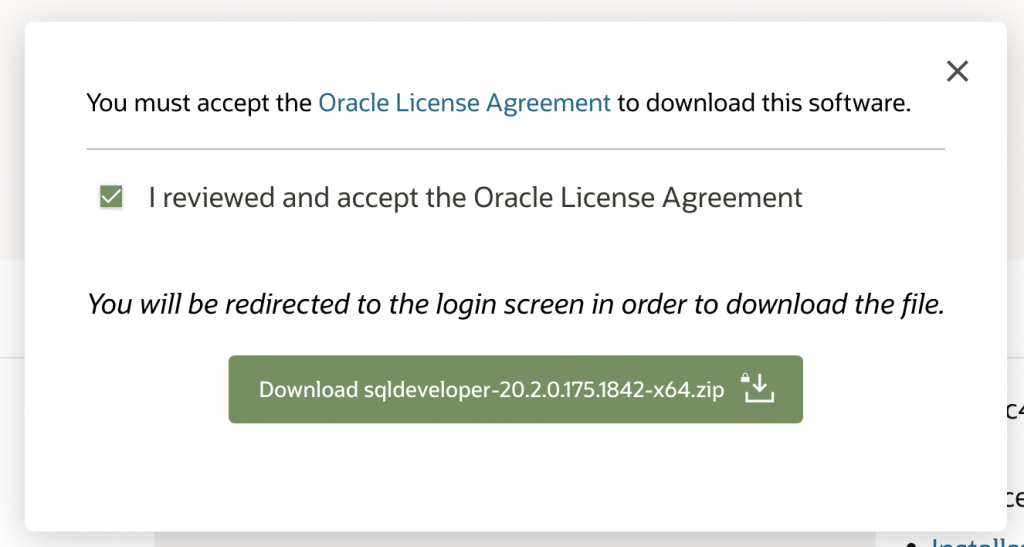
You'll be asked to accept the Oracle License Agreement, then click the Download button.
You'll then be asked to sign in to your Oracle account.
You can use the same one you created when you downloaded Oracle Express, so enter your email address and password here.
The file, which is a ZIP file, will then start to download.

Once the file has downloaded, extract the ZIP file.
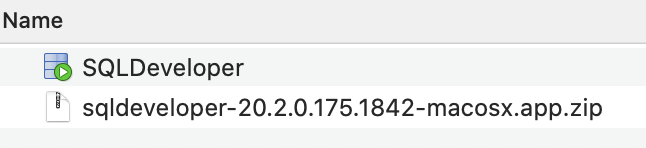
An SQLDeveloper executable file will be extracted.
Double-click on this file to open SQL Developer.
Once it loads, it should look like this:
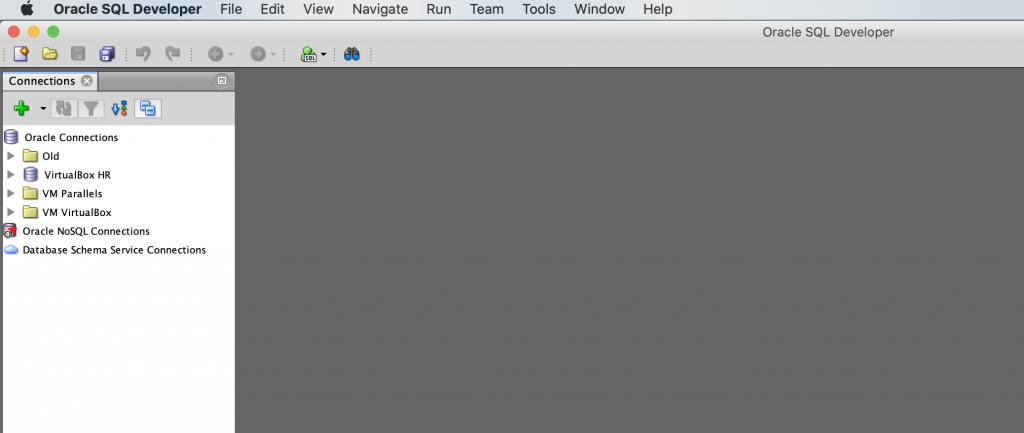
There's no need to install SQL Developer.
Step 4 - Create Connection in Oracle SQL Developer
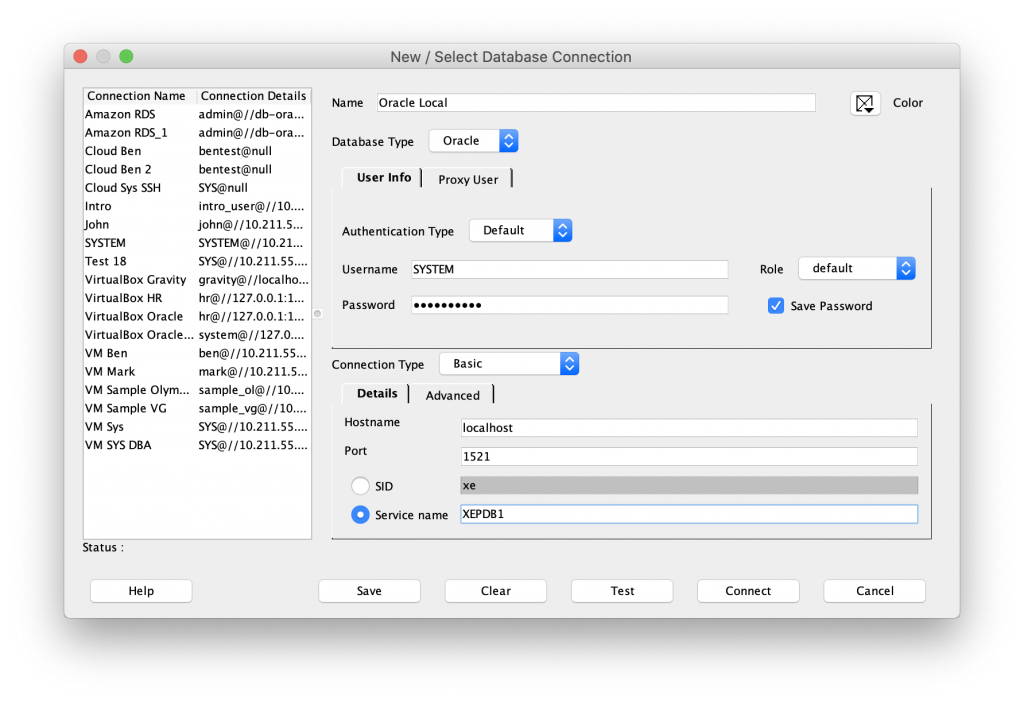
To create a connection to your database from Oracle SQL Developer so you can run queries, follow these steps:
- Click on the green + icon in the top left
- Enter whatever your like as the connection name. I've used "Local". This is the value that is displayed for this connection within the application.
- For username, use SYSTEM
- For password, enter the same password as you did during the installation
- Leave all of the other fields the same
- Click on Test. The status should show "Status: Success", which means the details are correct
- Click Connect.
The connection will be created and connected to.
SQL Developer allows you to import and export connections, so you can ask a coworker to export theirs if you're working on the same data.
Conclusion
Well, I hope this has given you some guidance on how to download, install, and set up an Oracle database on your computer. If you have any questions, let me know!
There are some other things you may want to do now you have SQL Developer set up:
- Turn on line numbers.
- Enable DBMS_OUTPUT.