How to Install MySQL on Mac using Homebrew
Installing MySQL on a Mac can be done using the Terminal and using something called "homebrew".
In this article, you'll see step-by-step instructions on how to install MySQL using Homebrew.
(If you're using Windows, you can follow the process here to install MySQL on Windows.)

Open Terminal
The first step is to open Terminal. You can do this on a Mac by pressing Command and Space to open Spotlight, then start typing the word "terminal". Once it appears, press Enter to open it.
You could also open it from the Applications folder in Finder.
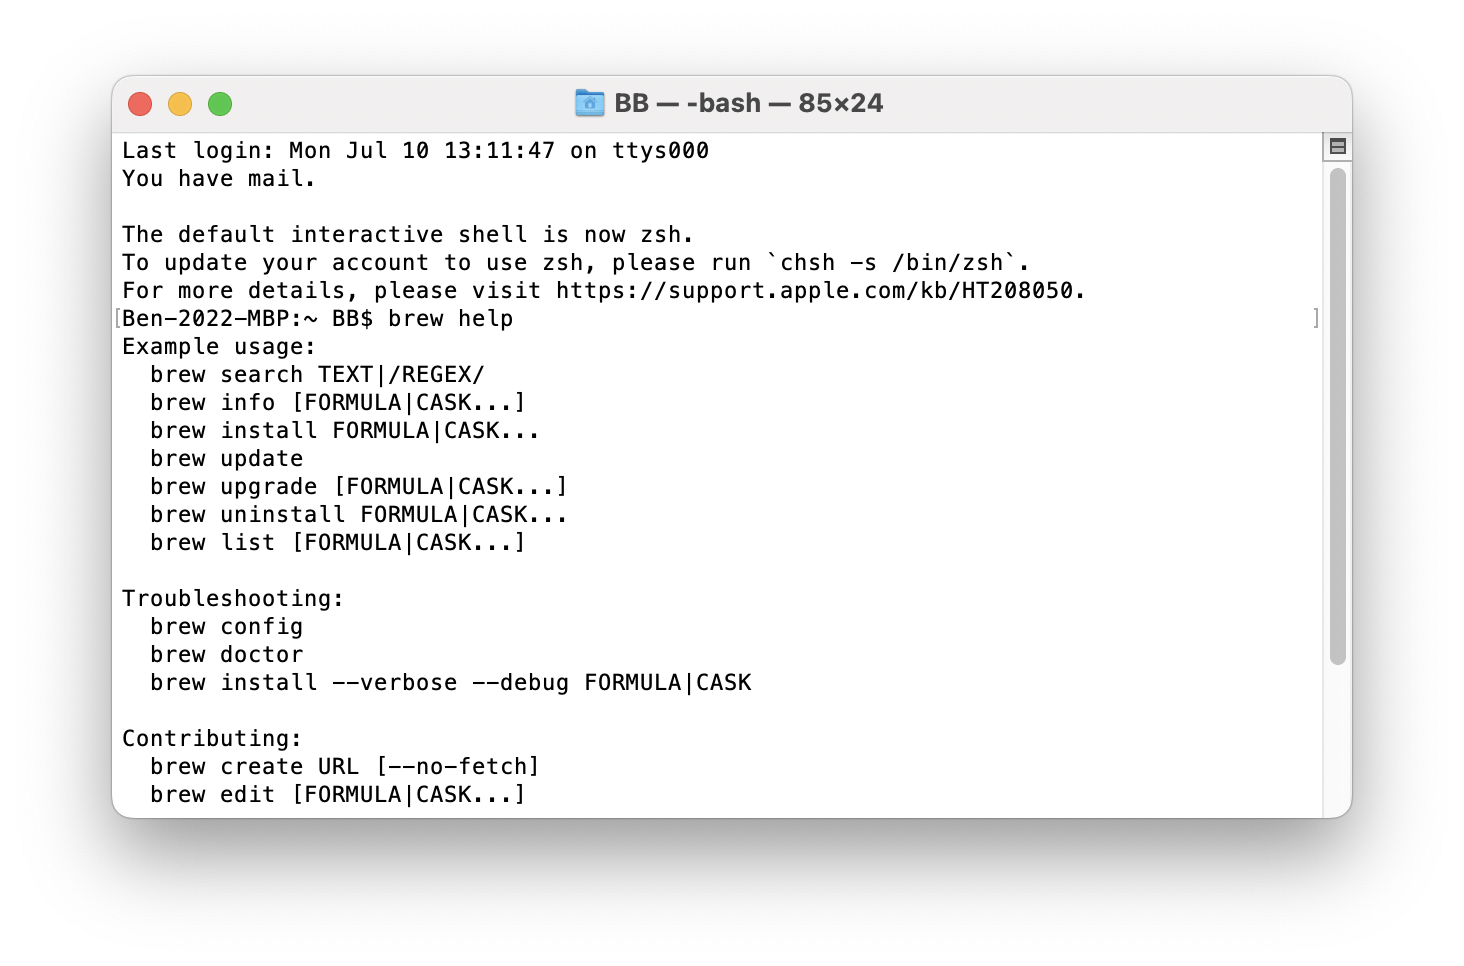
A Terminal window will open, which should look like this:

Install Homebrew
Next, we will install Homebrew, which is a package manager for Mac. Your Mac may already have it installed, so we'll check that first.
To check if Homebrew is installed, you can type "brew help" at the Terminal prompt and press Enter.
1brew help
If you see an output like this, which shows some example commands of "brew", it means homebrew is installed.
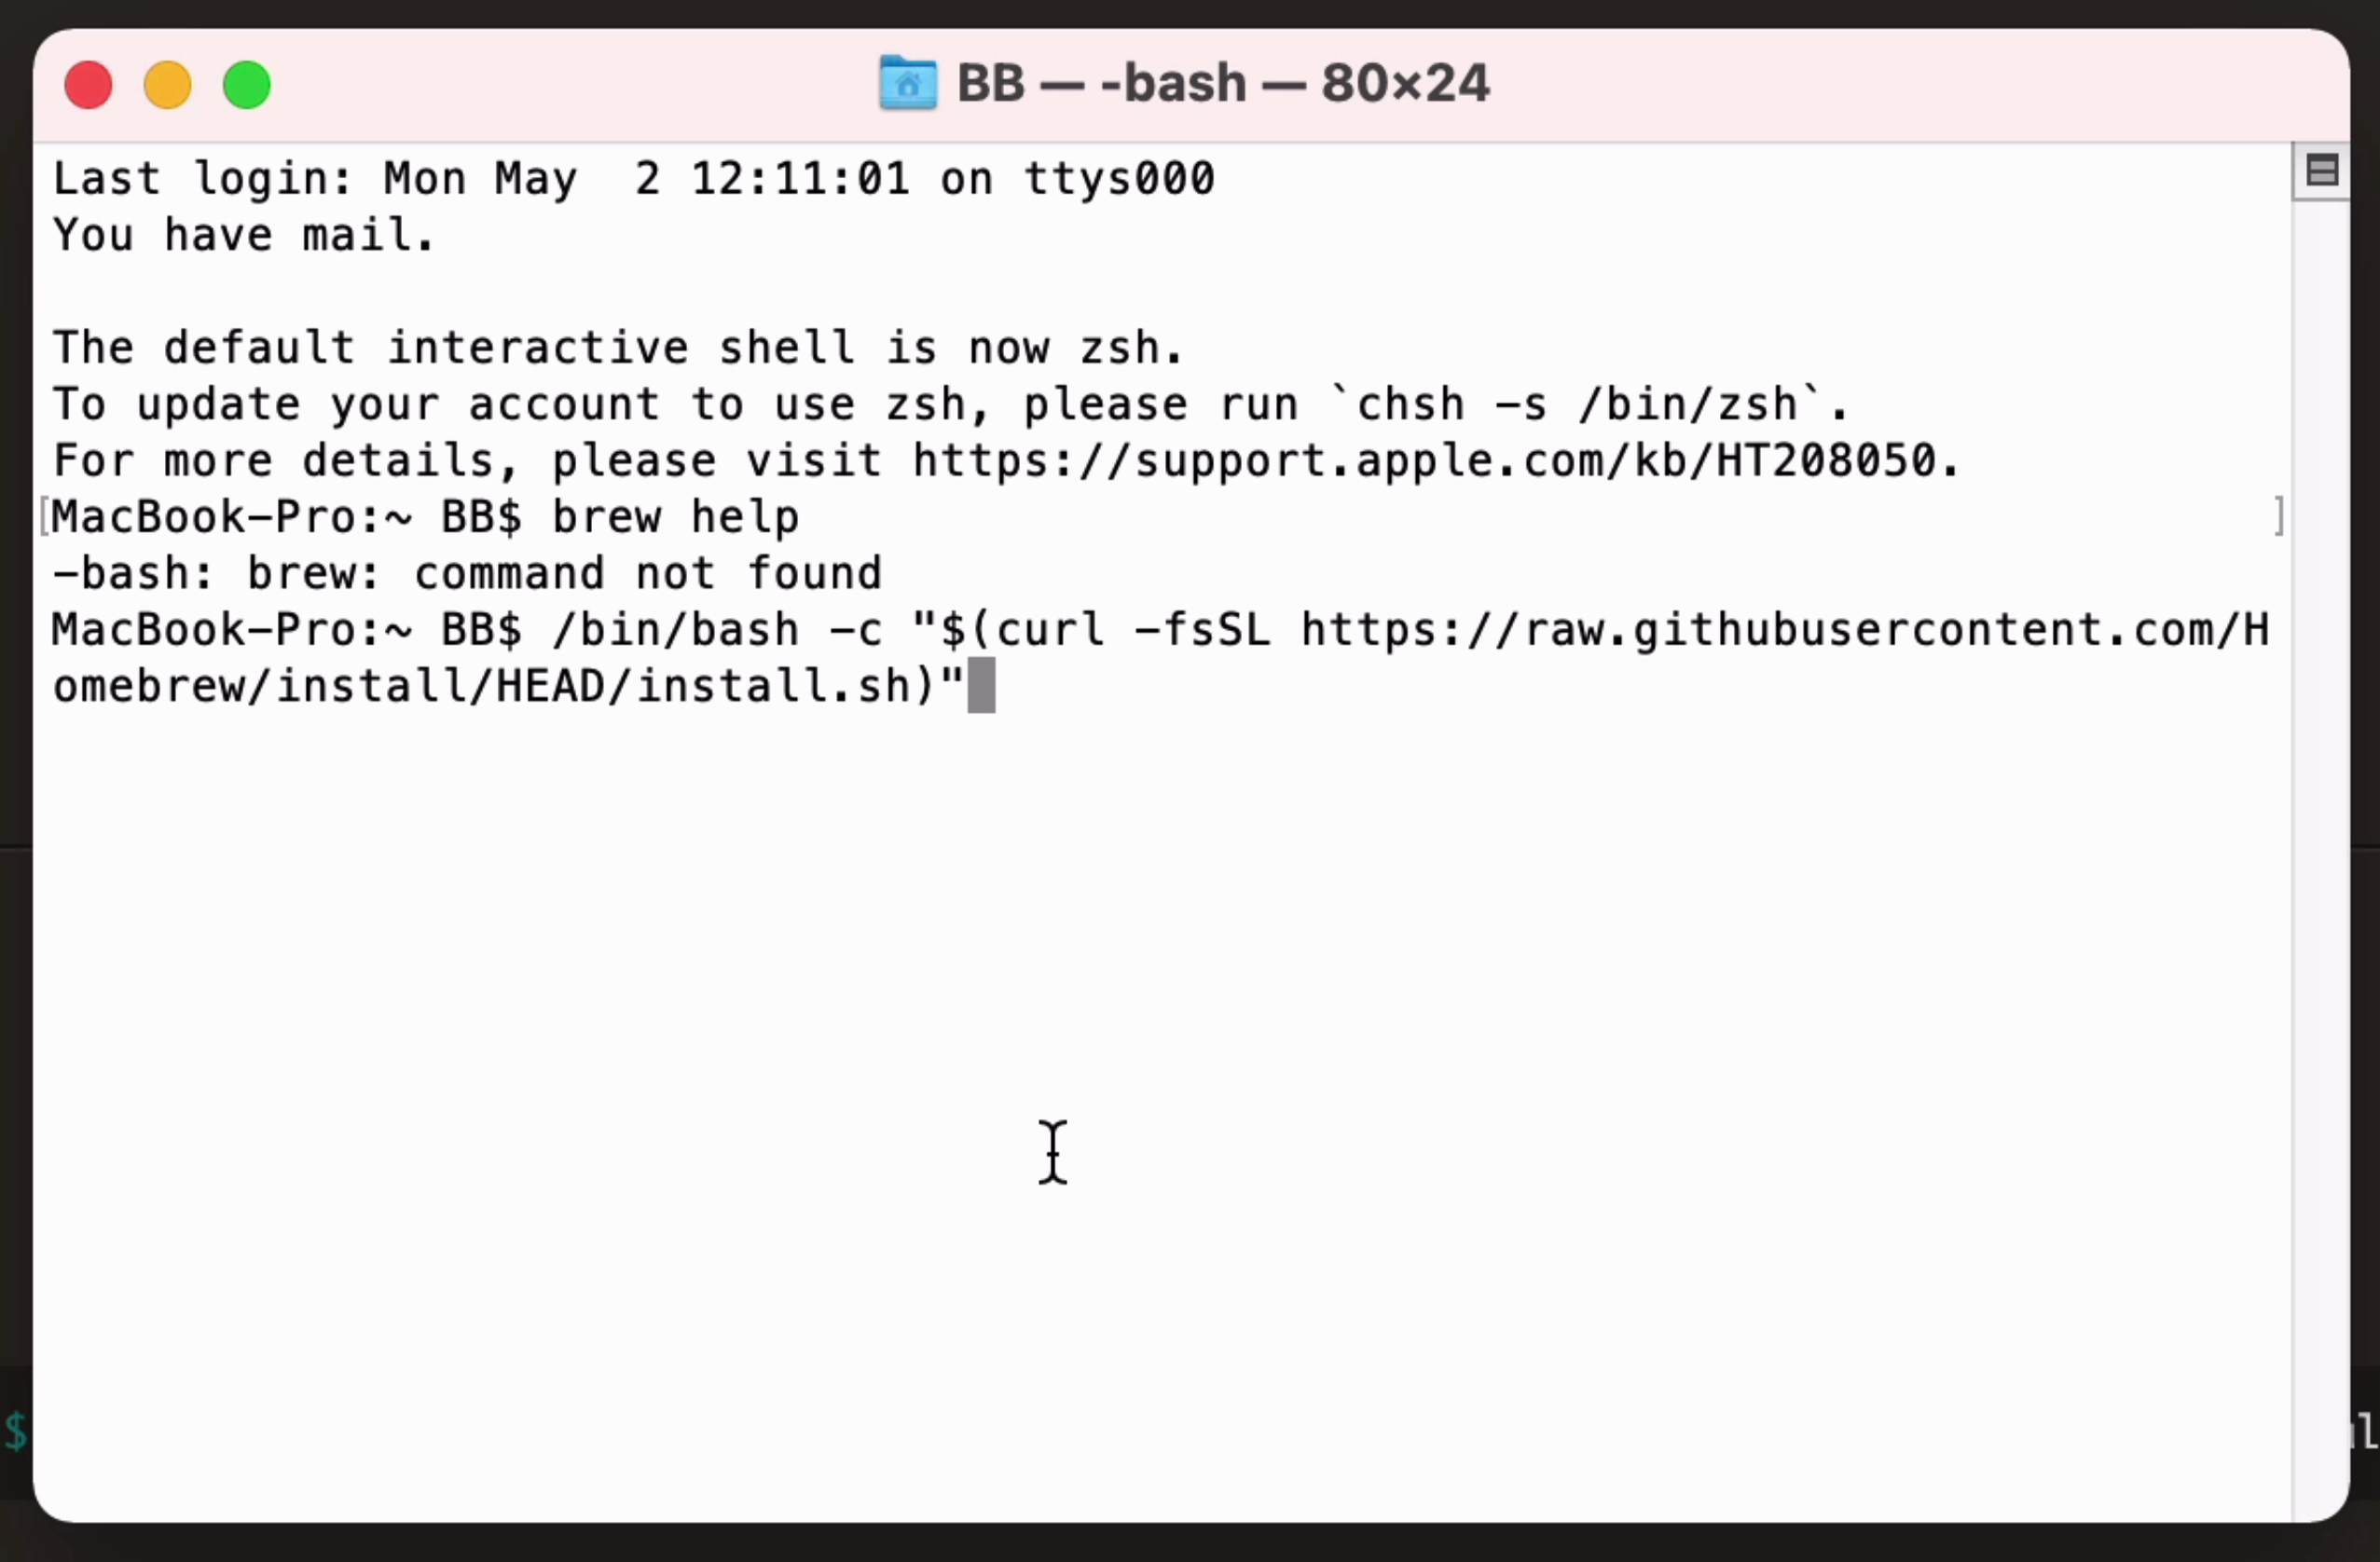
If you get an error message:
1\-bash: brew: command not found
This means Homebrew is not installed.
So, how can we install homebrew?
We can install it with a single command here:
1/bin/bash -c "$(curl -fsSL https://raw.githubusercontent.com/Homebrew/install/HEAD/install.sh)"
This command was copied from the Homebrew website at brew.sh.
Copy this command into the Terminal window and press Enter.
Homebrew will then start to install.
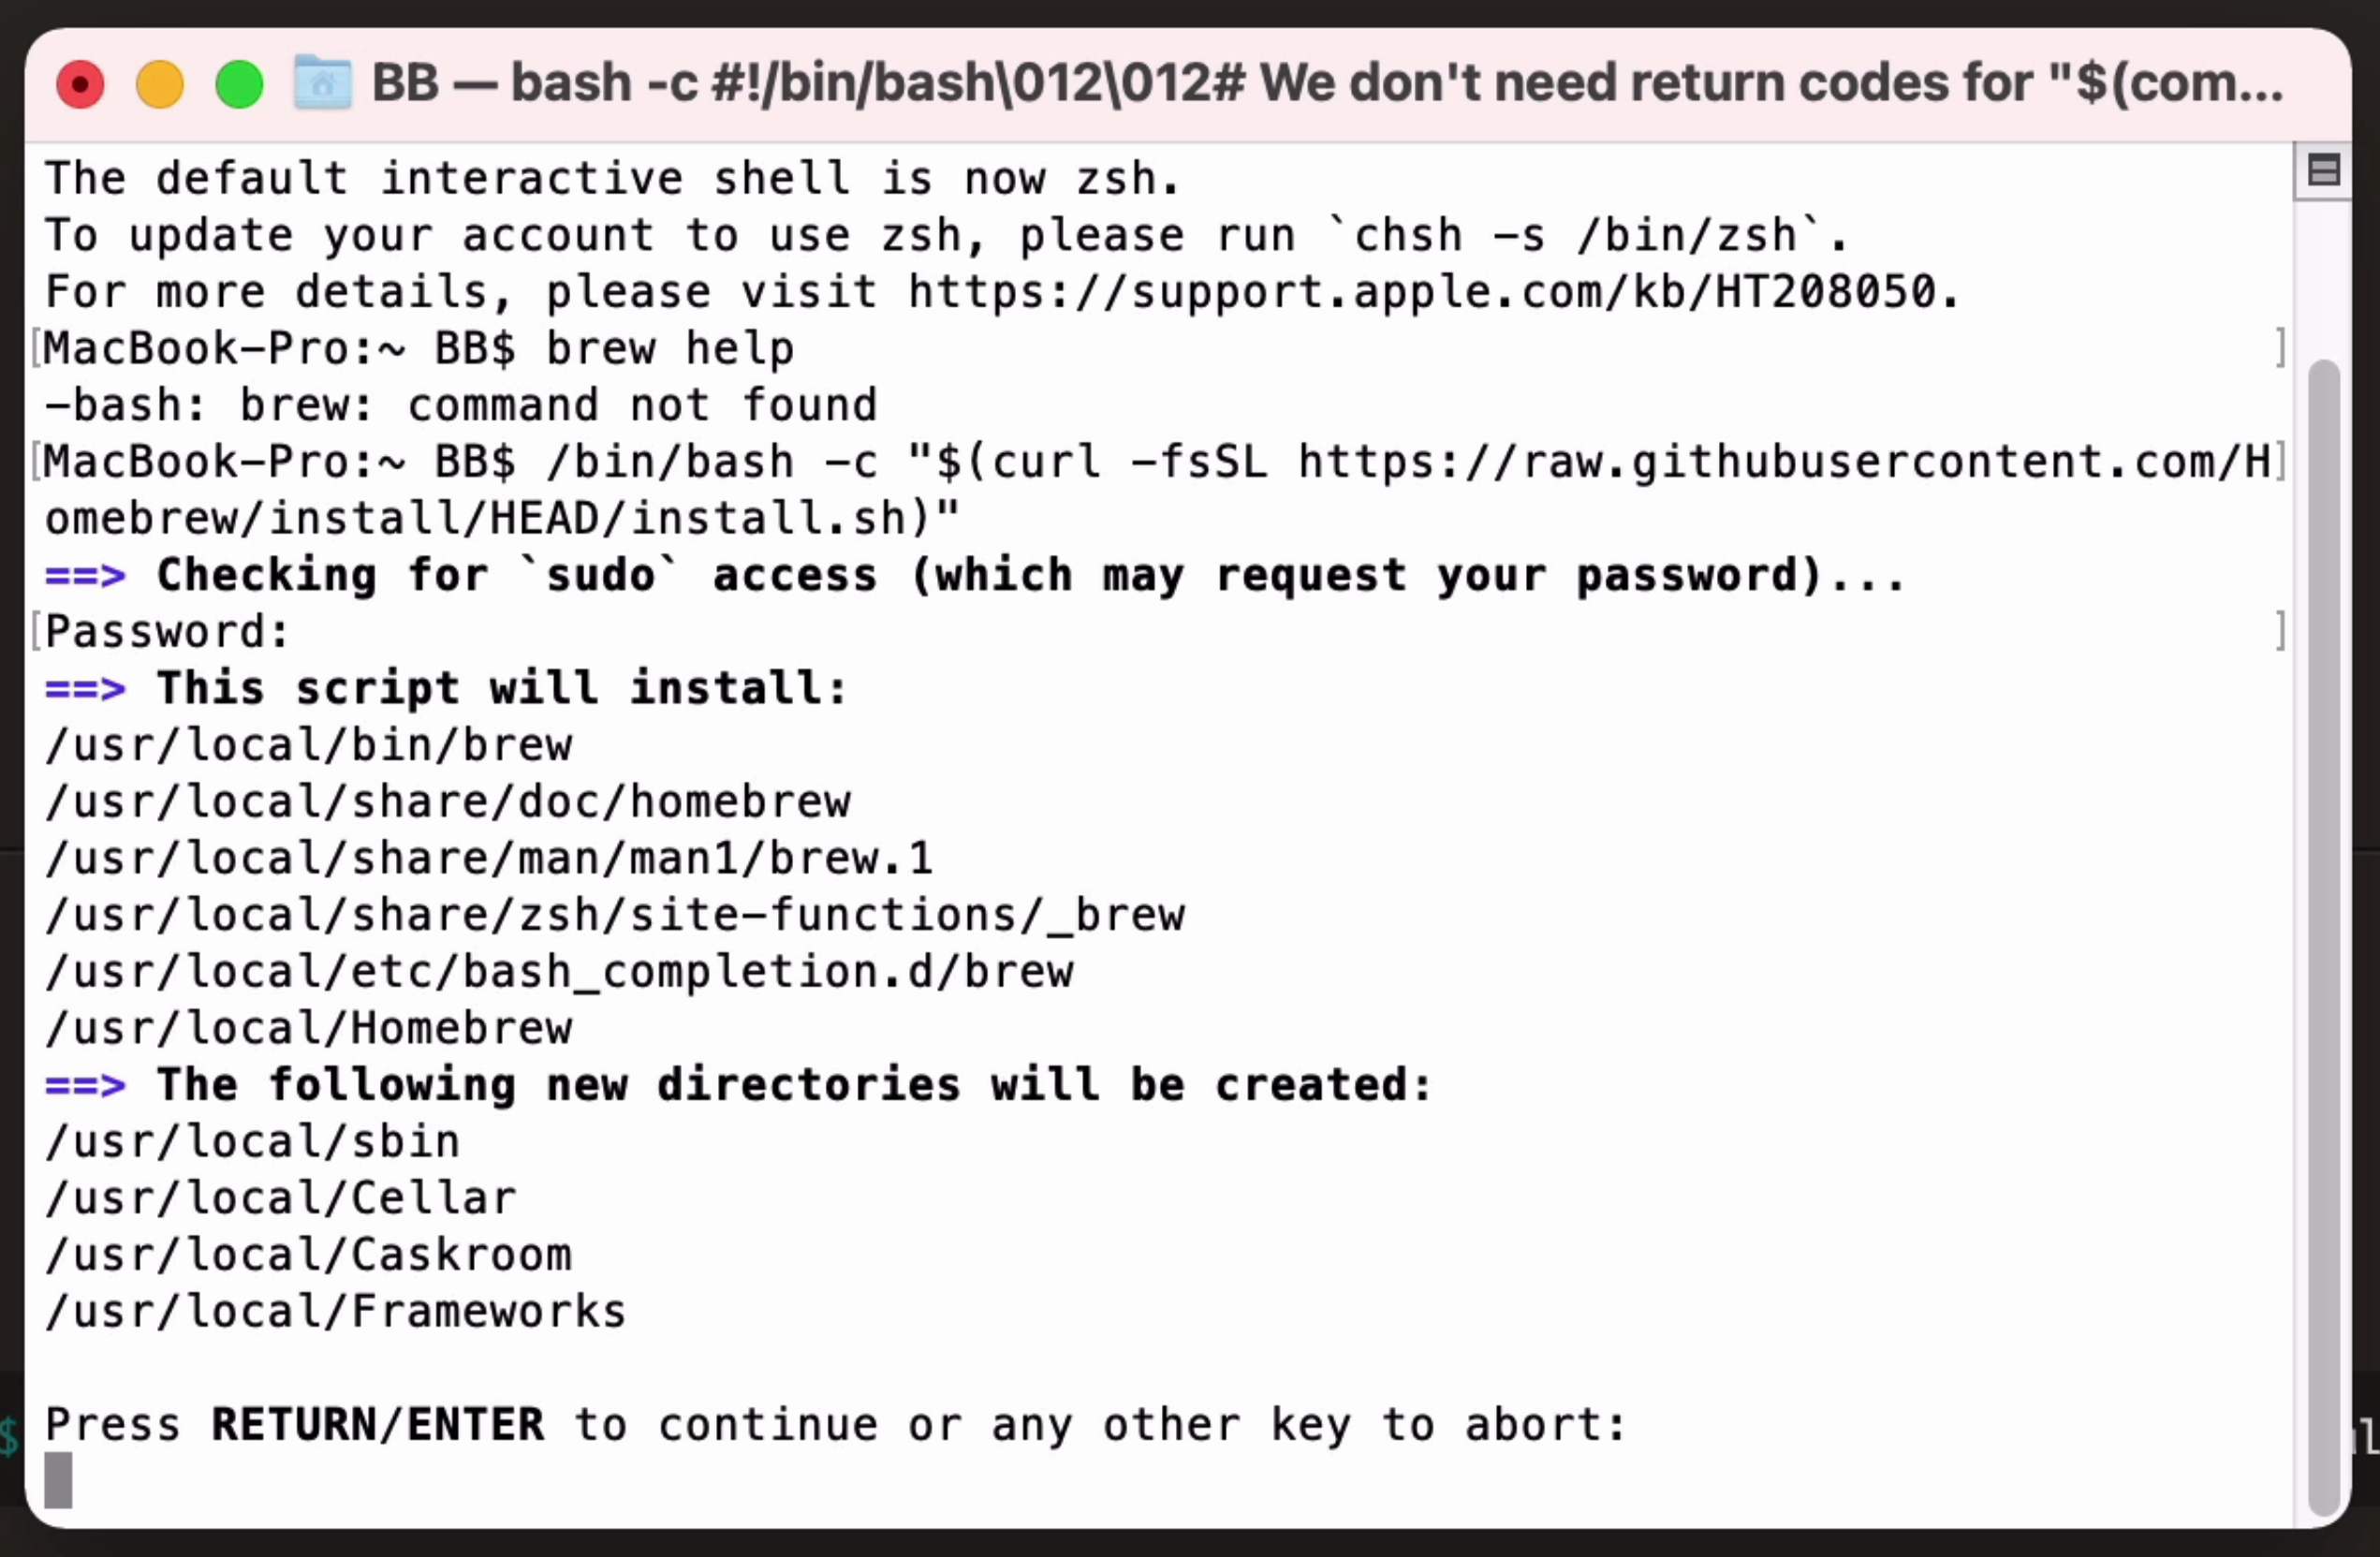
Once it is complete, your screen will look like this:
Homebrew is now installed! Let's install MySQL.
Install MySQL
Now that you have Homebrew set up, it's time to install MySQL.
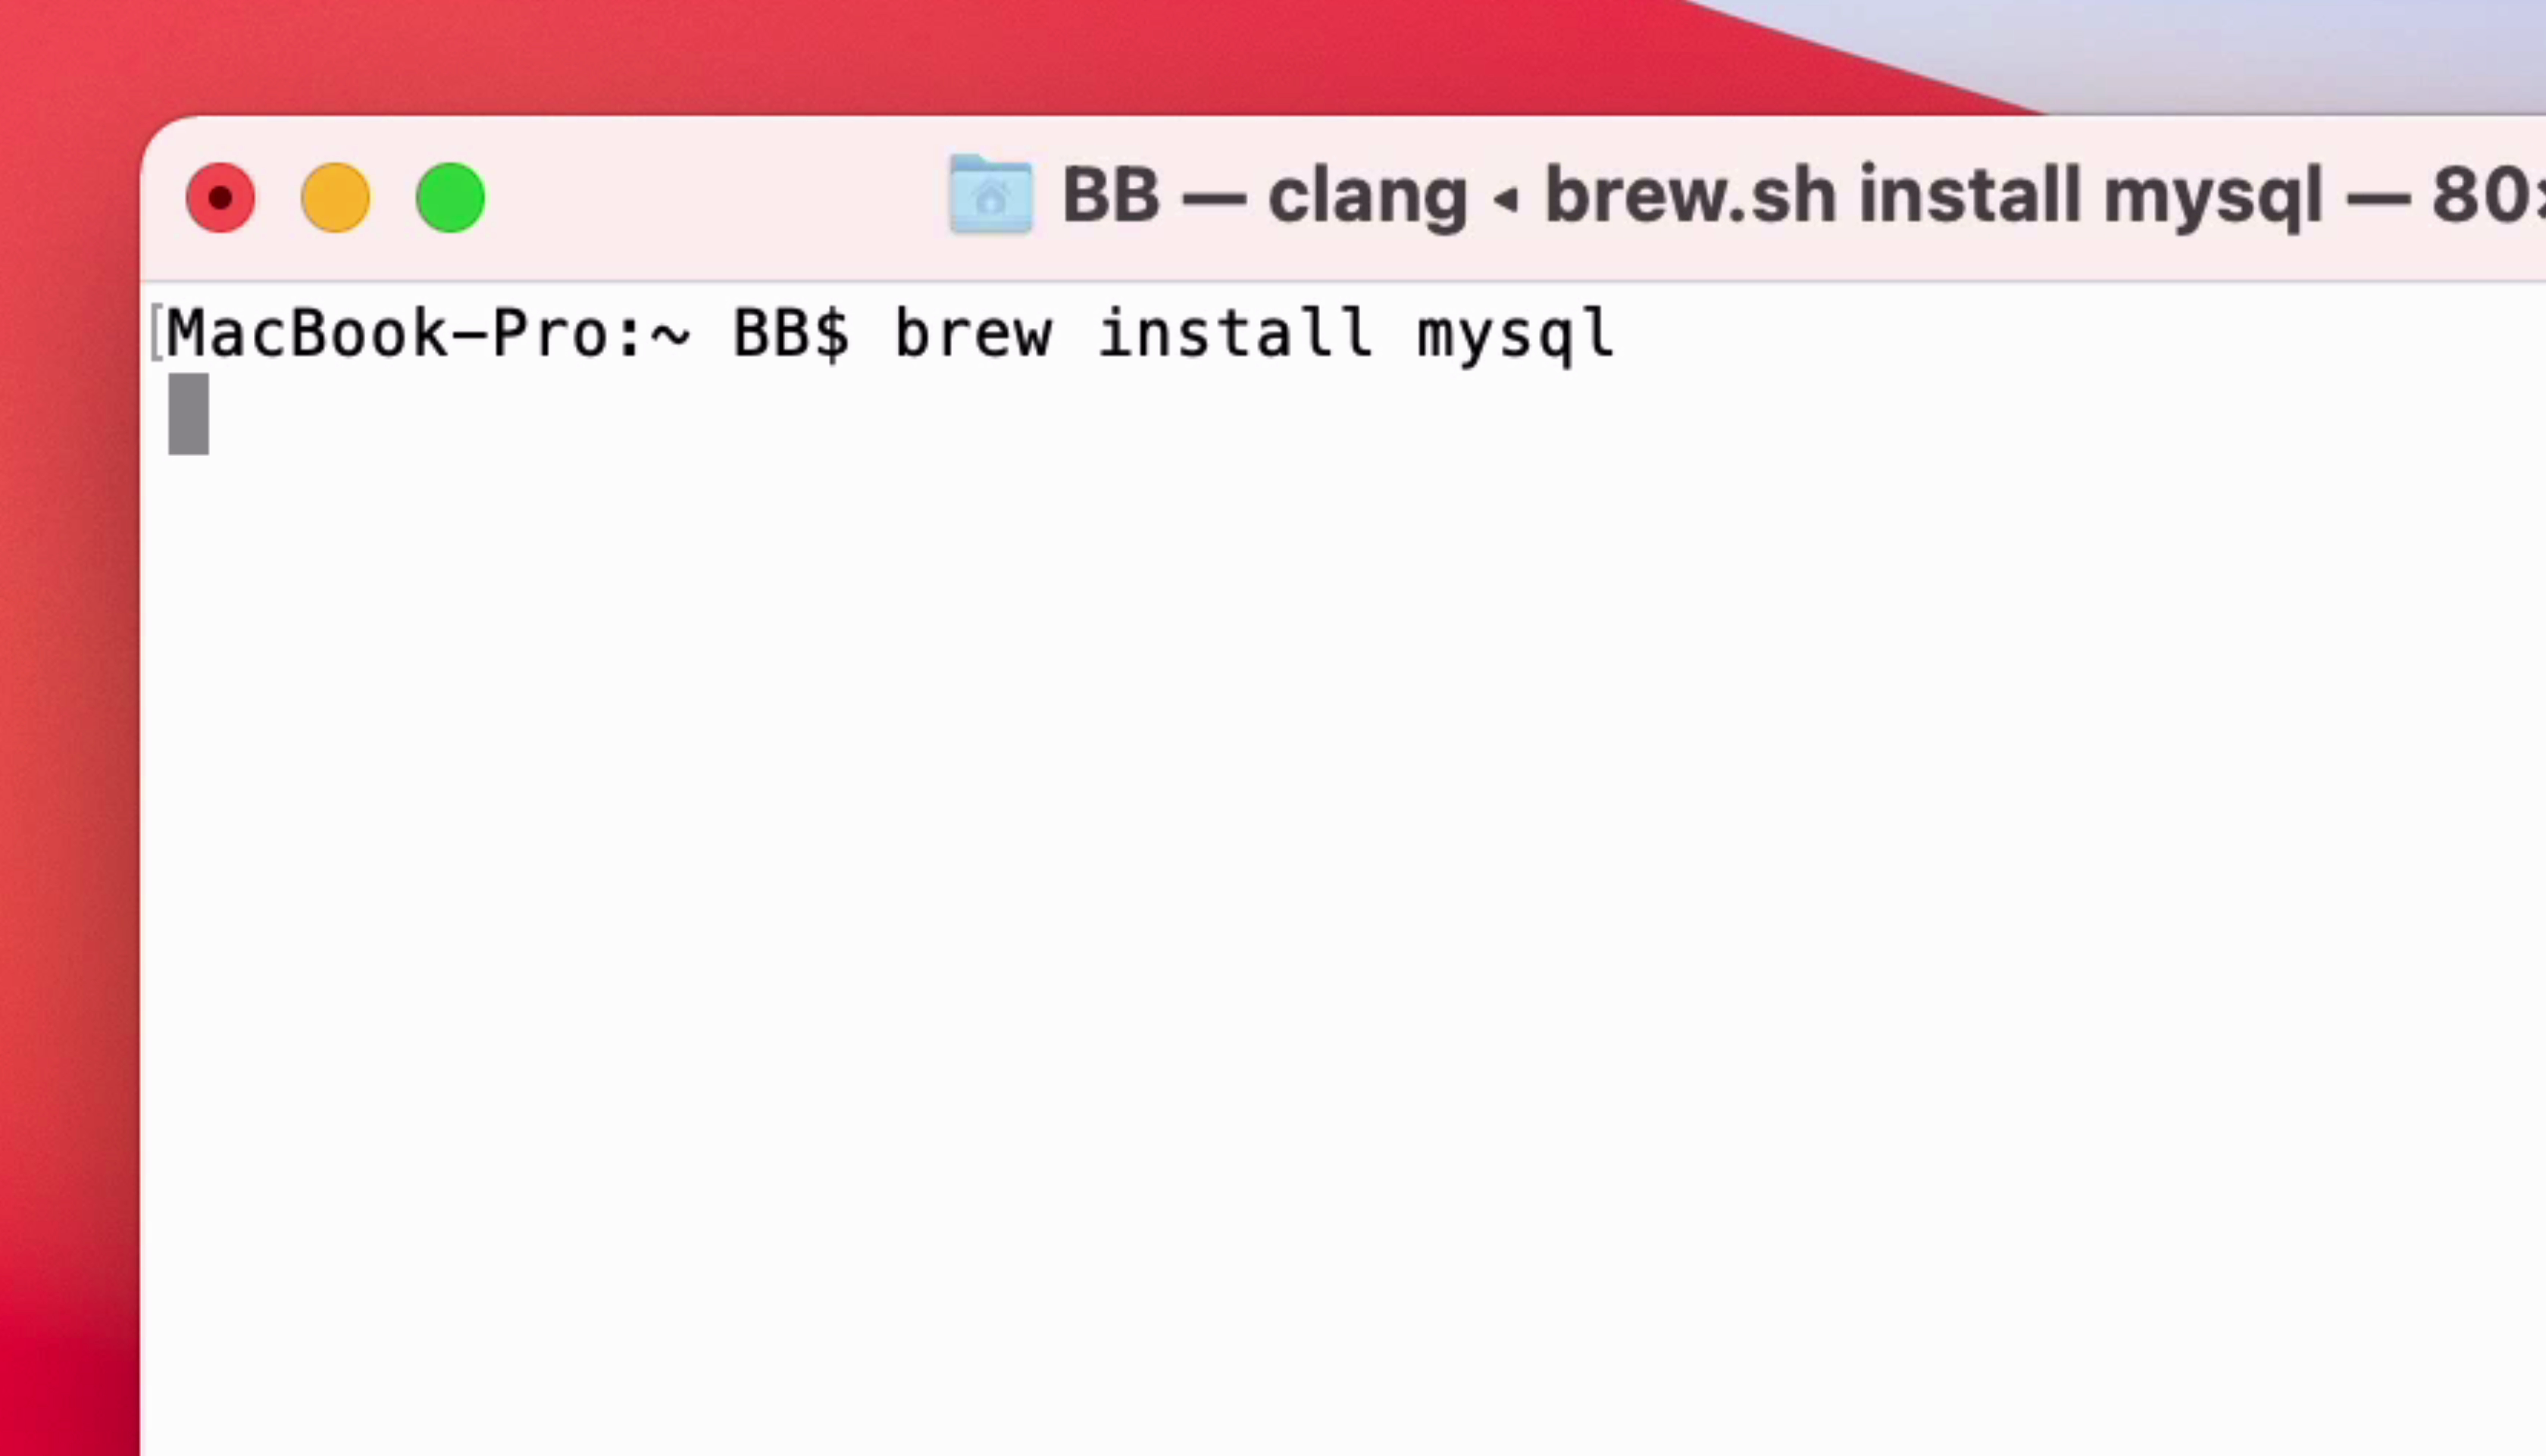
To do this, run this command:
1brew install mysql
The brew keyword means you are using the Homebrew tool. Install means you want to install something, and MySQL is the software to install. Homebrew knows what this means and where to get it from. It will install the most recent version of the MySQL package that is available.
The installation will begin.
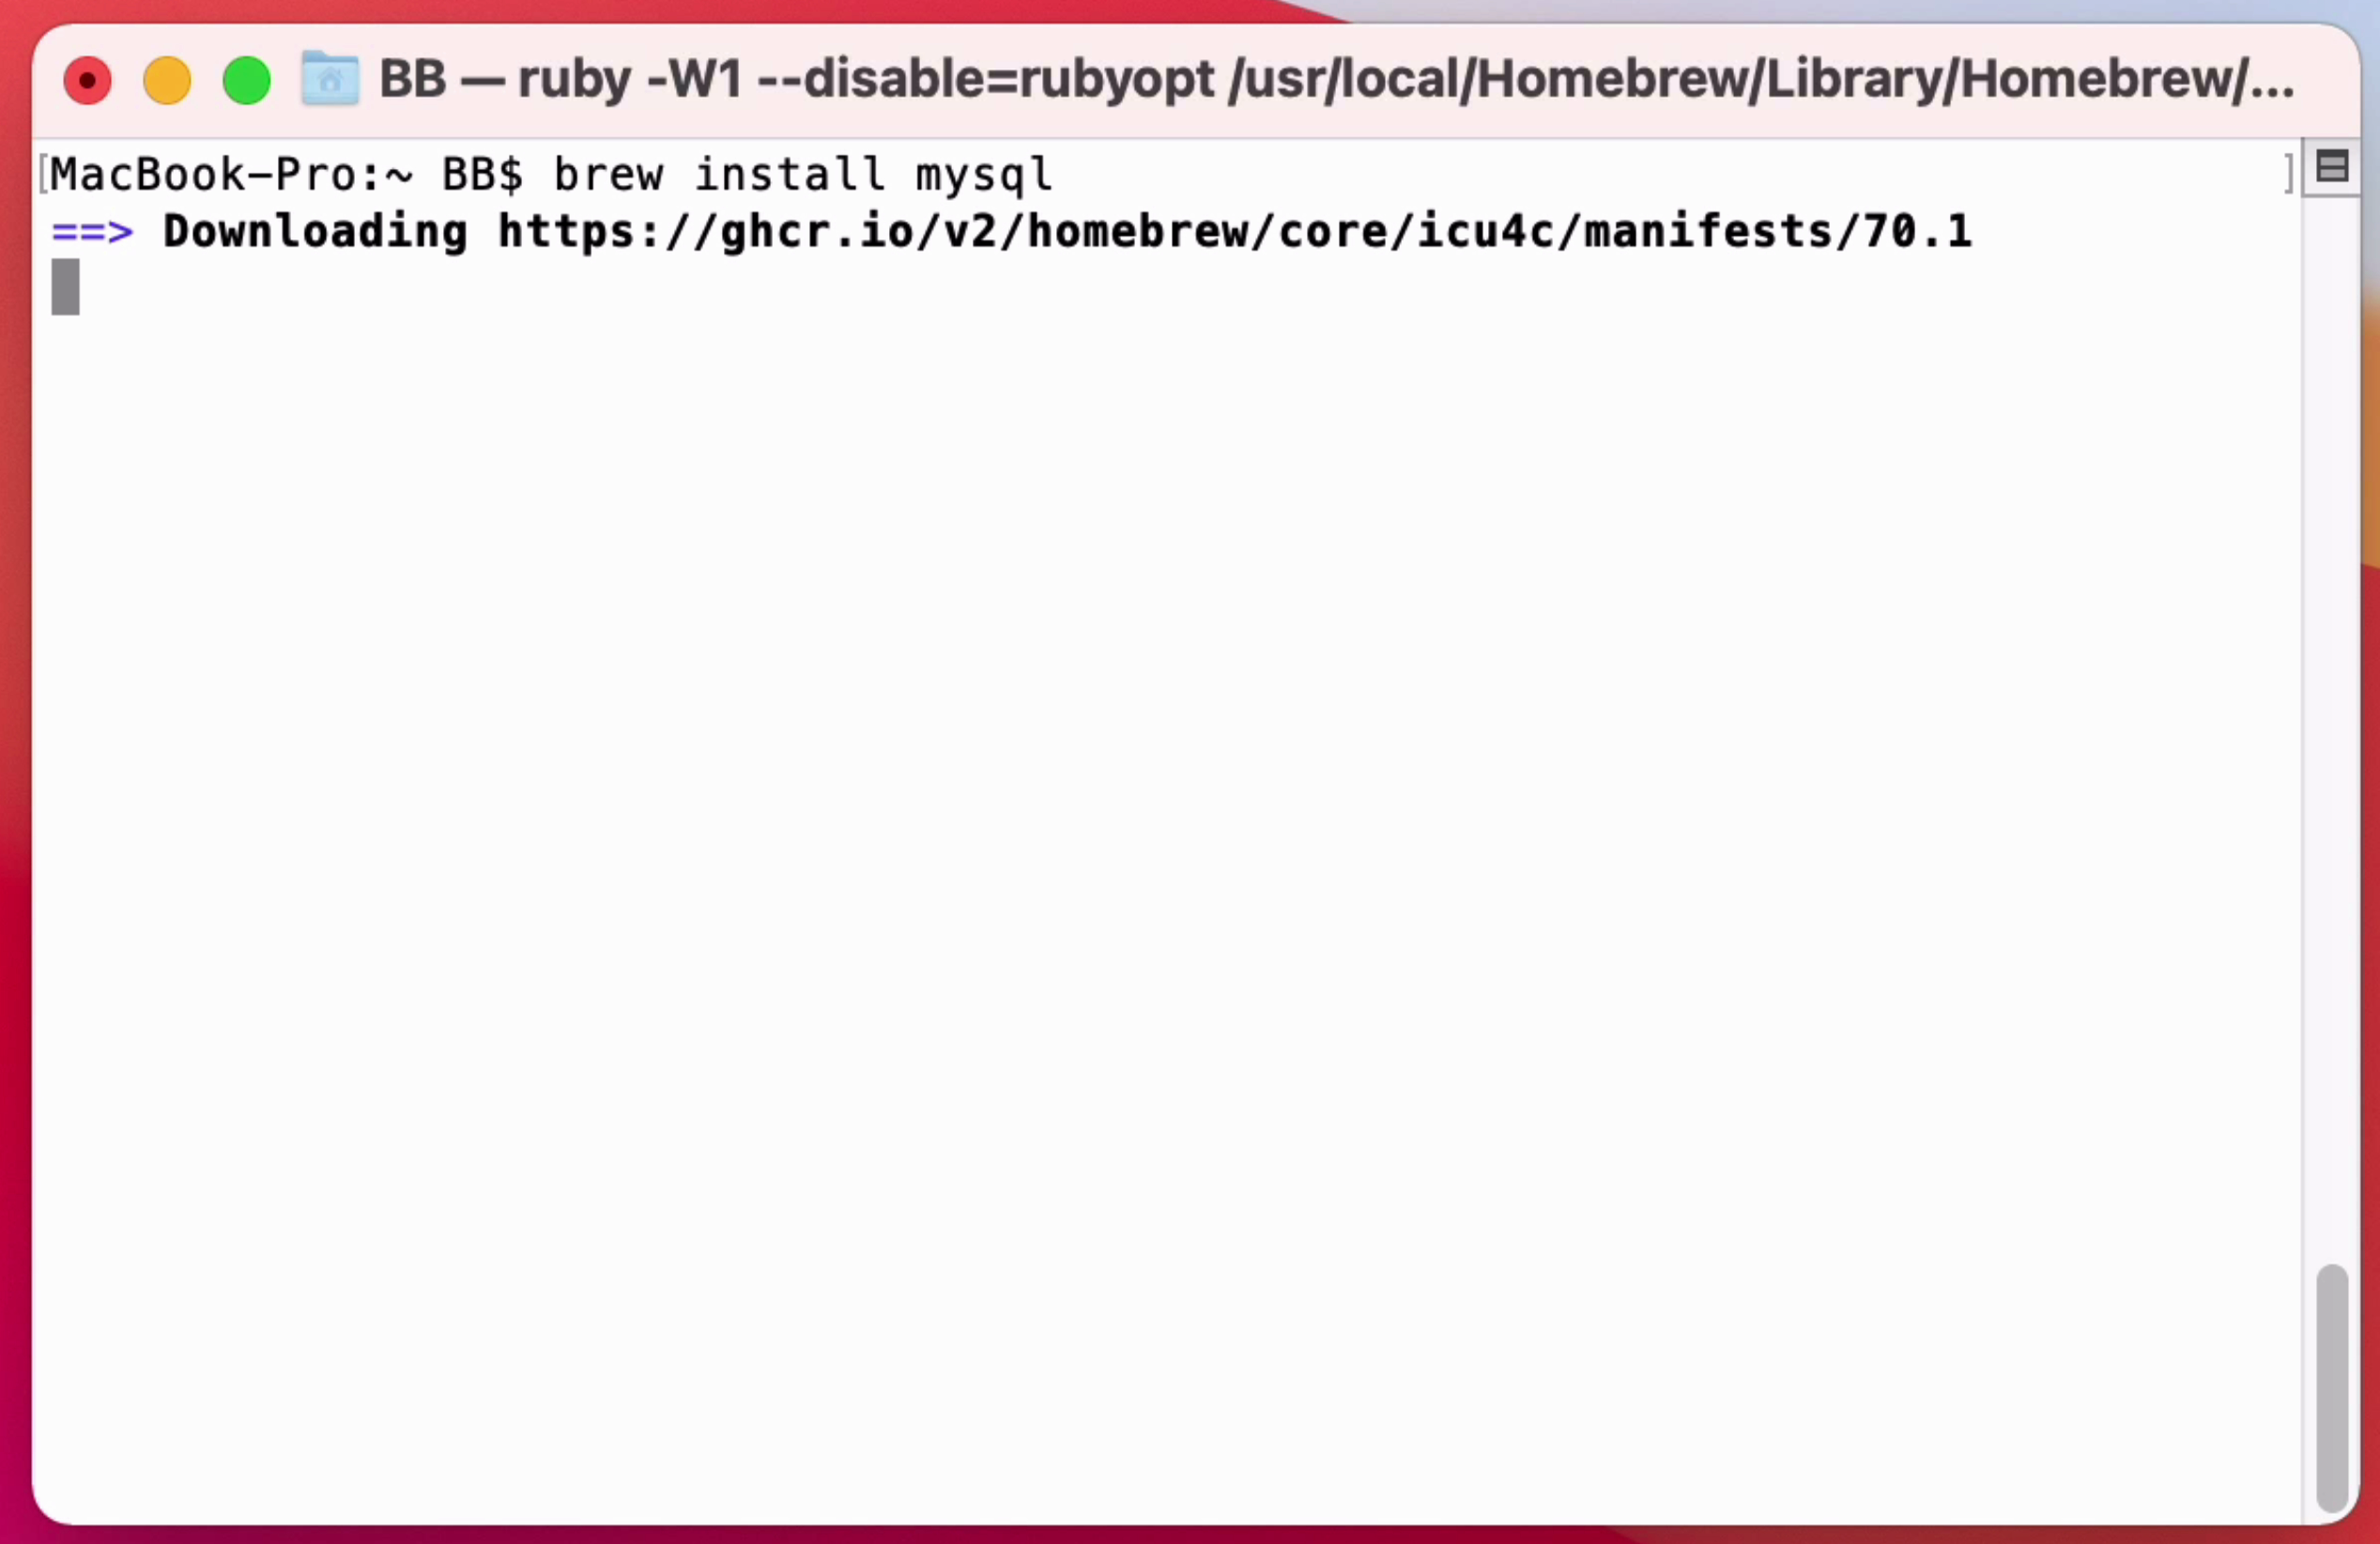
After a little while, the package will be installed. There’s a lot of output here from the different steps that Homebrew takes. You can read through it if you’re interested, but at the end of the output, you’ll see the prompt again.
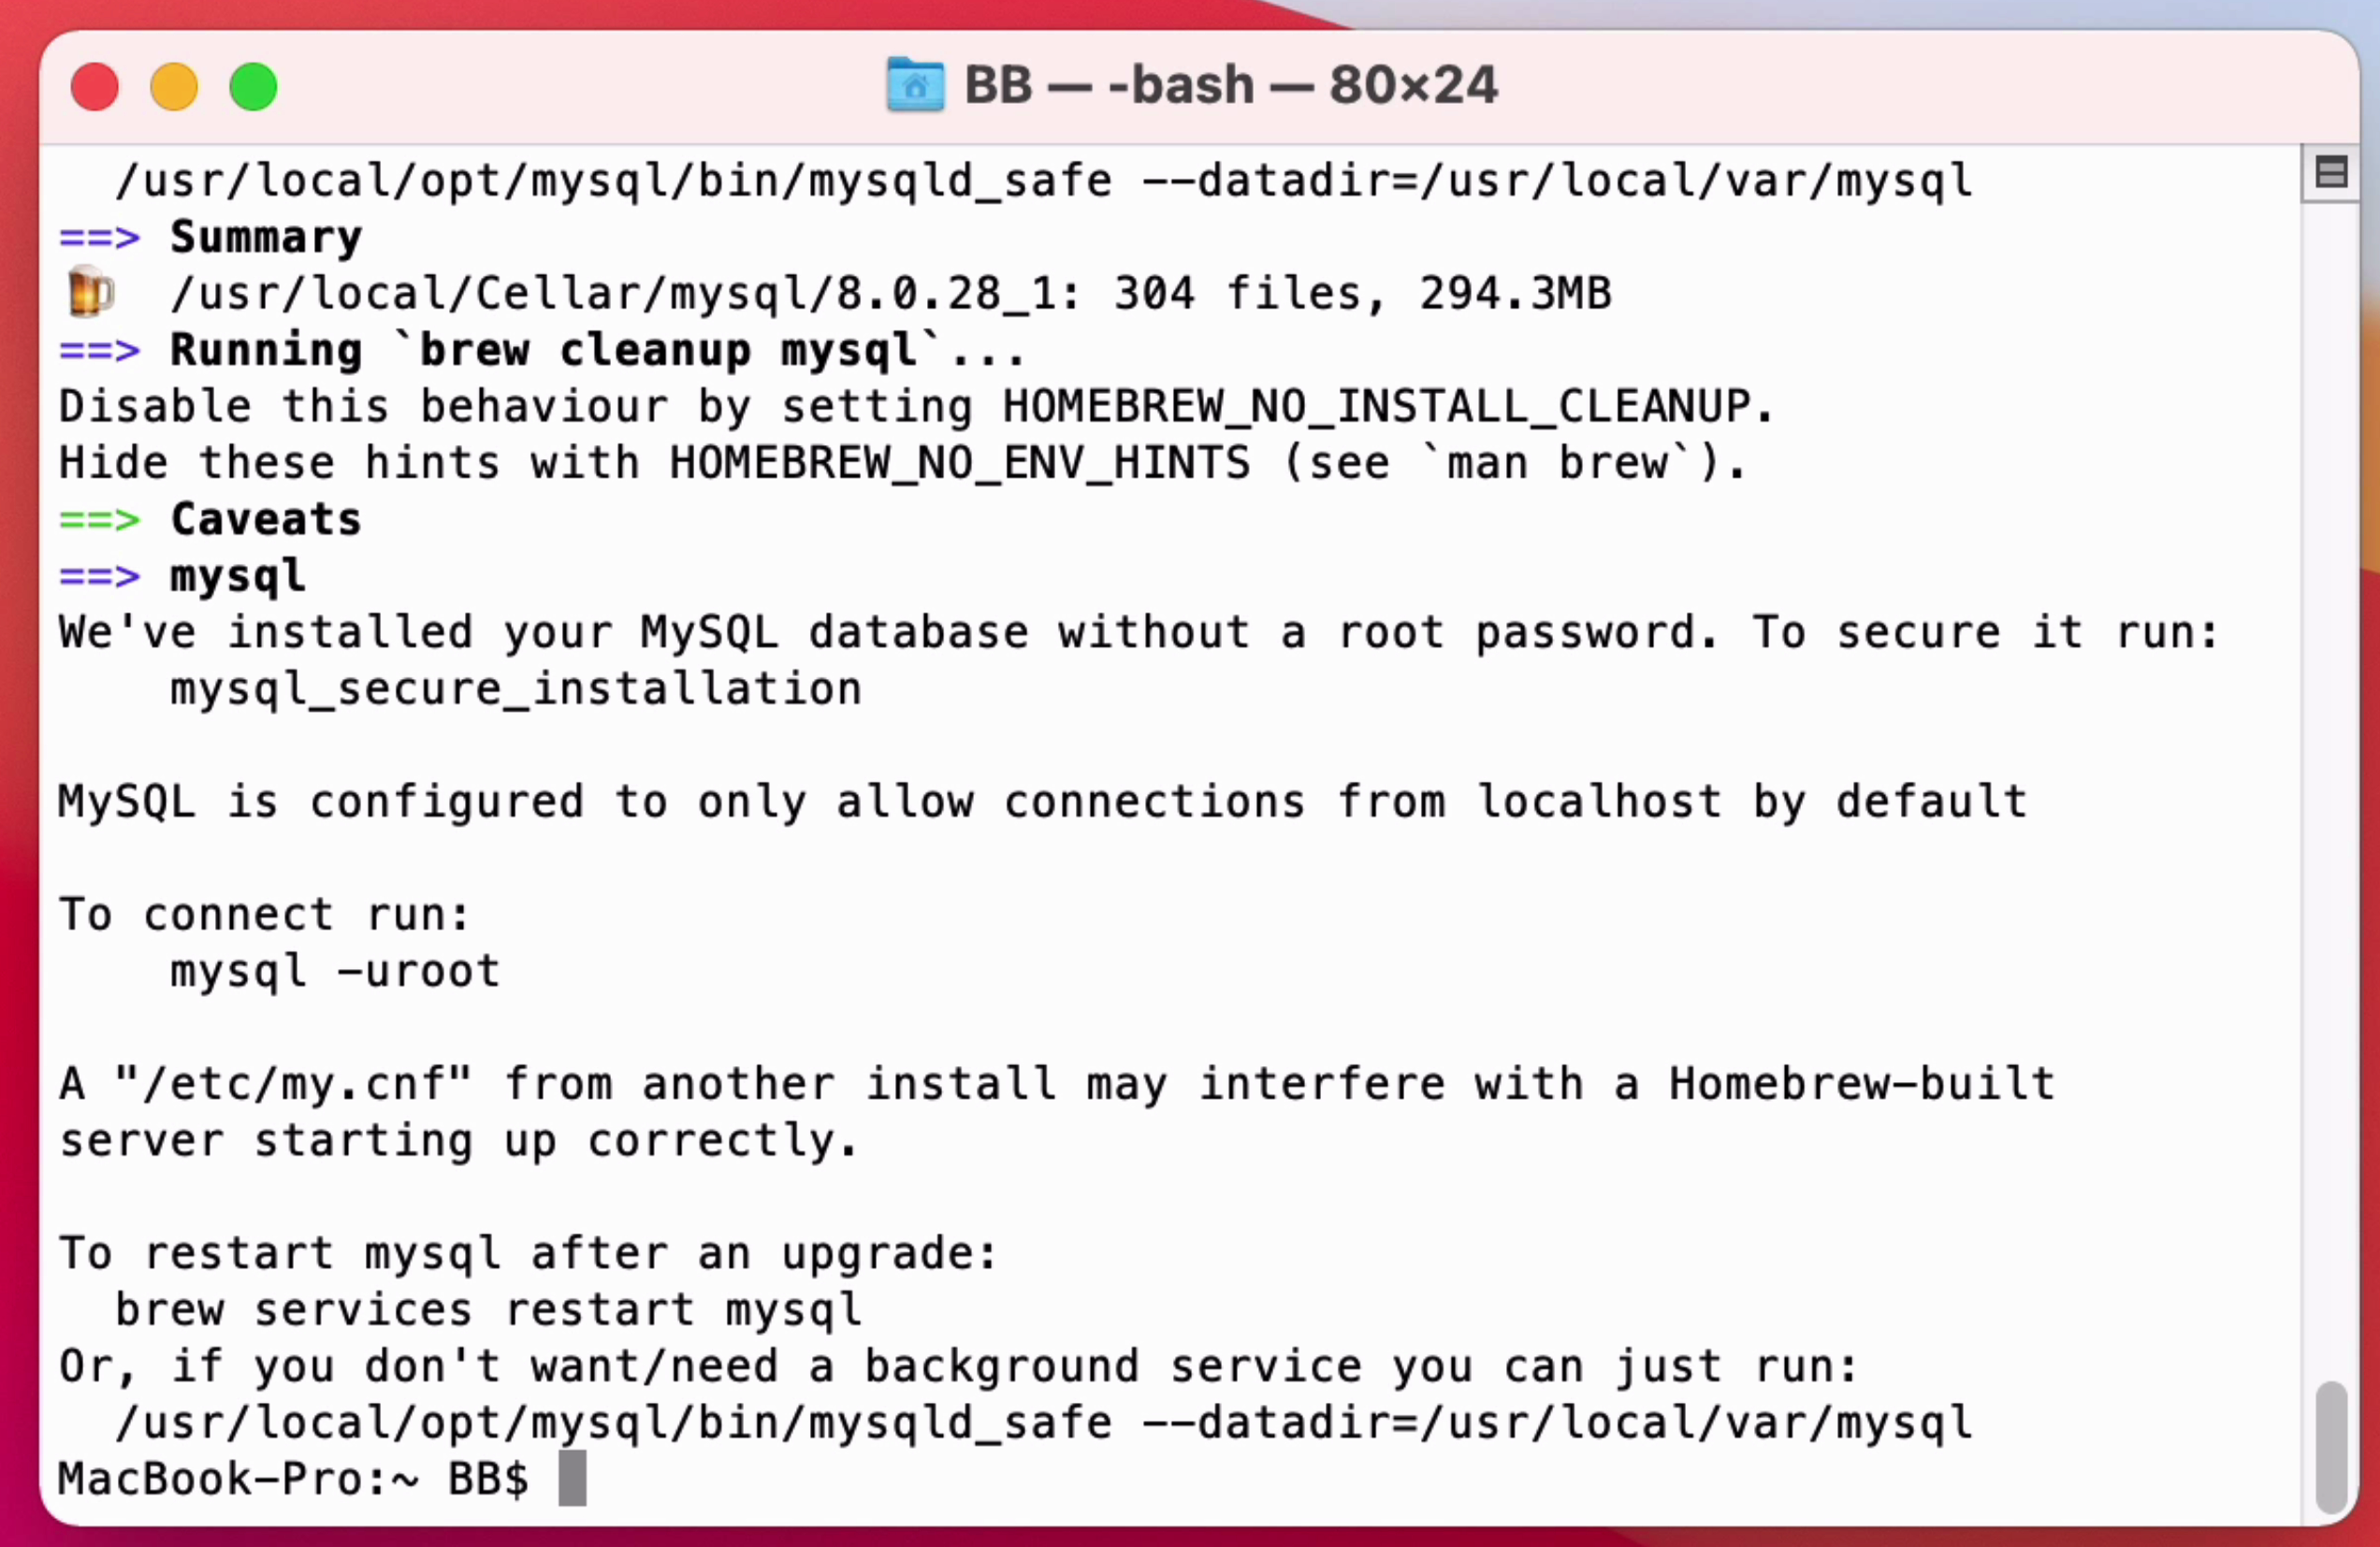
And that’s the installation process complete!
Confirm by Checking the MySQL Version
Now that MySQL is installed, you can check the version number. This is one way to confirm that it was installed, and it's also good to know the version as you work with MySQL.
To do this, enter the command "brew info mysql" and press Enter.

The output of the statement is shown.
At the top of the output, it shows the version, which in this example is 8.0.28.
You'll then see a bunch of other output messages such as conflicts, dependencies, and other information.
There are two things to notice here.
The first is this line here about mysql_secure_installation. It says that the root account is set up with no password, but we can secure it by running this mysql_secure_installation command. We’ll do this later in the article.
The second is the connect string, which we’ll run shortly as well.
But first, we need to run the mysql server. It’s installed but it’s not running.
Start MySQL
To start the mysql server, we run this command:
1brew services start mysql
After a moment, it will be running.
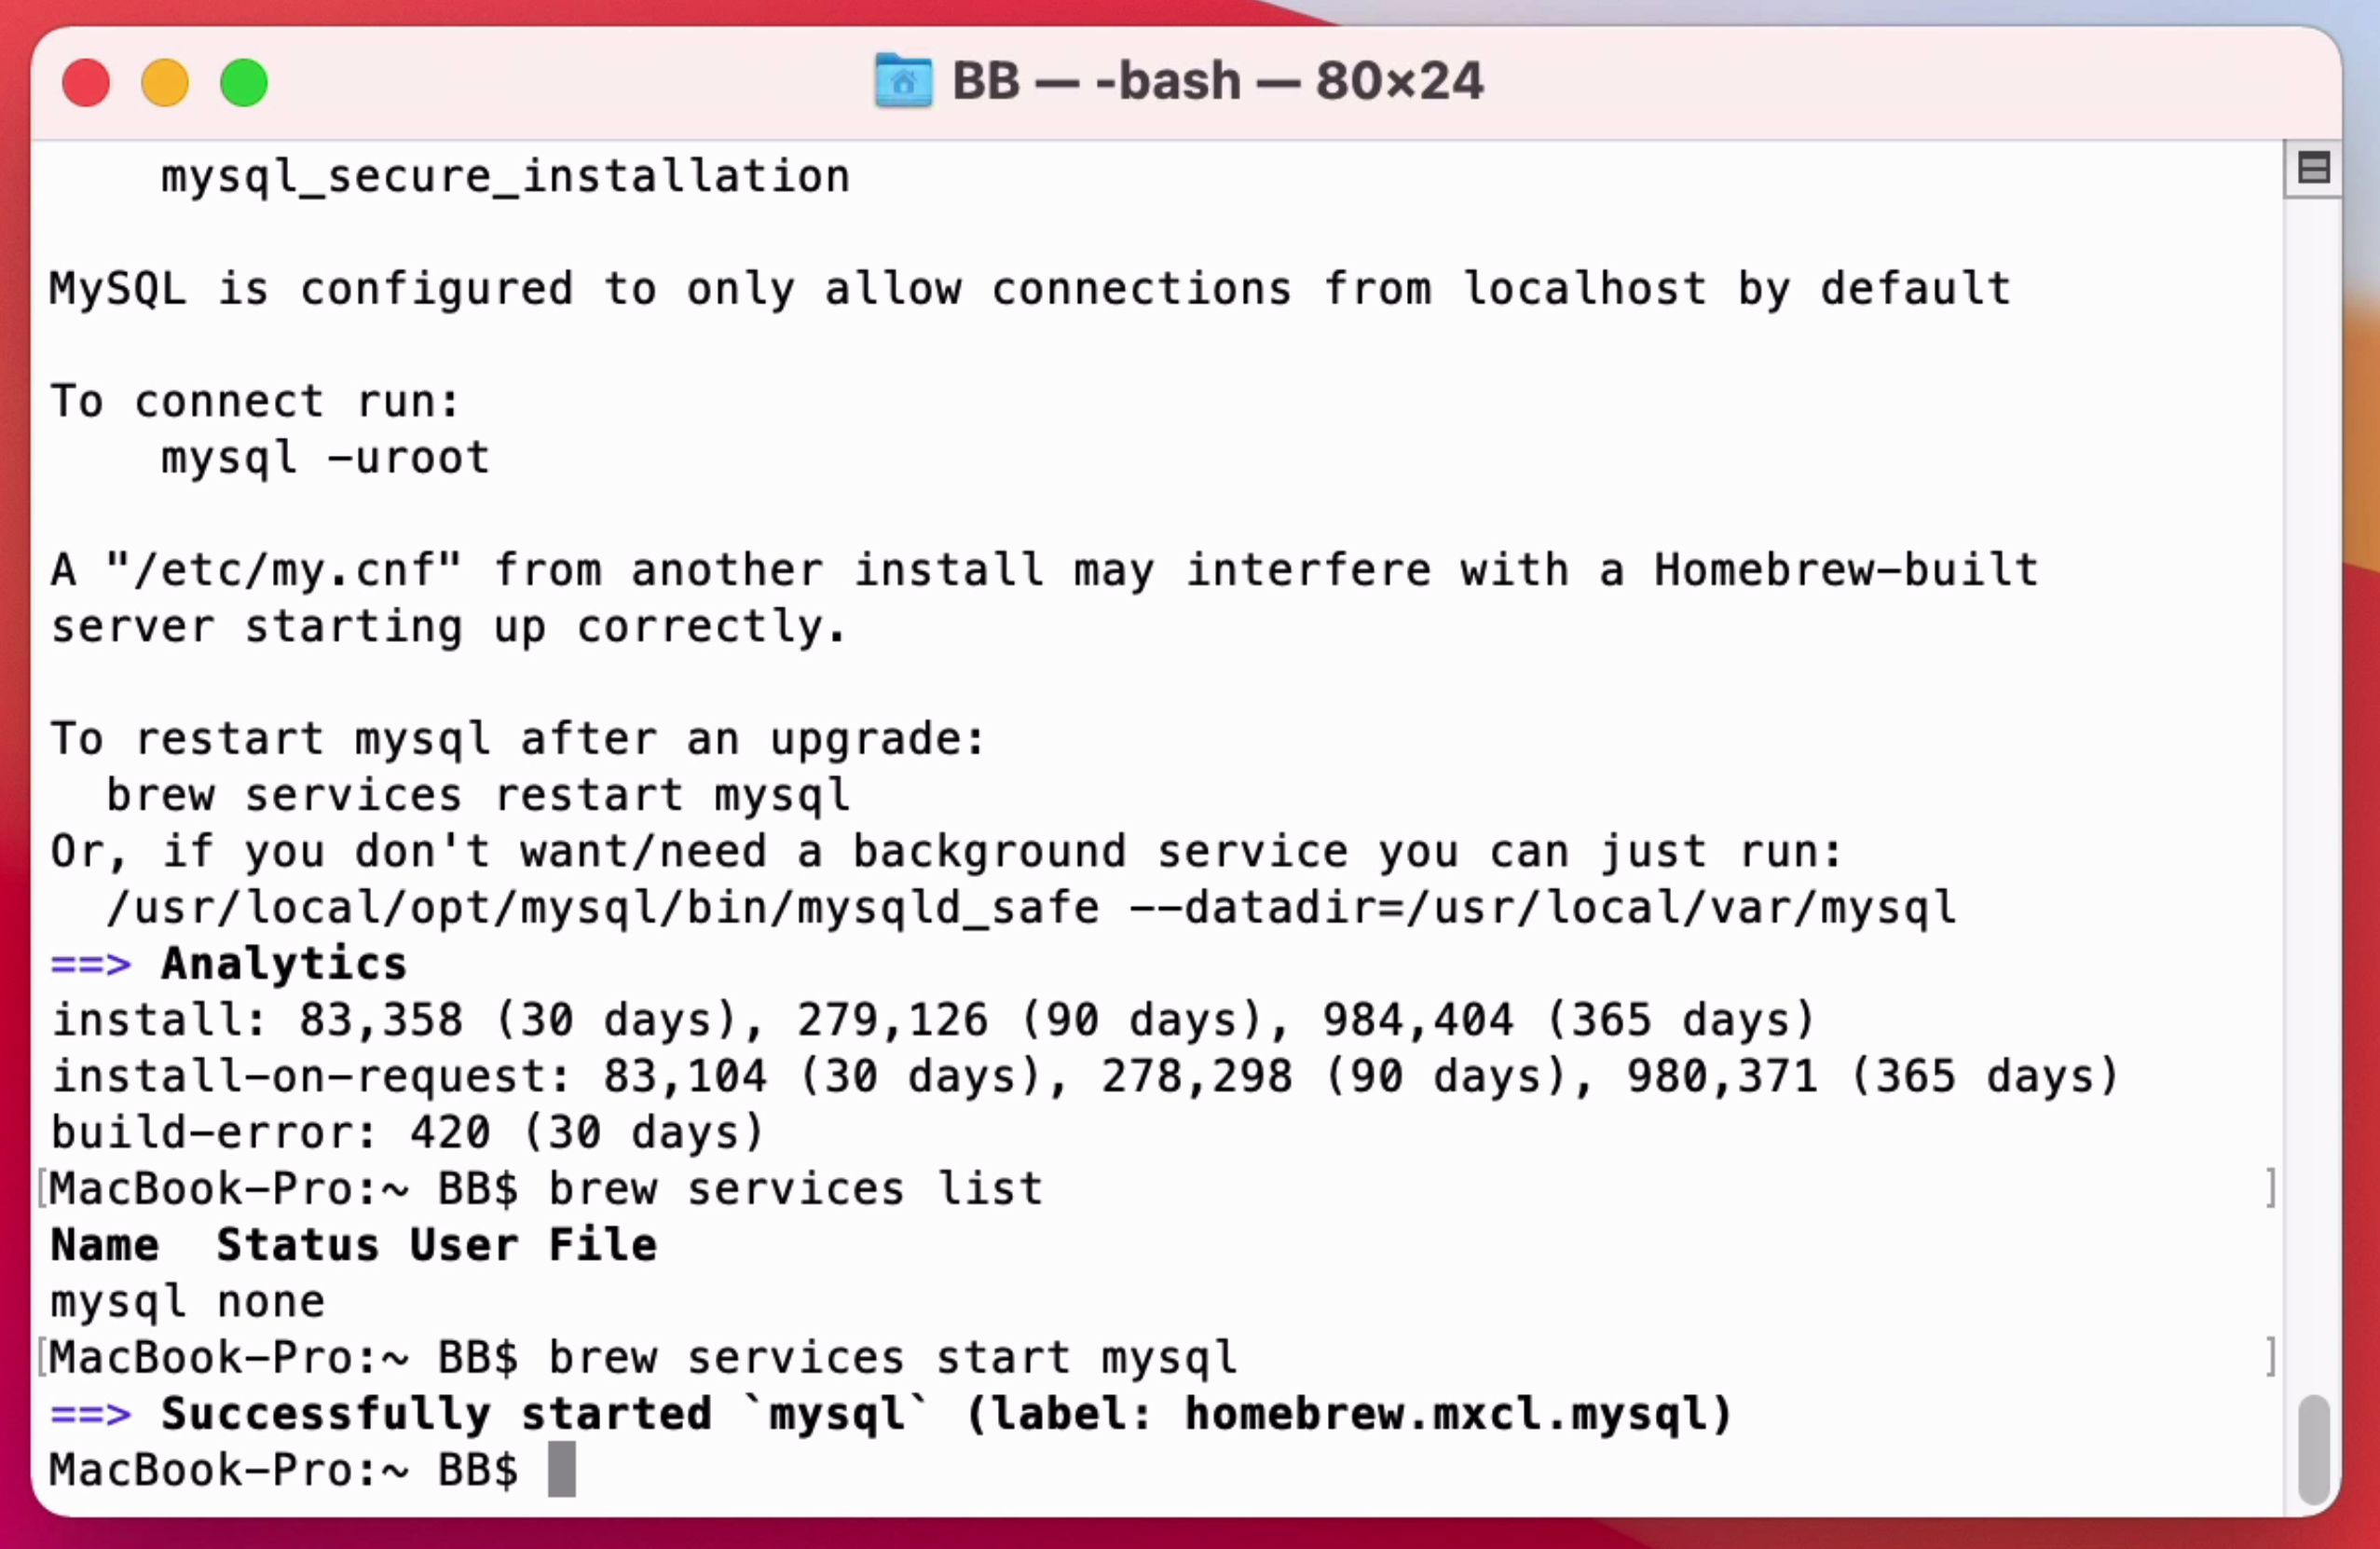
How can we tell it’s running? There are a few ways. One way is to see a list of services that homebrew is managing. We can run:
1brew services list
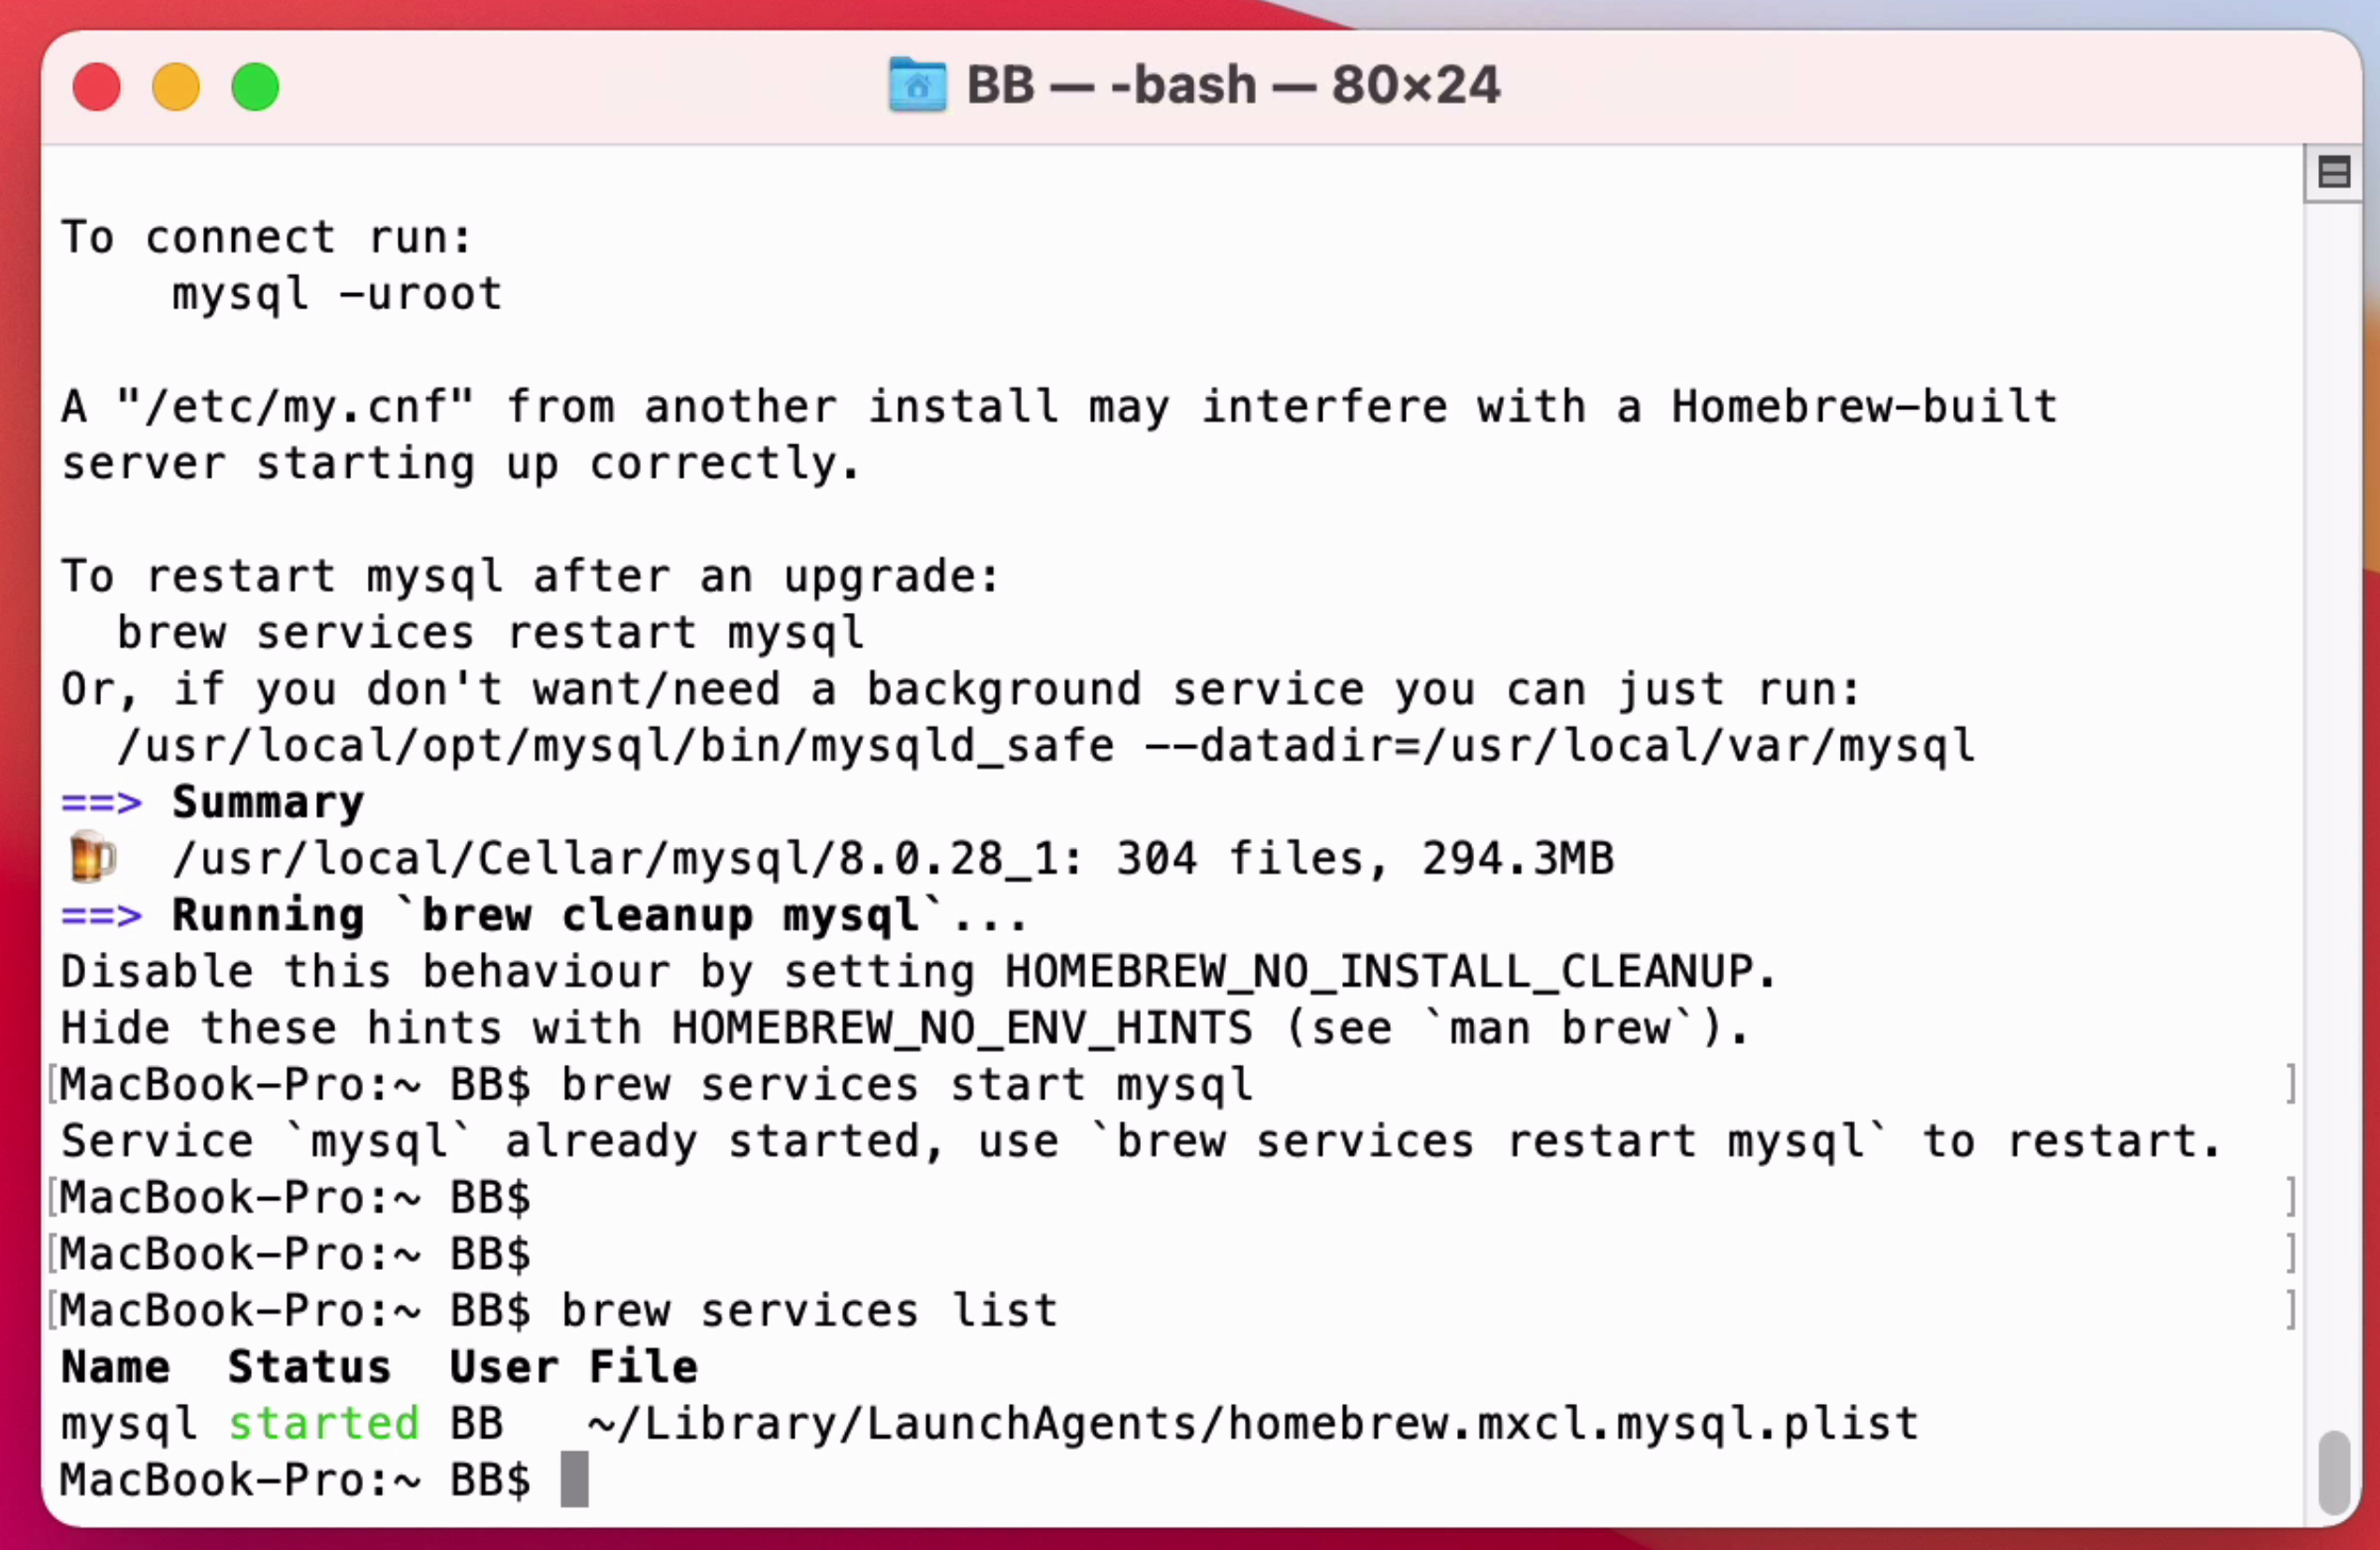
This will show a list of packages installed by homebrew. You’ll see MySQL listed here. The status will say “started” if it’s running. If it says something else, it means it’s not running.
So, now that MySQL is running, let’s try to connect.
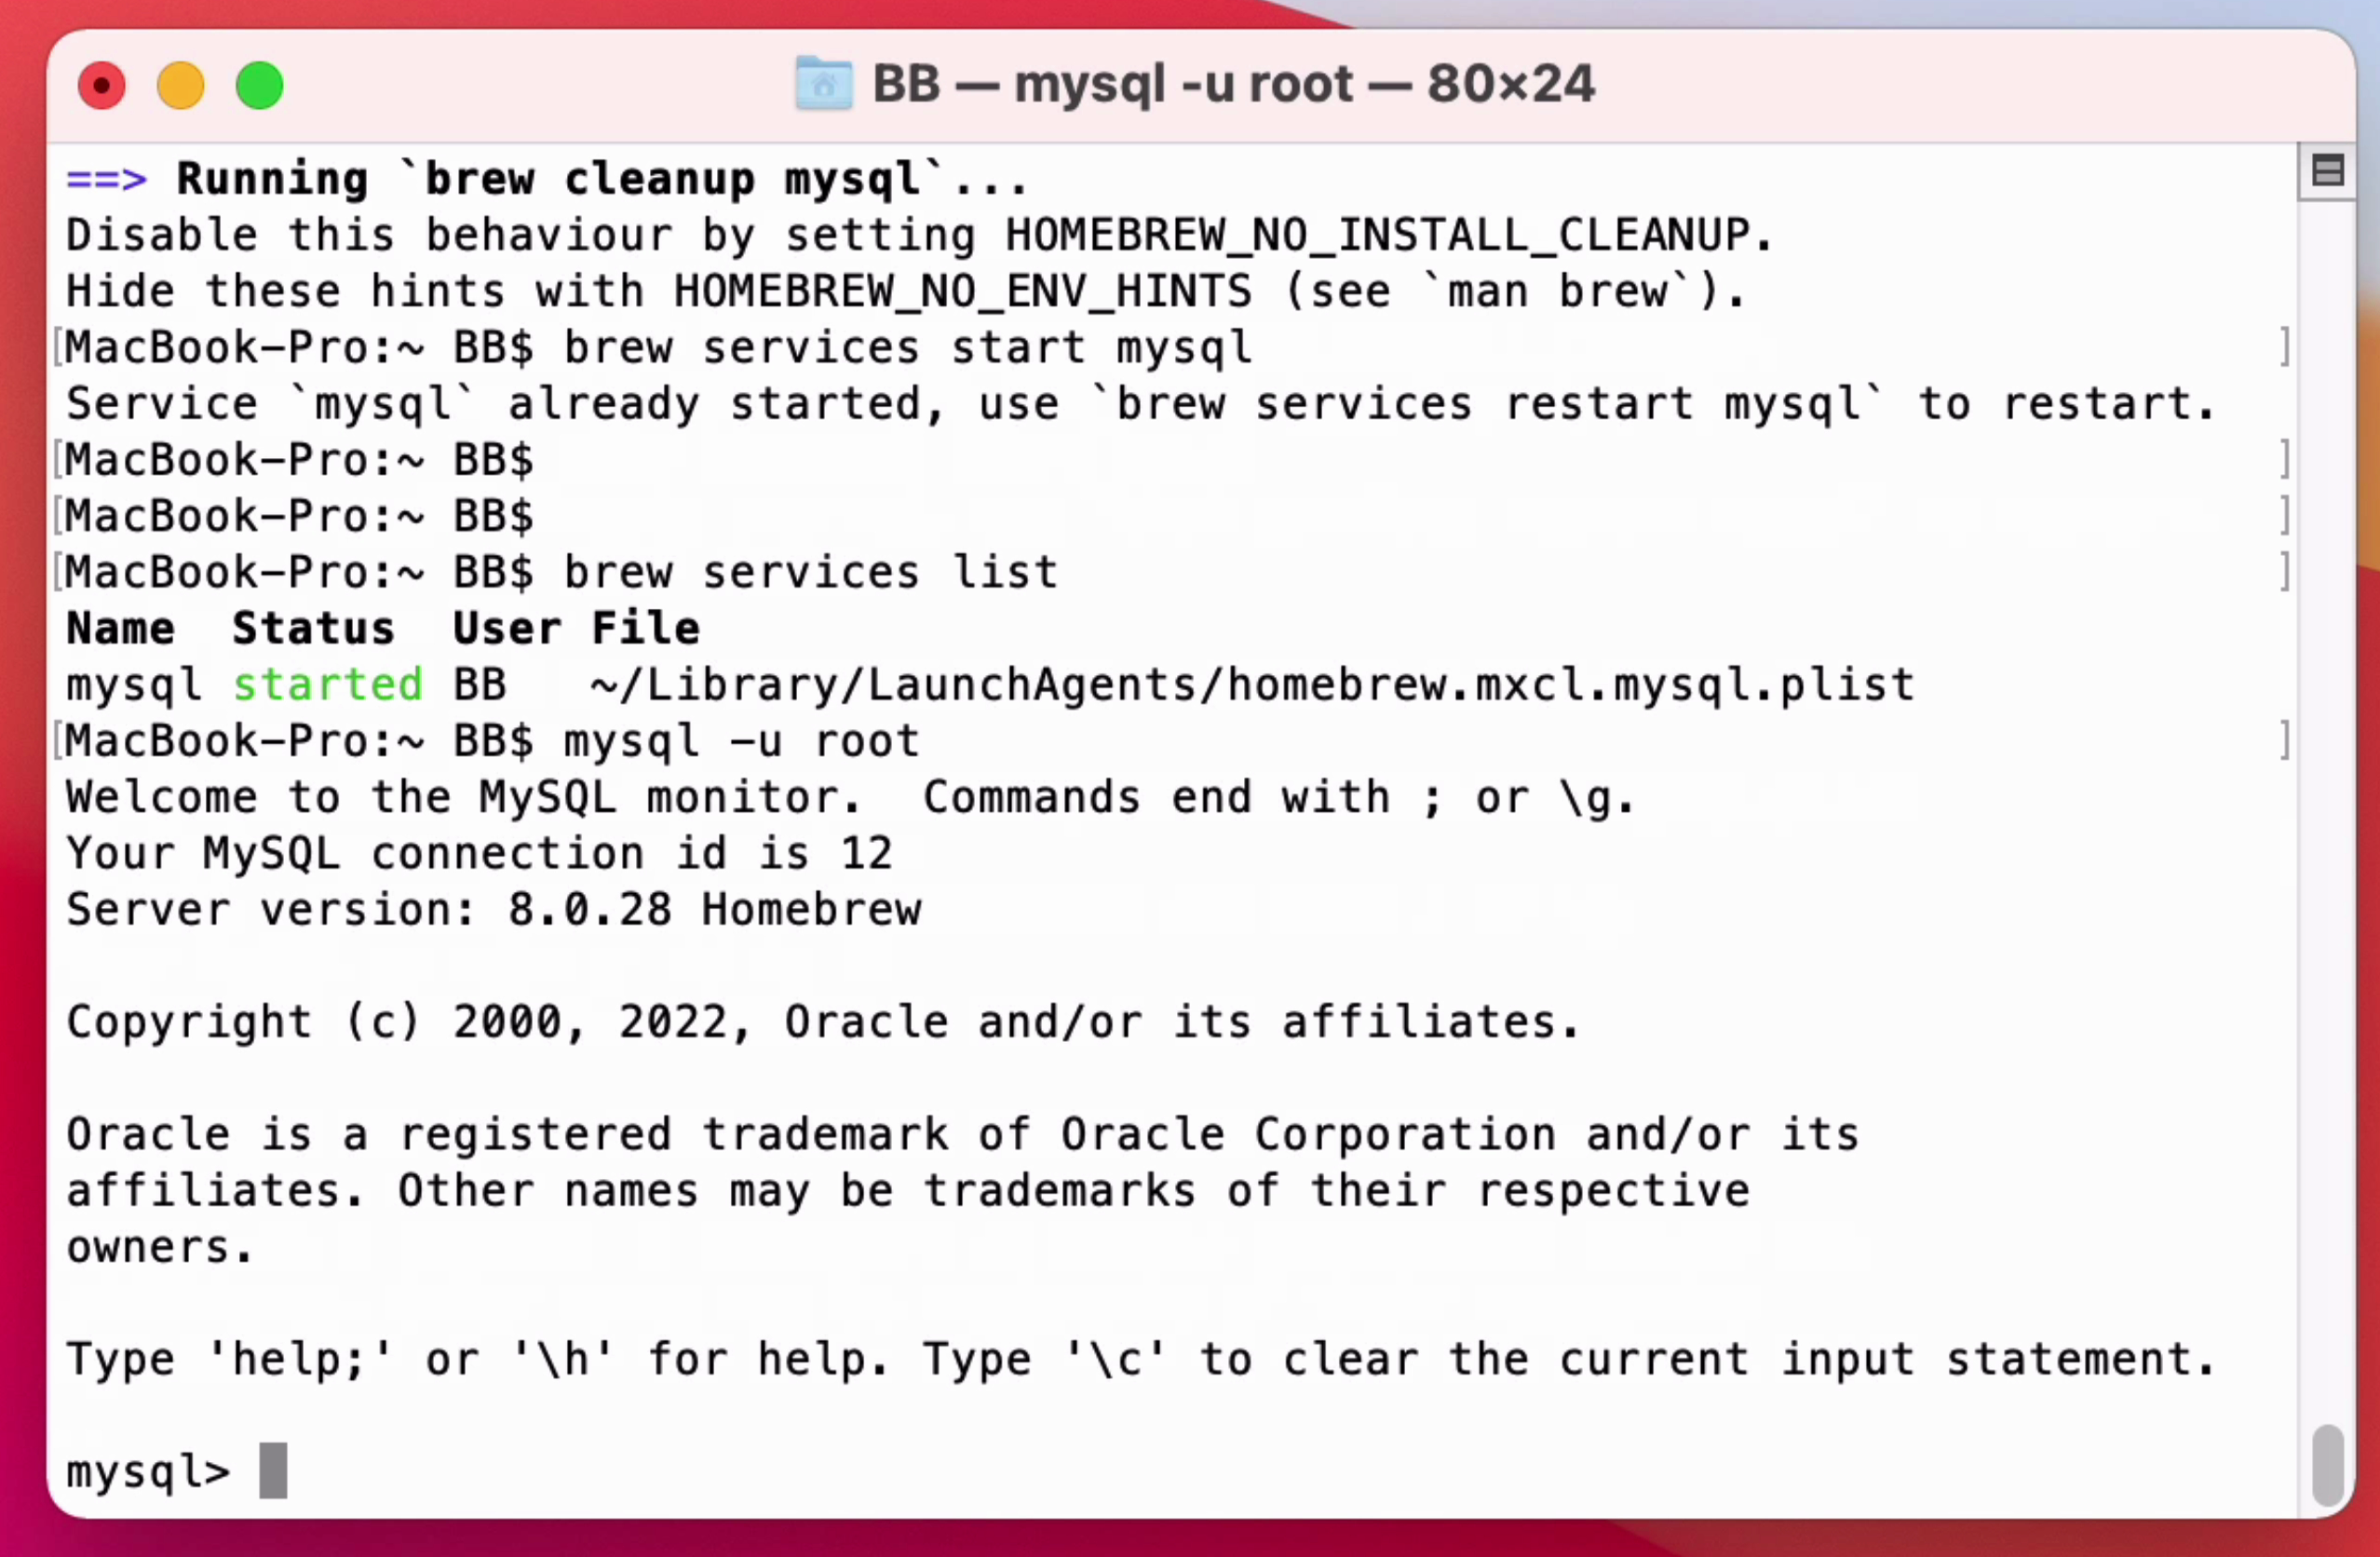
Connect to MySQL
As we saw earlier, there is no password to the root account. So we can login to mysql by running this command:
1mysql -u root
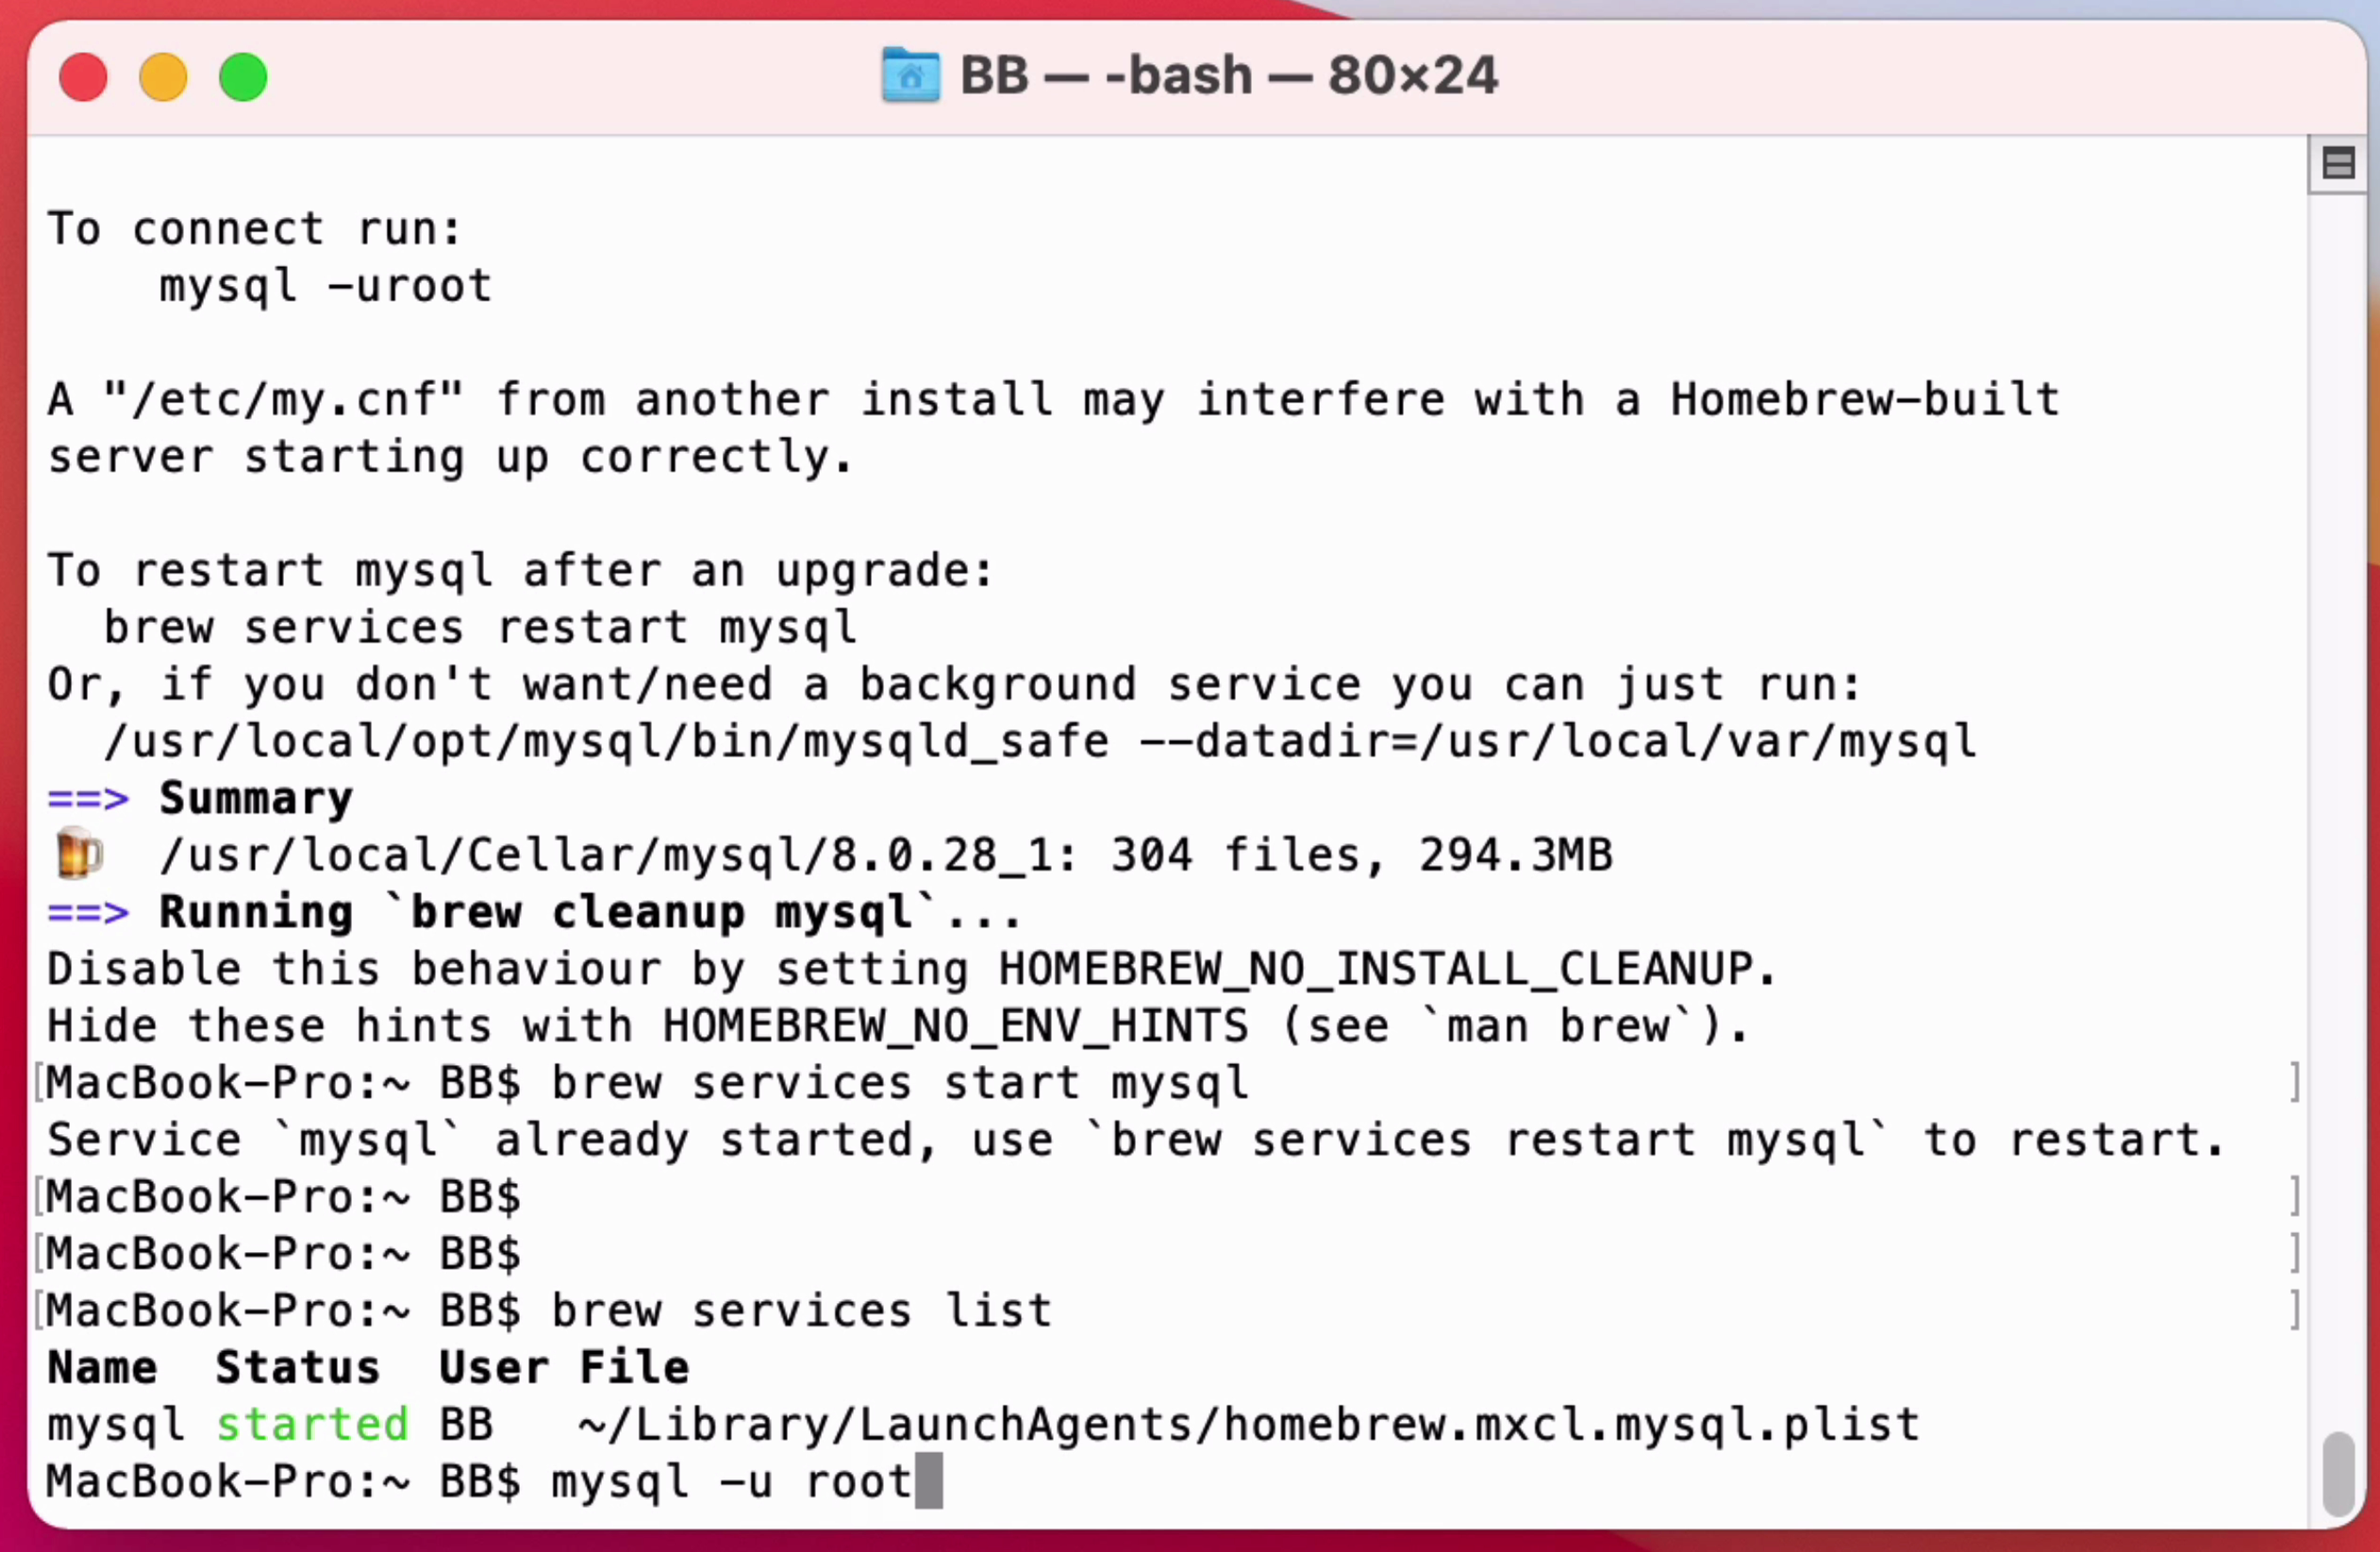
This means the username to use is root, and no password is specified.
After you press Enter, you’ll be logged in to MySQL.
If you get an error message, it could be because the server is not running, or the command is incorrect. So, I would suggest using Google to search for the error message.
If you get an error that says “bash mysql command not found”, you can resolve this in a few ways. One of which is to create a bash profile, which I’ve detailed in the steps in my MySQL Install video.
You may also get an "access denied" error, and I've written about the solution to that here.
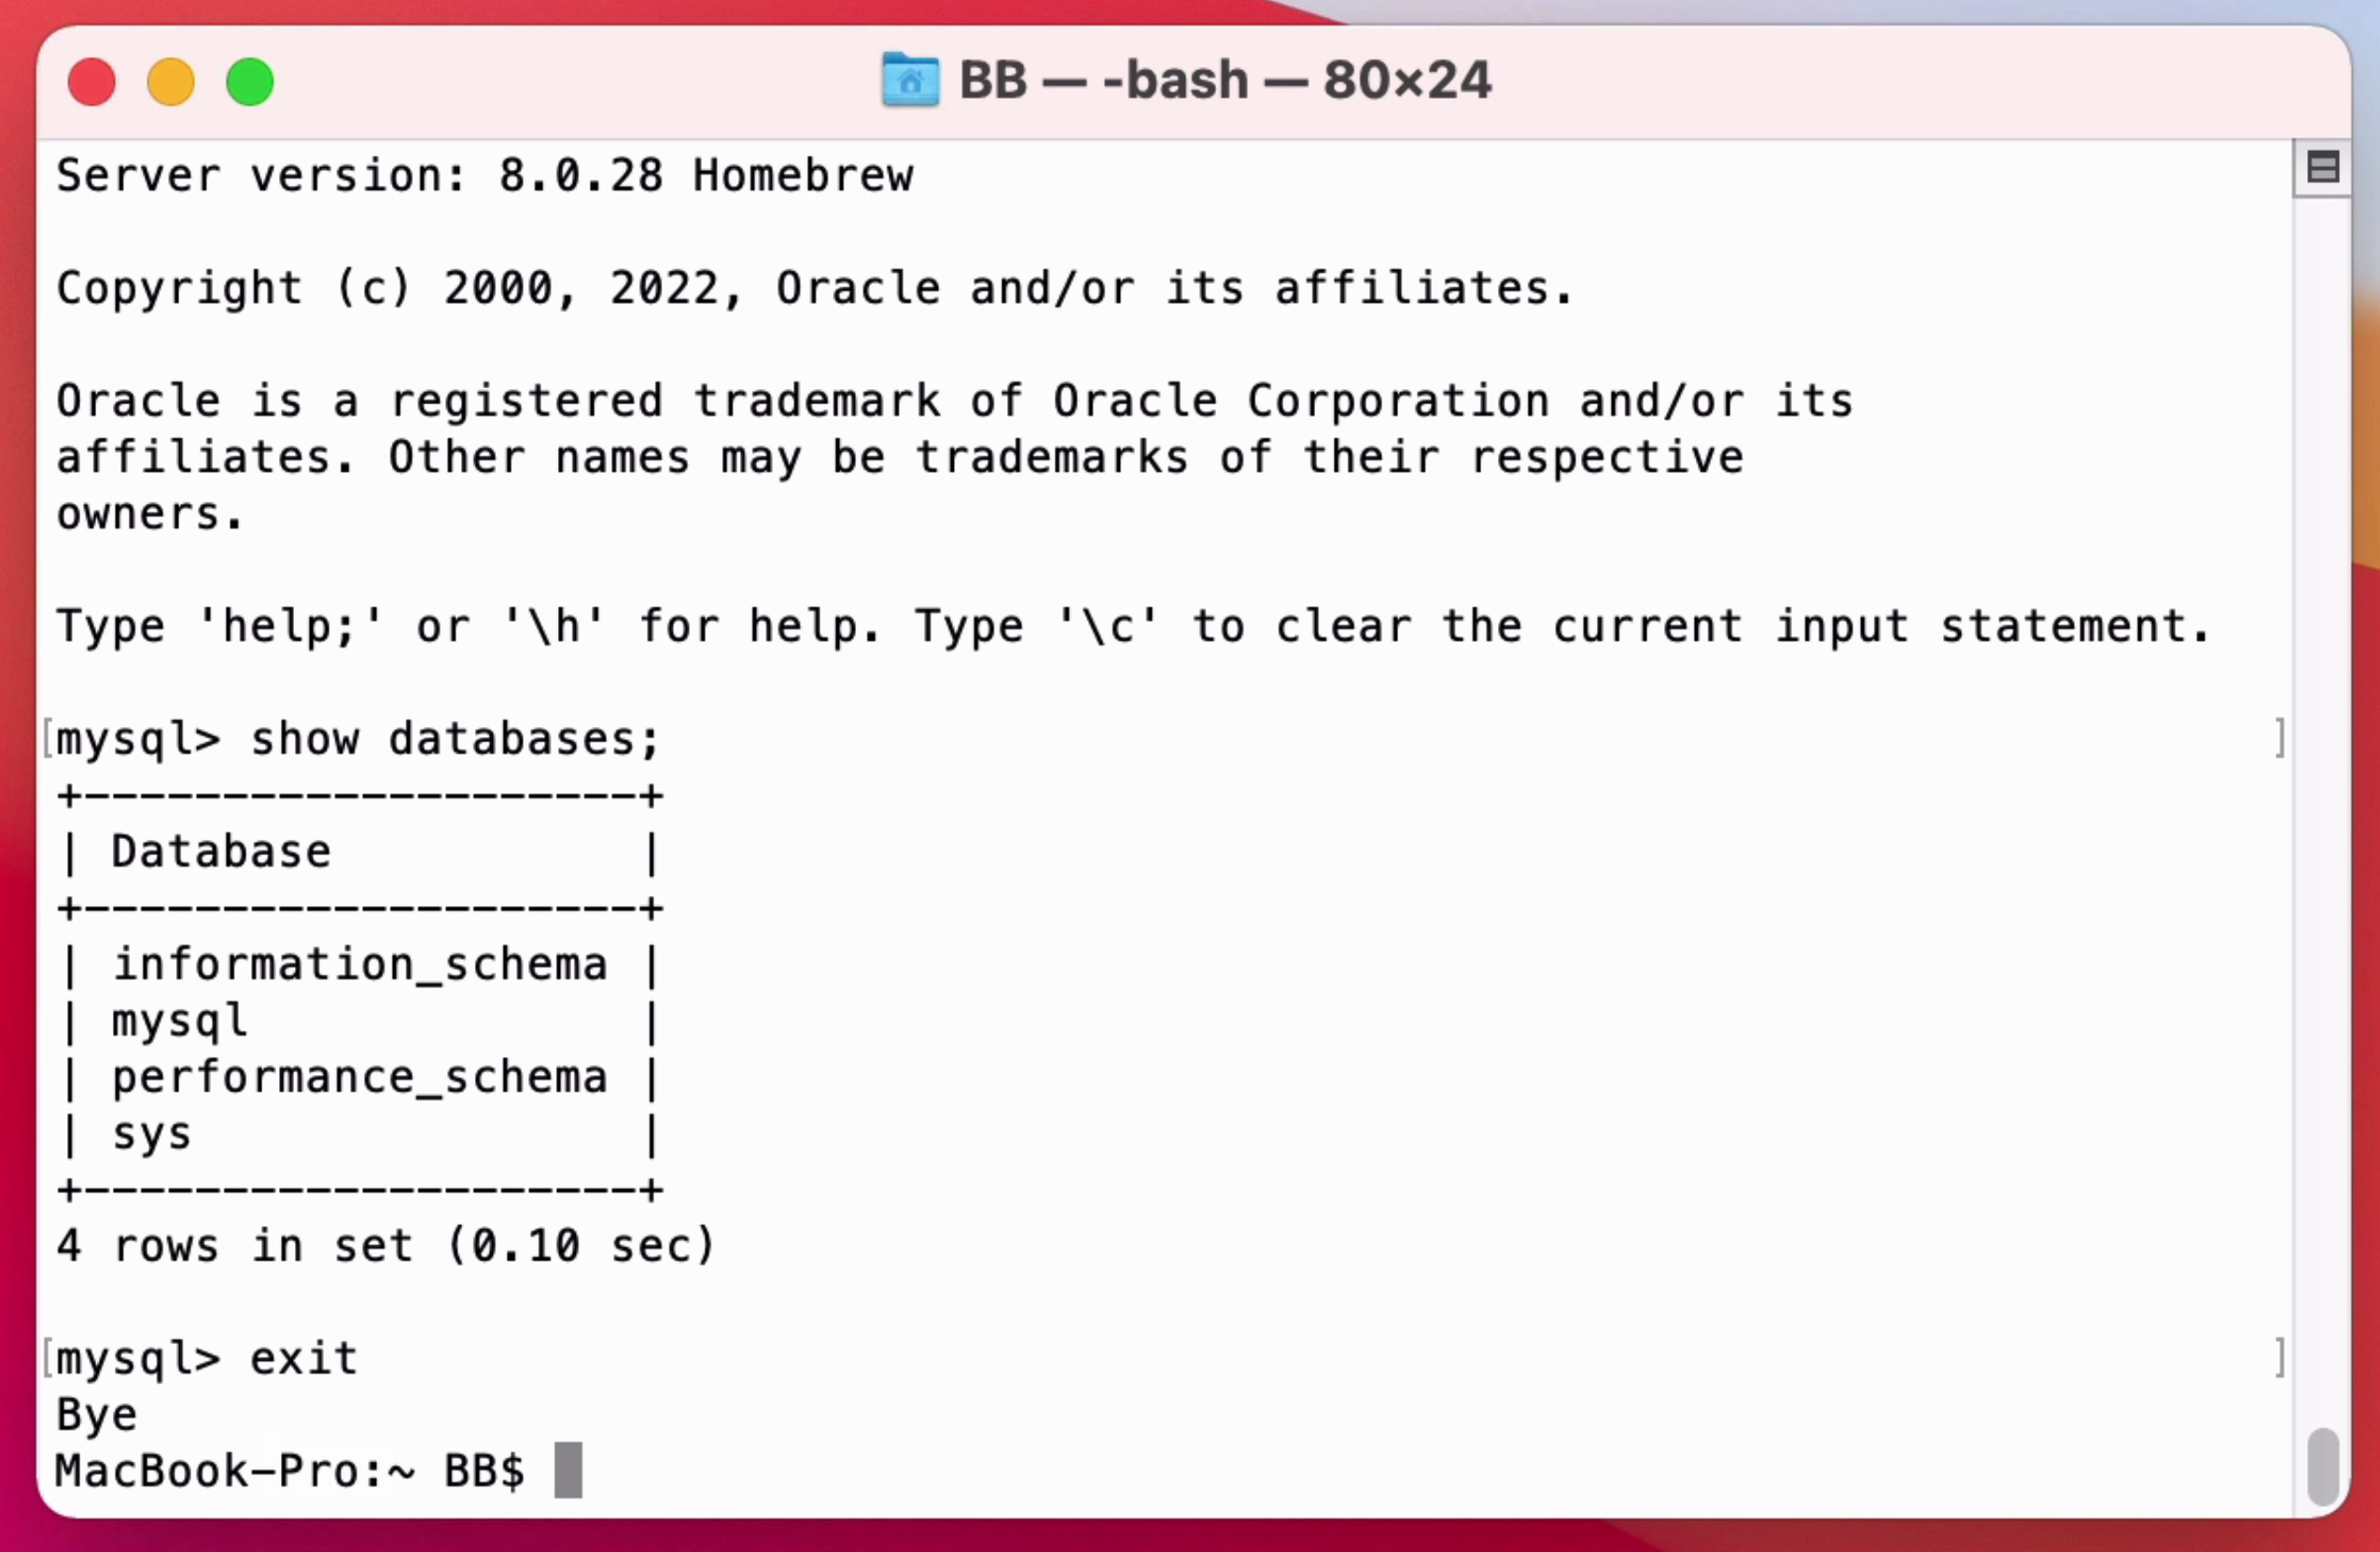
Run a Query
Now that the server is running and we have connected to it, let’s run a simple query to check the database.
We’ll run the command:
1show databases;
We run this with a semicolon at the end, to see what databases exist.
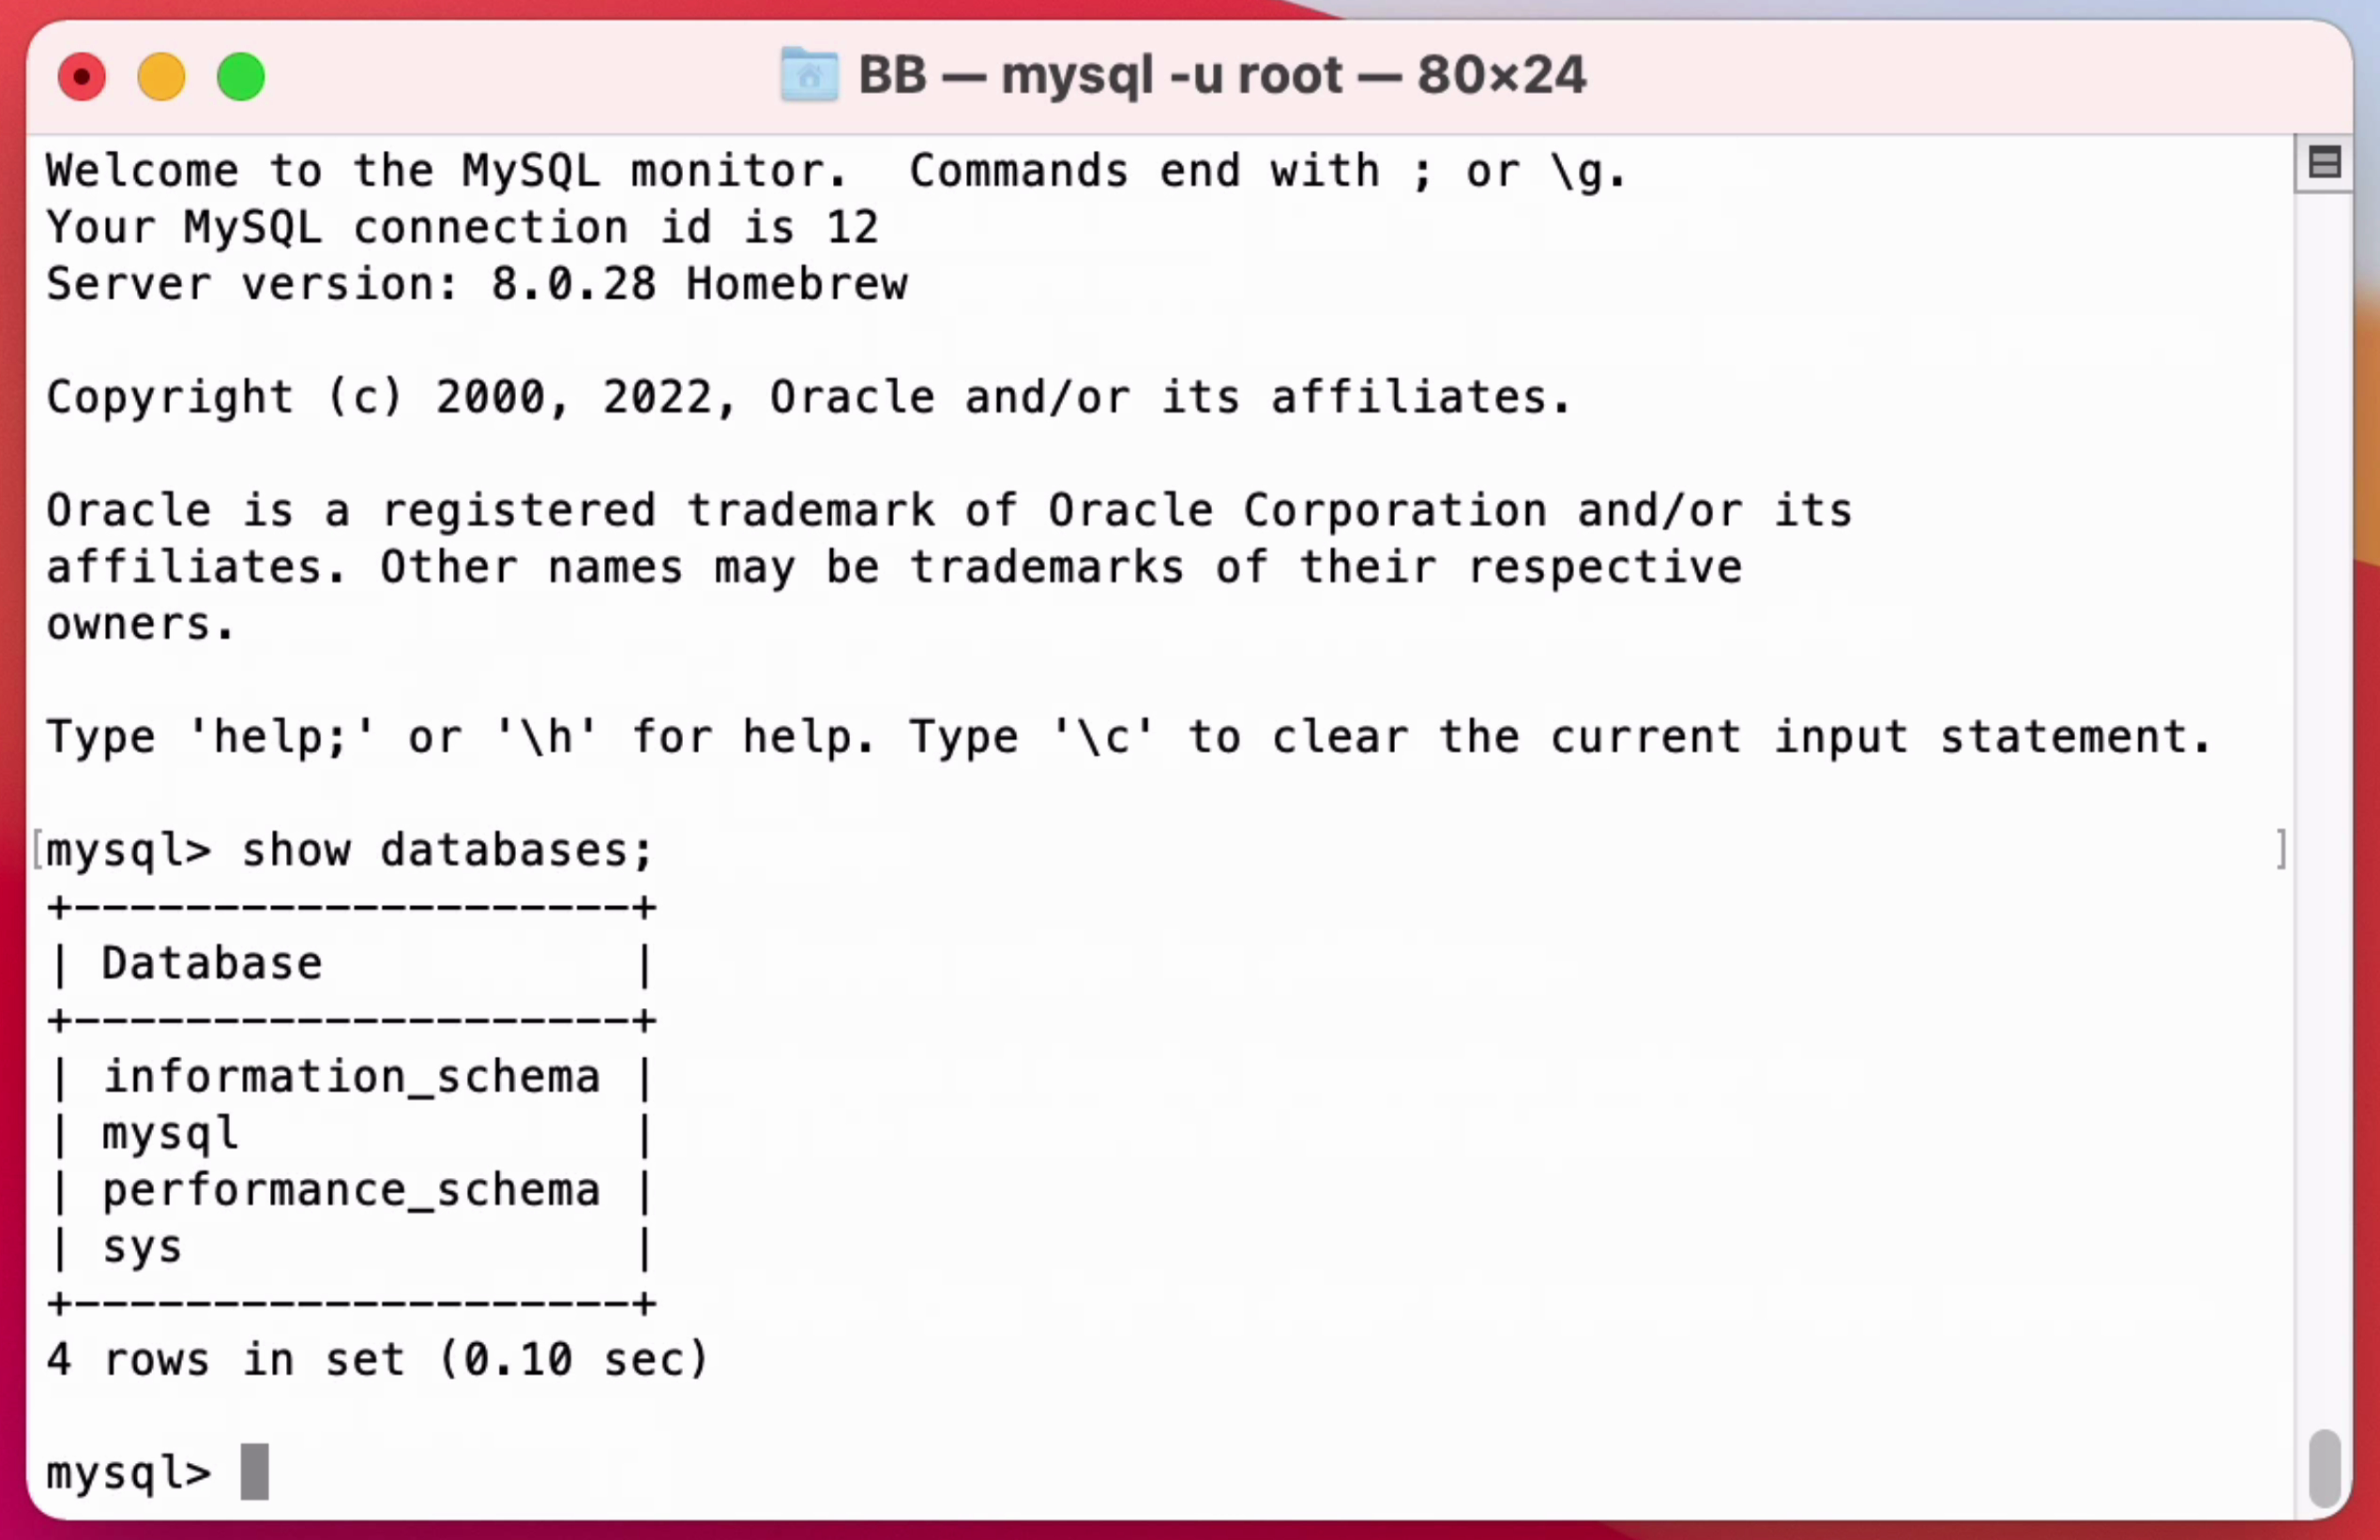
When we press enter to run it, we’ll see a list of a few databases that come with MySQL.
So we can see it all looks OK.
Type exit and press enter to exit the MySQL prompt and return to the Terminal.
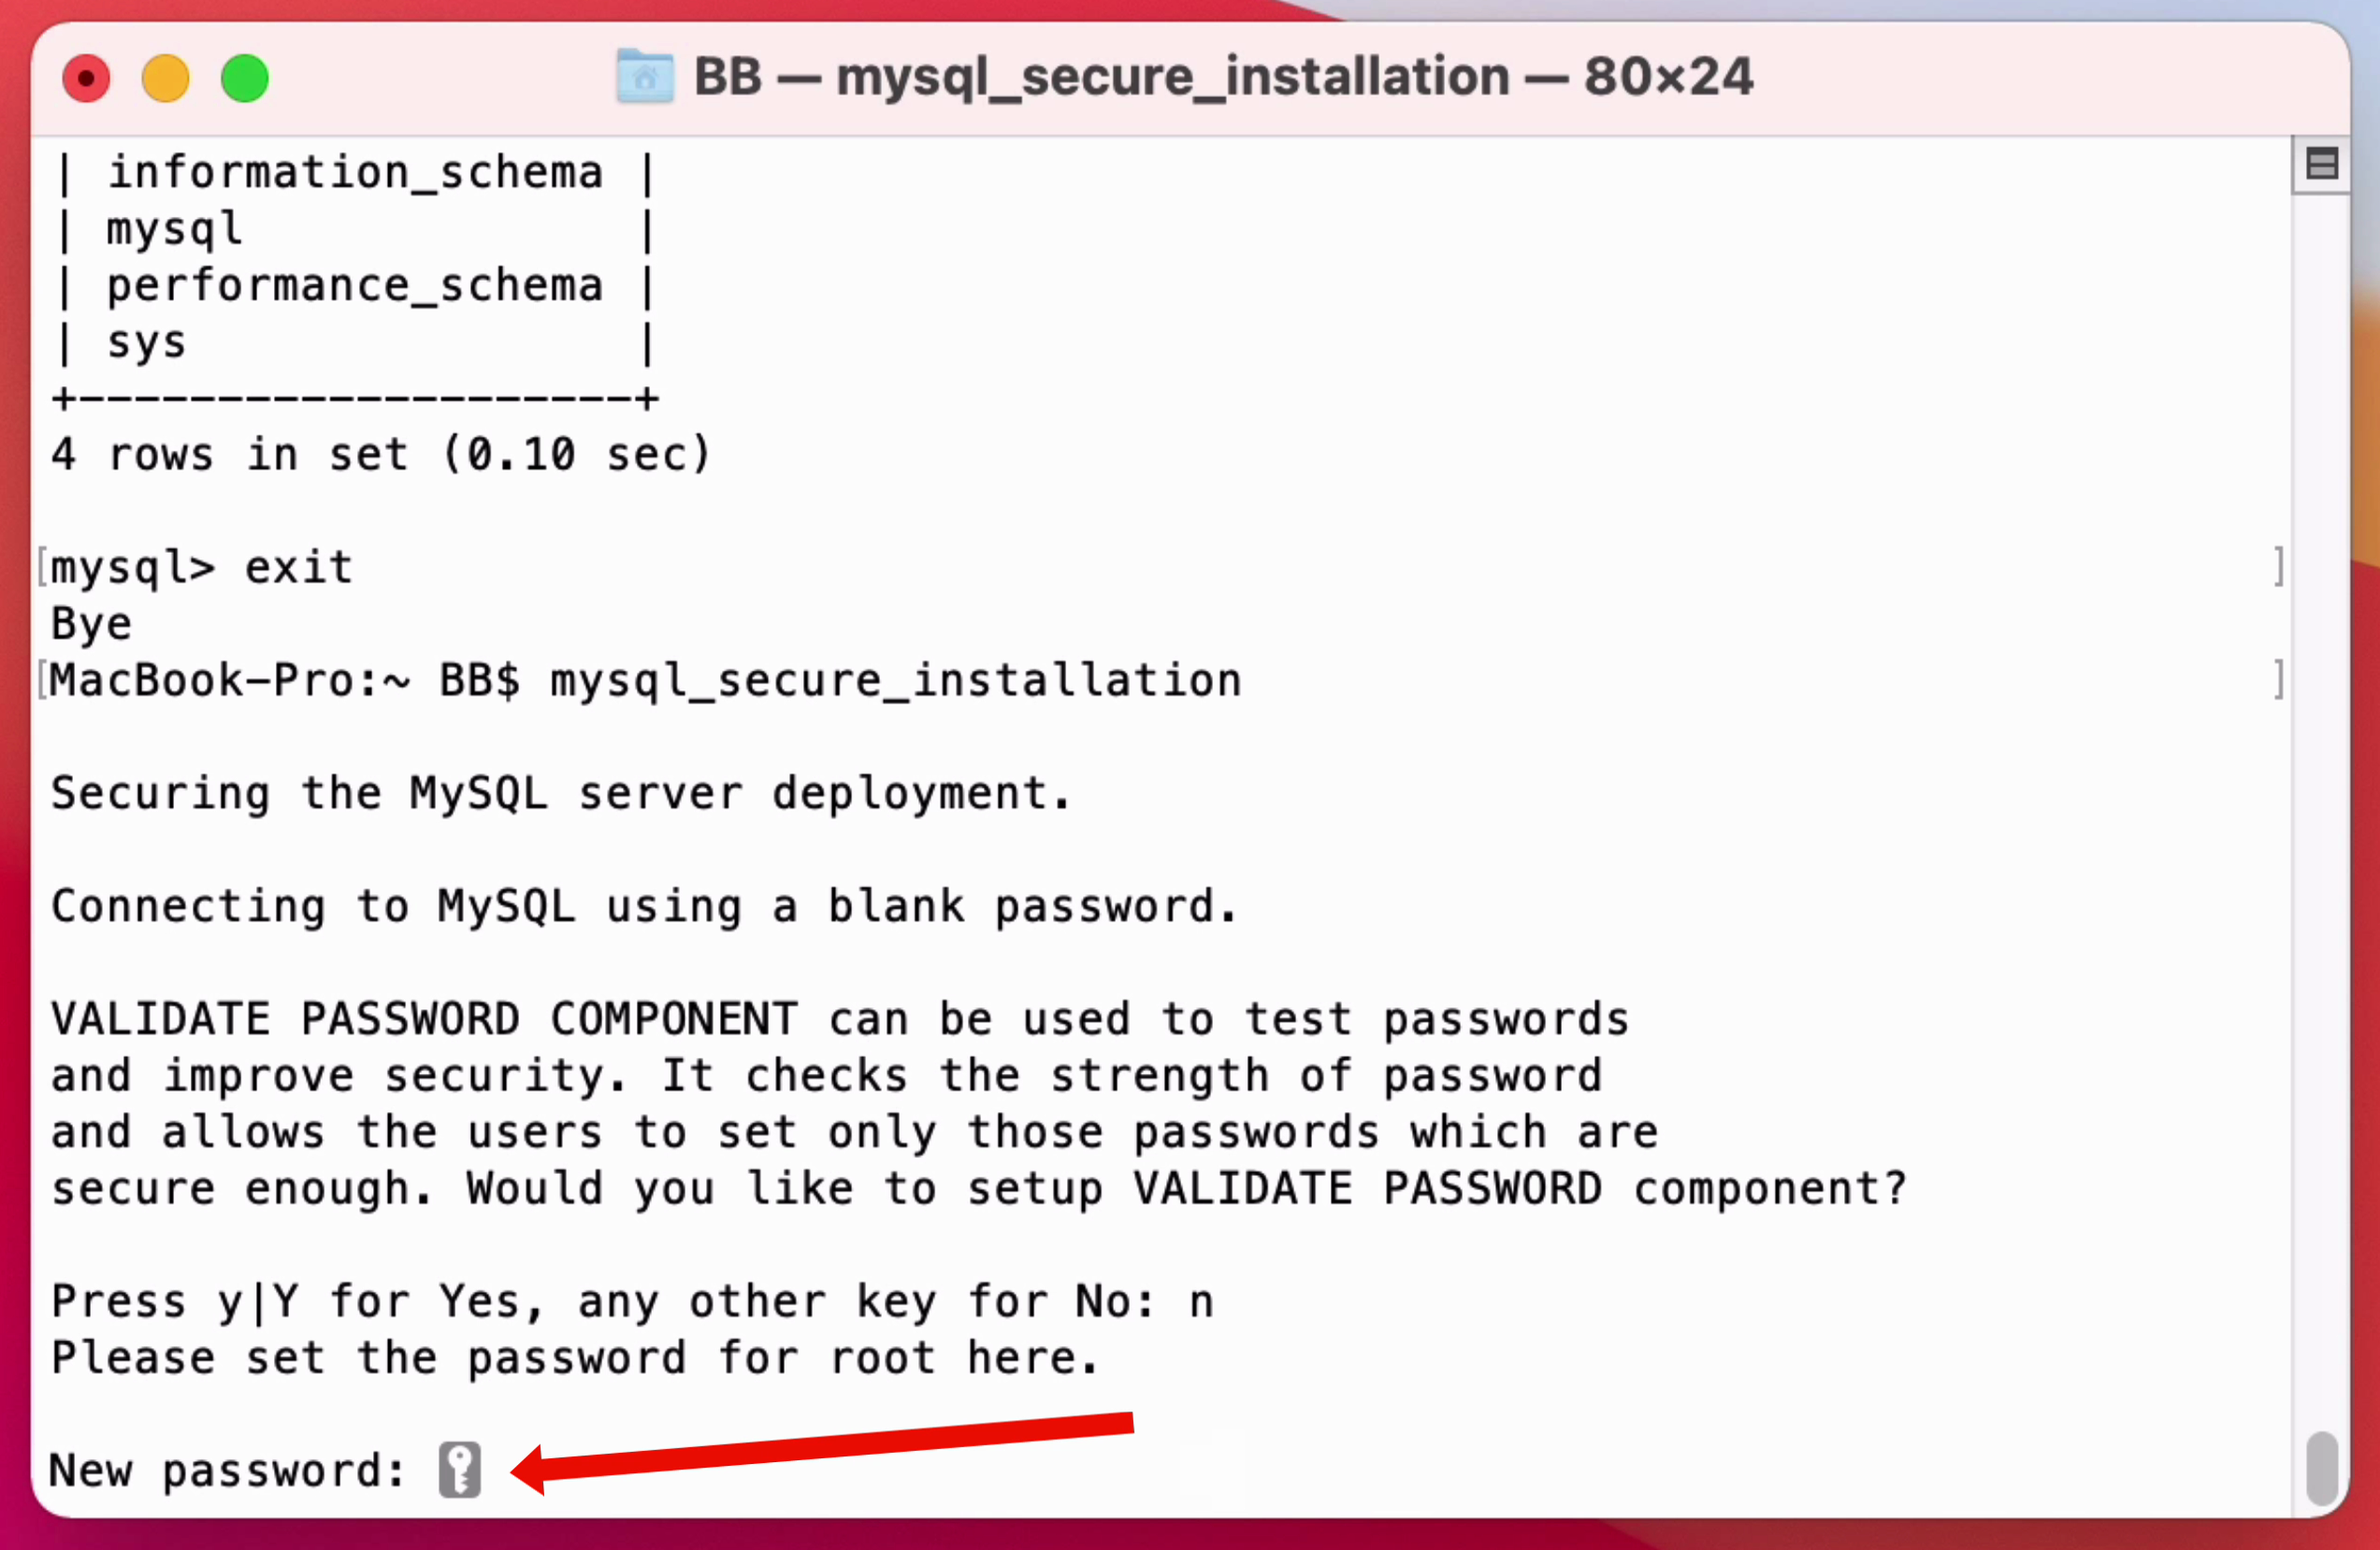
Secure the Installation
So, we’ve logged into MySQL using the root account, but there is no password. This was also mentioned when we ran the "brew info mysql" command earlier.
We can run this mysql_secure_installation command to set a password for the root account. We don’t have to, if you’re just running this on your own computer, but it’s a good idea to make it more secure.
Run the command like this.
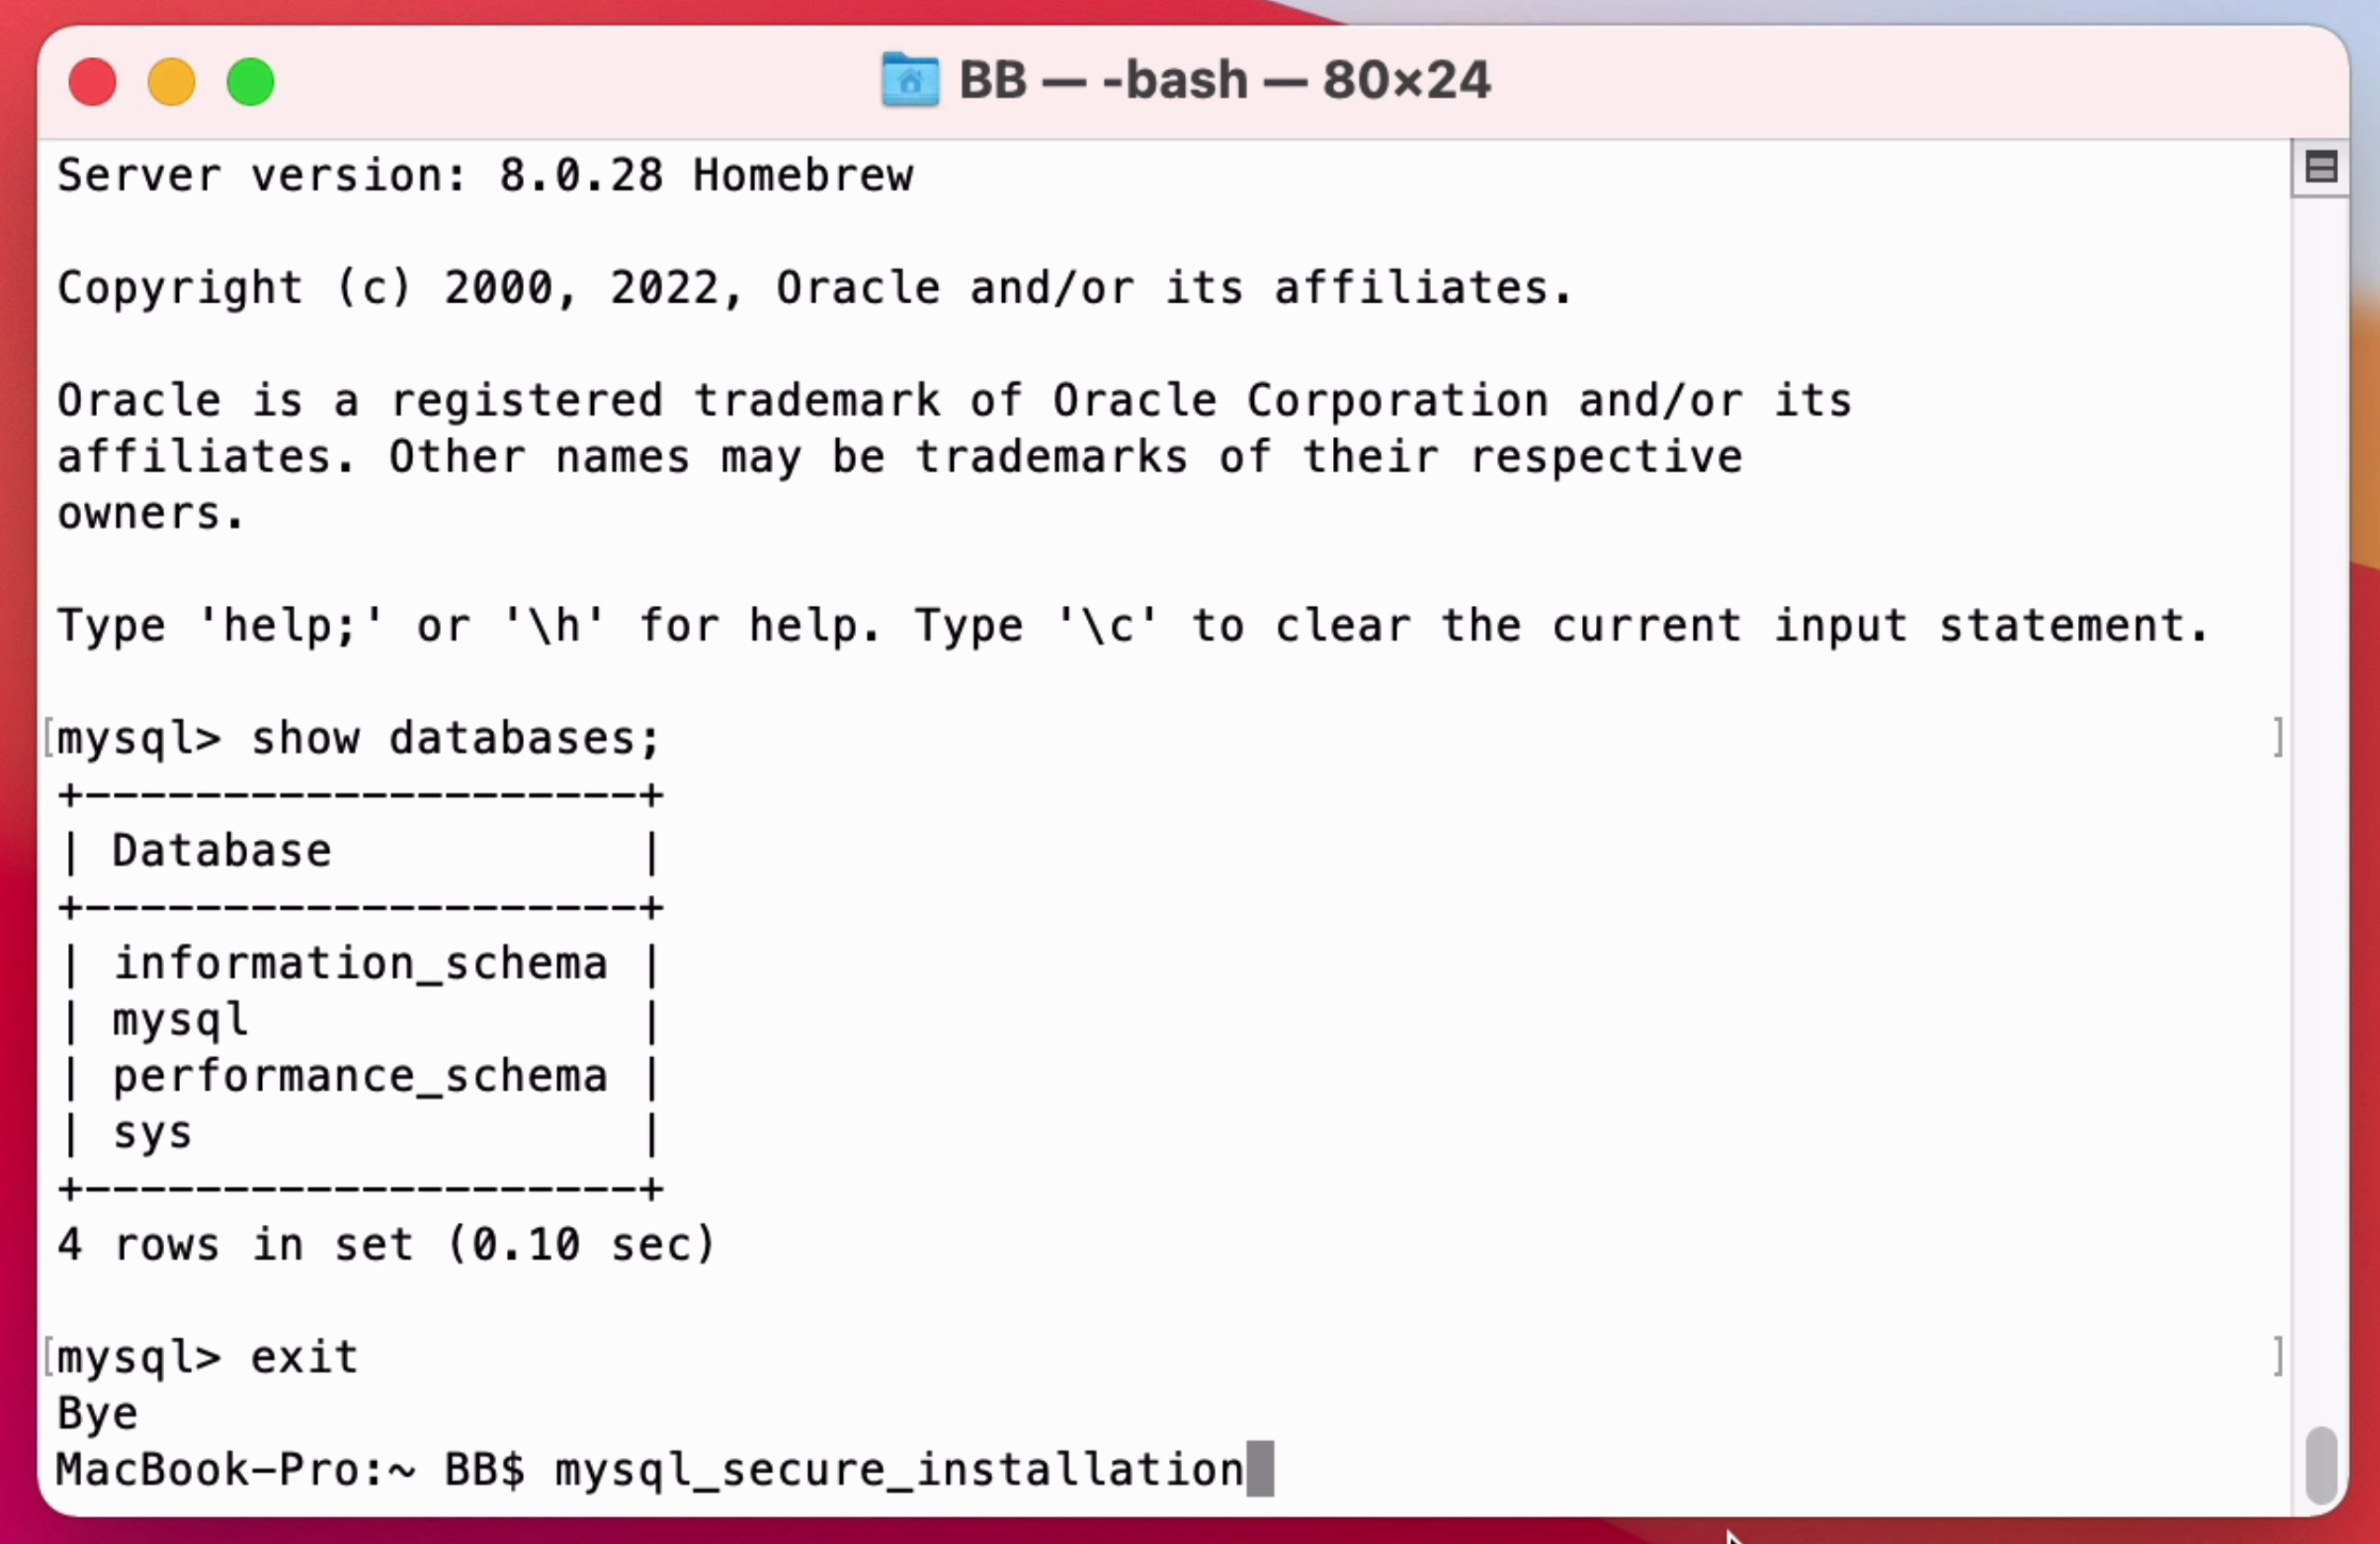
You’ll be prompted for a few settings to change. Set a root password as part of this process.
Once this command is complete, you can connect to the database again. However, you’ll need to specify a password for the root account, because we just set one.
So, connect using this command:
1mysql -u root -p
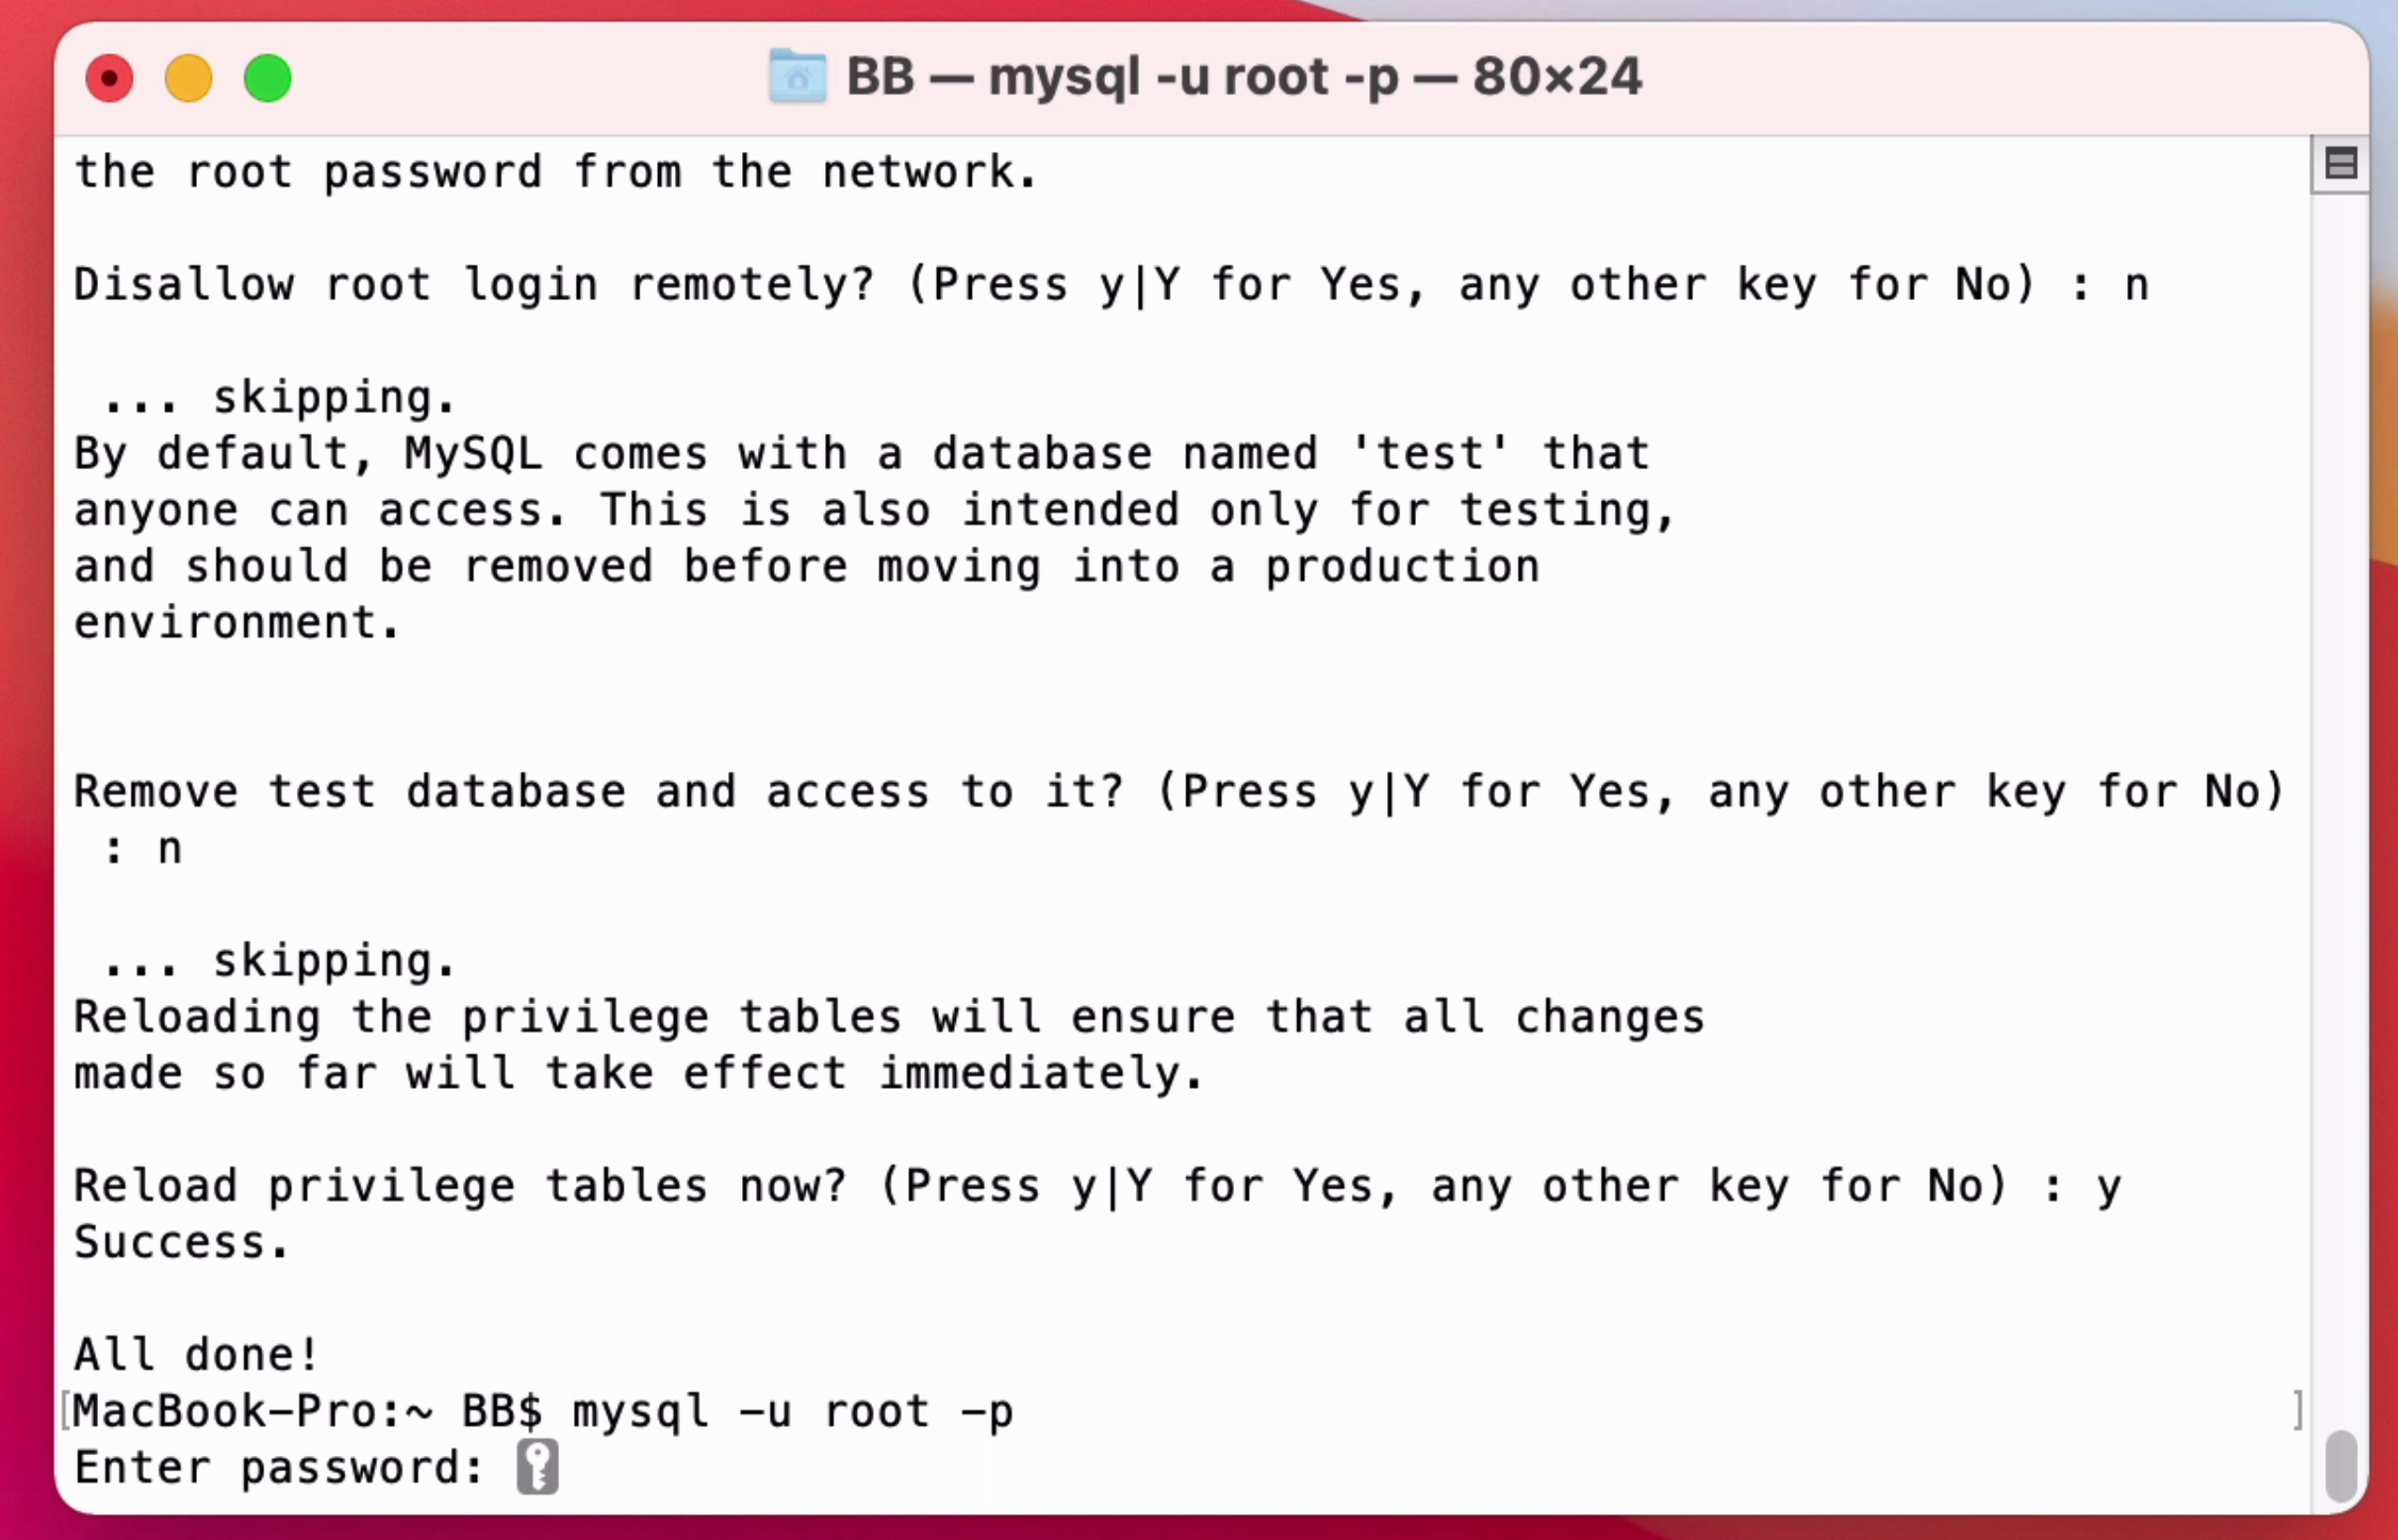
You’ll be prompted to enter a password, so enter the password you just provided and press Enter.
You’ll be taken to the MySQL prompt. Your login was successful! Type the exit command to exit.
Now that you have Homebrew and MySQL installed, you can start writing SQL on the database.
To help remember all of the SQL commands you can use for MySQL, get the MySQL Cheat Sheet here: