How to Create a Simple ERD in MySQL Workbench
In this post you'll learn:
- how to create a new Entity Relationship Diagram in MySQL Workbench
- what a model is and how it relates to an ERD or EERD.
- how to add tables and columns
- how to relate the tables together
Let's get started.

Create a New ERD
In MySQL Workbench, you can create a type of file called a "model". Within a model, you can create one or more Entity Relationship Diagrams.
First, we'll need to create a Model. To do this, go to File > New Model.
A new tab is shown at the top of the window called "MySQL Model".

To create a new ERD within the model, double-click on the "Add Diagram" button at the top of the panel.
A new tab is opened, called "EER Diagram". In MySQL Workbench, they are called EER Diagrams, where EER stands for Enhanced Entity Relationship.
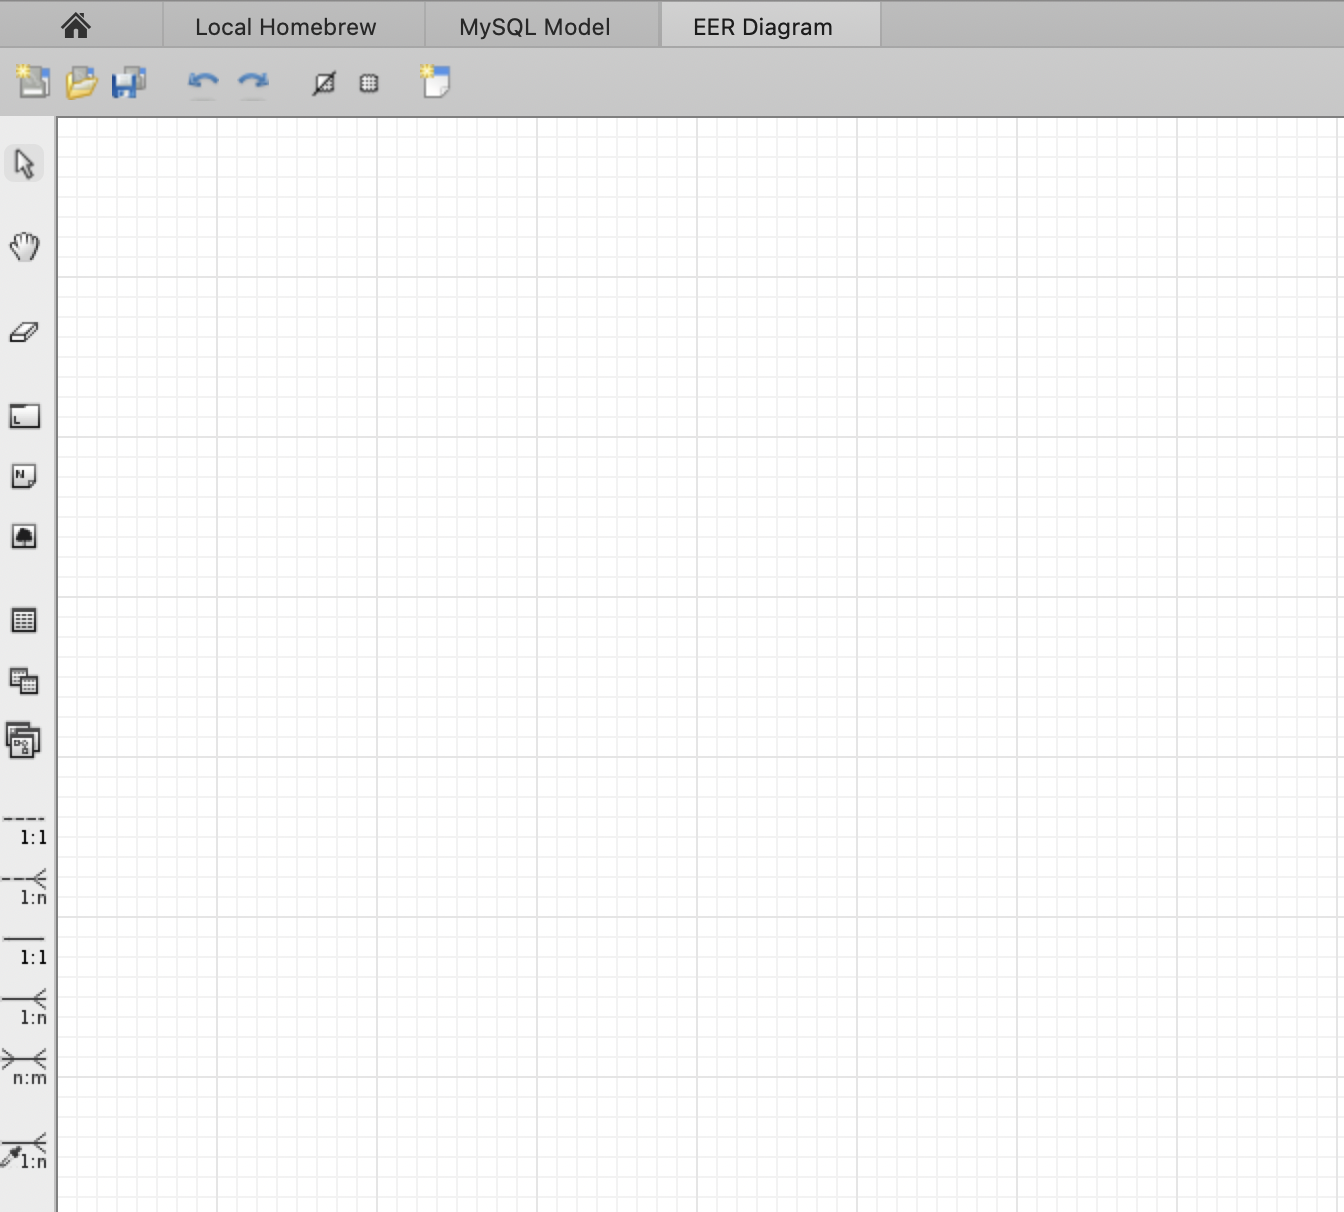
Add a Table
On the EER Diagram page, you've got a range of buttons on the top toolbar for saving and opening diagrams. A toolbar on the left shows a range of tools for adding things to your diagram.
We want to add a table to the diagram. Click on the button called "Place a New Table", which is about halfway down the left toolbar. Or, you can press "T" as a keyboard shortcut.
The cursor will change. Click anywhere on the diagram and a new table will be added.

It's called "table1" by default.
Next, you'll probably want to rename the table and add columns.
To do this, double-click on the table.
A large panel will open at the bottom of the screen.
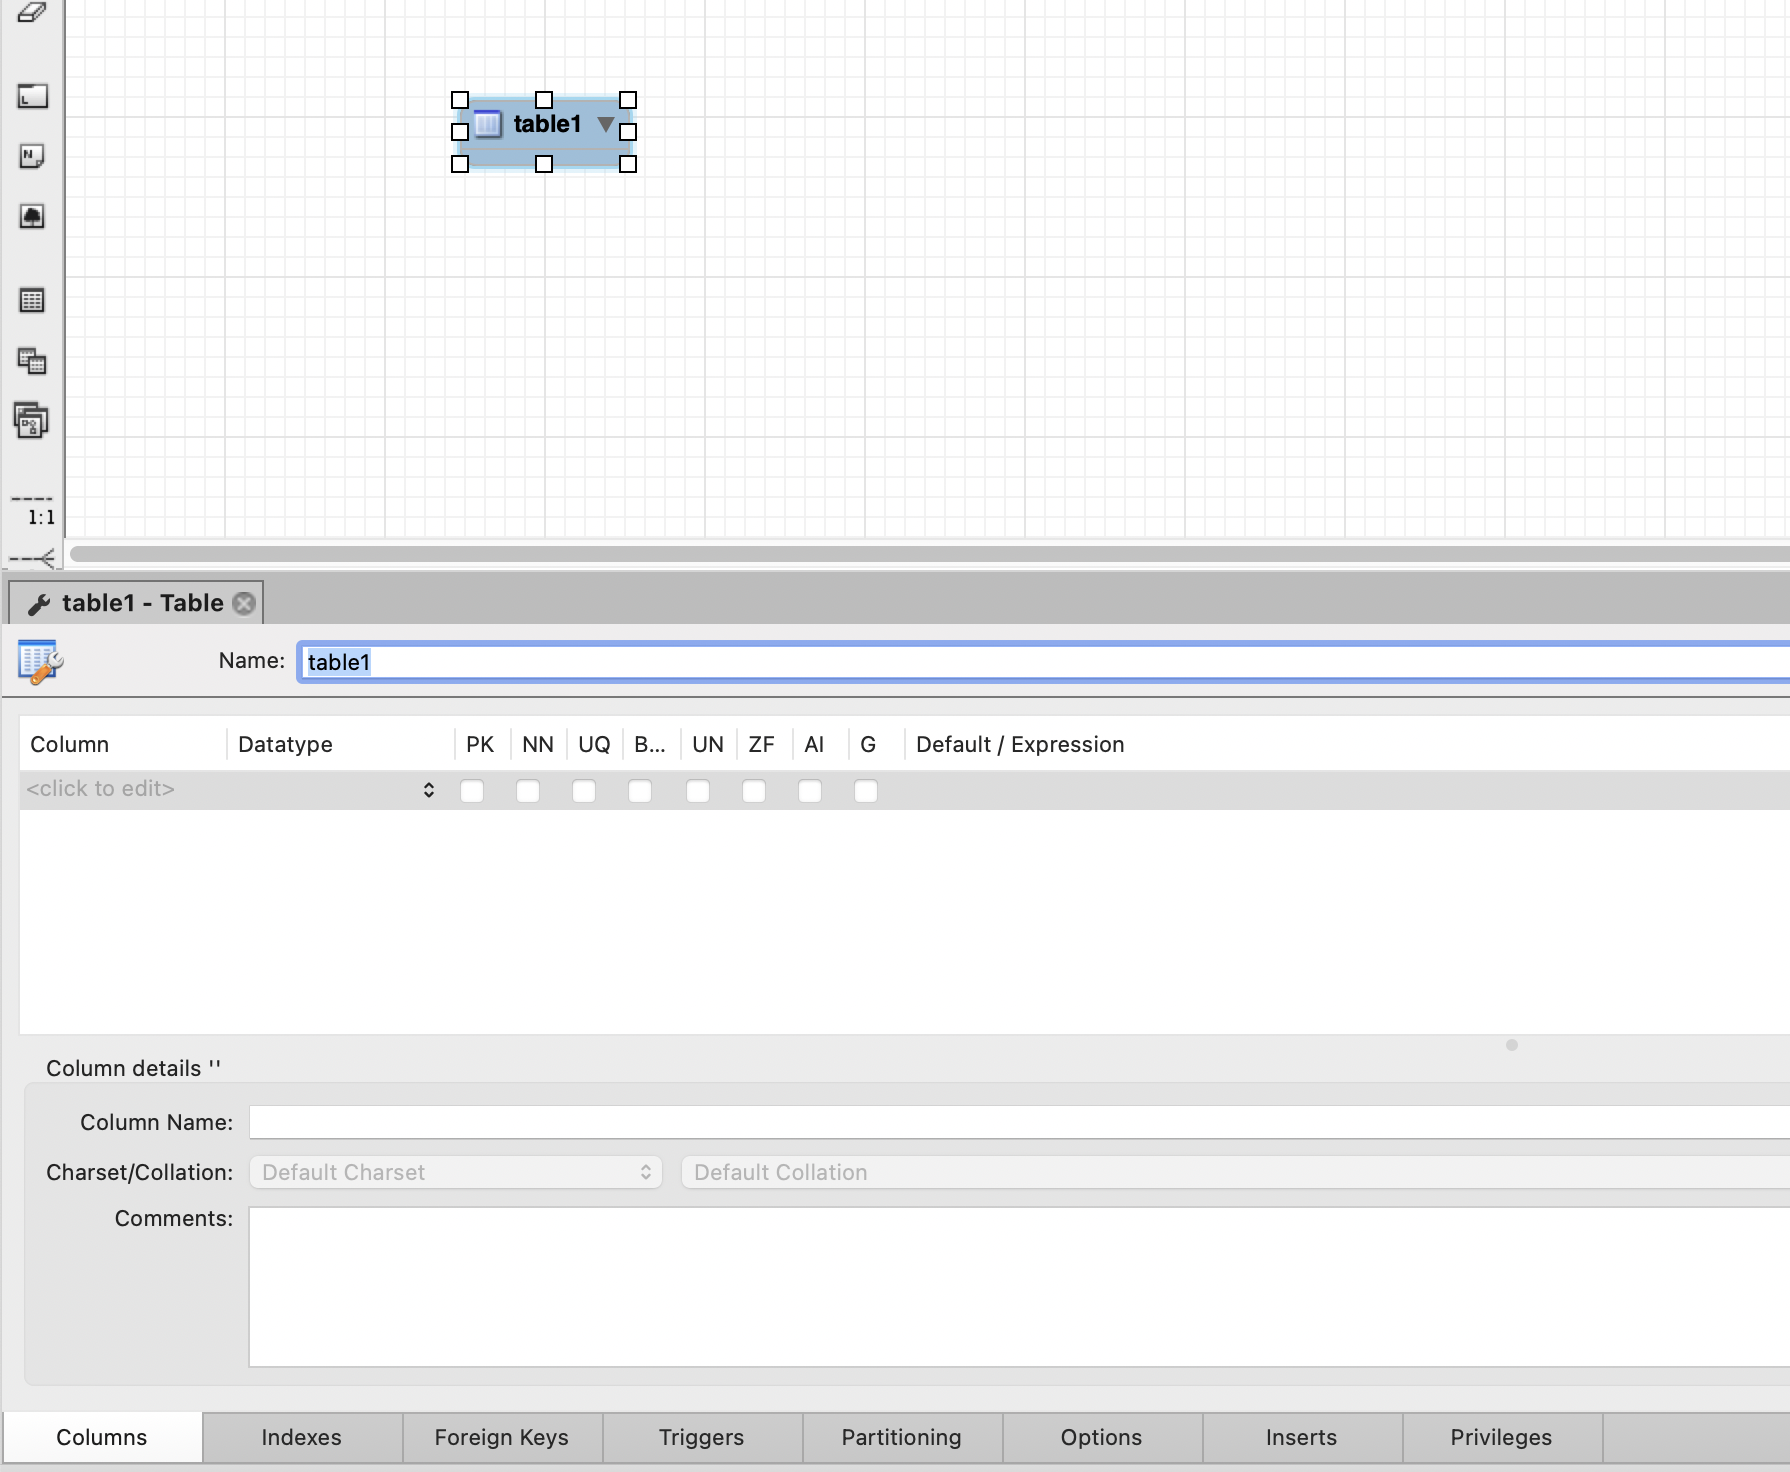
In this panel, you can rename the table.
You can also add columns. When you add the first column, it defaults to the primary key. You can change this if you like.
You can add multiple columns, and specify data types, constraints, and more for each column.
Here's an example of a table with some columns:
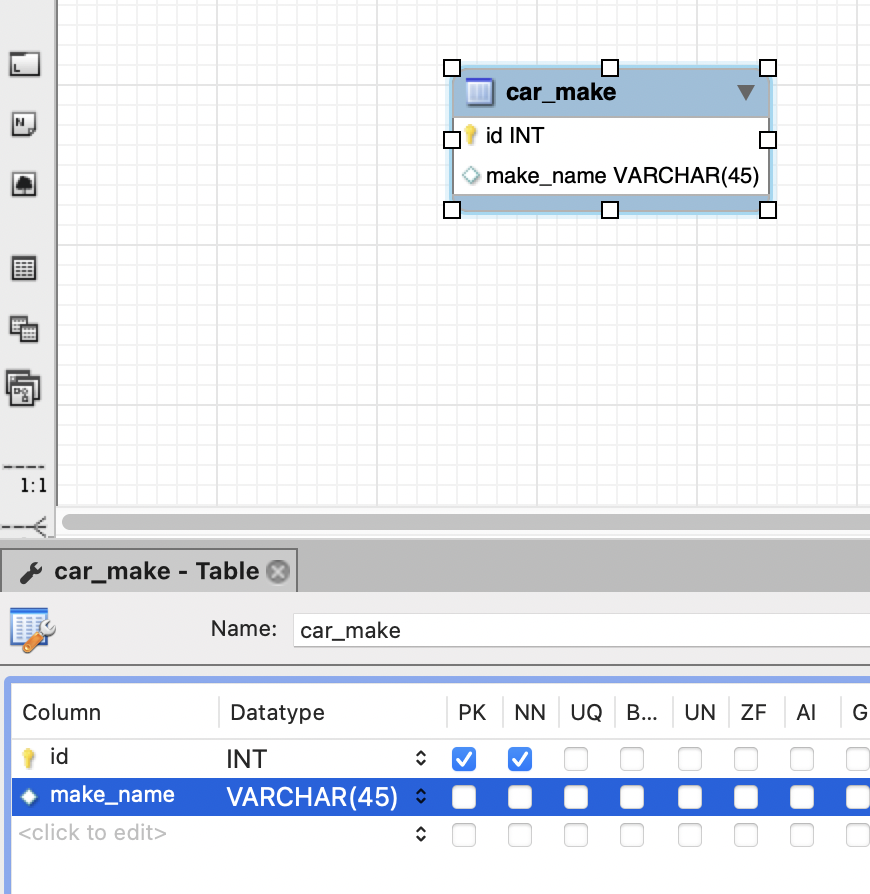
Keep making adjustments to the table until you're happy with the columns.
Relate a Second Table
Your ERD will likely need more than one table.
To add a second table, follow the same steps as adding the first table: click on the "Place a New Table" button and click anywhere on the diagram.
You can then double-click on the table to rename the table and add columns in the same way.
Here's an example of adding a second table.
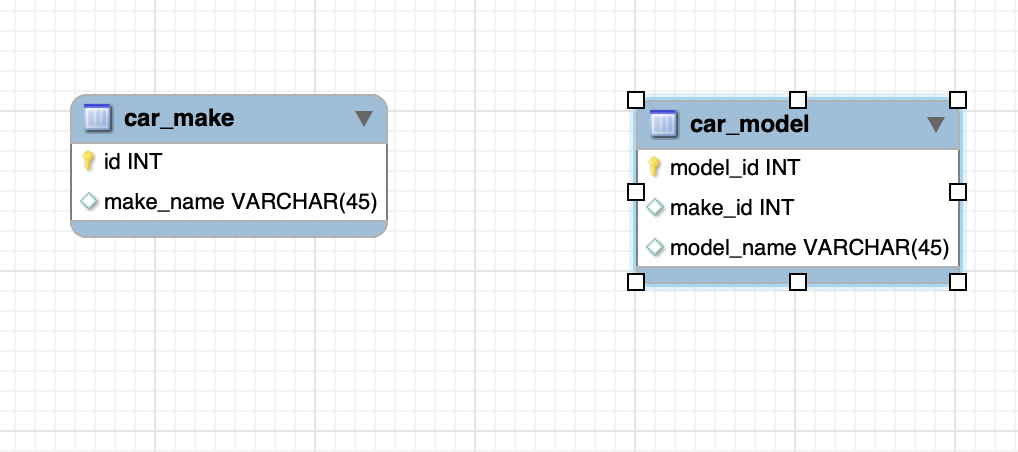
How can you relate these two tables together?
You can do this by adding a foreign key to the table and specifying the table and column it relates to. The diagram will be updated to show this automatically.
In the table that you want to add a foreign key to, double-click on it to open the panel.
Open the Foreign Key tab at the bottom of the screen.
Enter the name of the new foreign key you want to create.
In this example, I've called it fk_model_make.
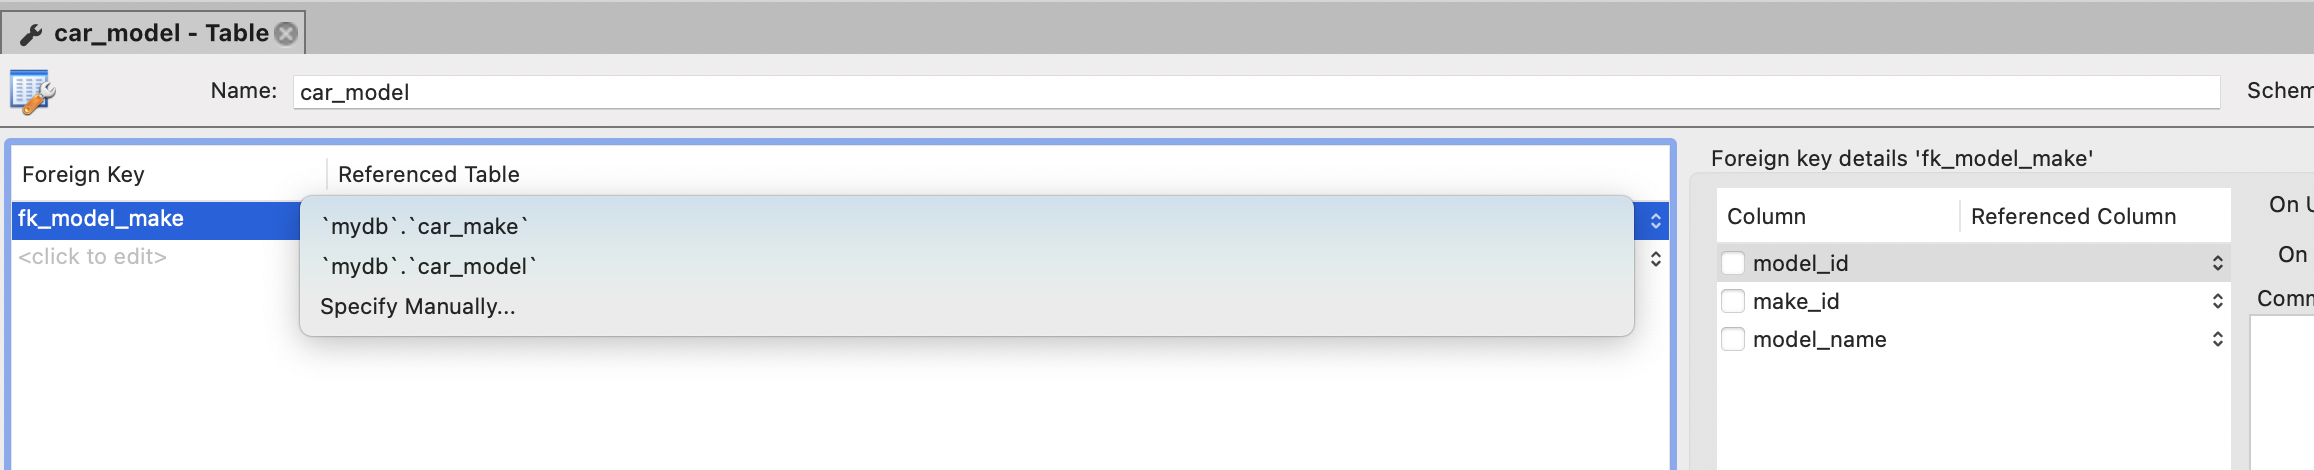
Then, select the table you want to relate this to.
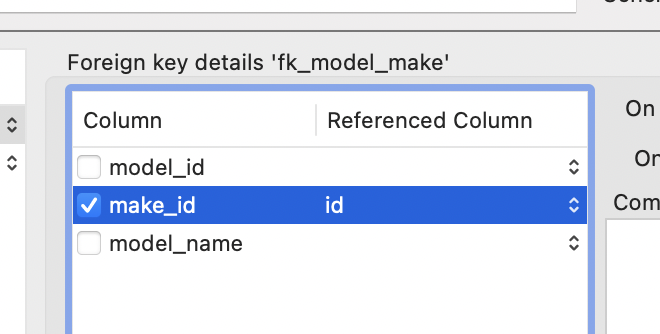
Once you've selected the table, you can then select the two columns that are related in the "Foreign key details" section to the right.
In this example, I've specified that the make_id in this table is related to the id column in the make table.
Once you do this, the diagram will be updated to show a dotted line between the two columns in each table.
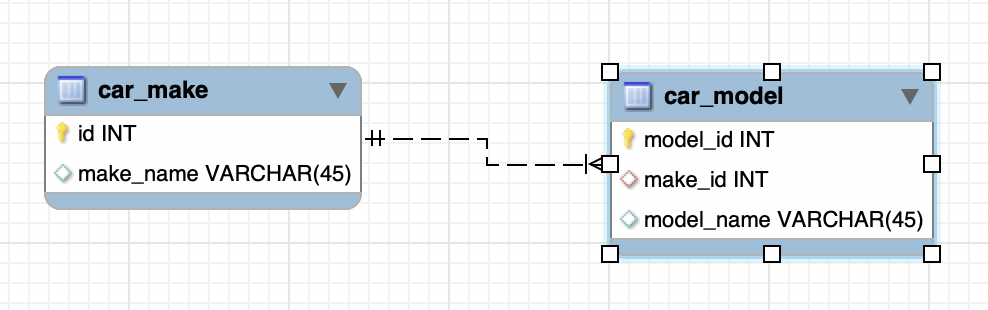
You've now added two tables to your diagram. You can repeat this process to add as many tables as you need.
Save the ERD File
At some point when creating your diagram and model, you'll want to save it.
To save your changes, go to File > Save Model.
The Save dialog box is shown. Select the location where you want to save your file and a filename. This model file is saved as a .mwb file.
Once you click Save, the file is saved, and the name appears at the top of the screen.
Conclusion
You've learned how to successfully create a simple ER diagram in MySQL Workbench, with a couple of tables, and save the file to your computer.
There is a lot more you can do with this functionality in MySQL Workbench, but this guide will get you started with the basics.