How to Create a User in Oracle (With Privileges)
Oracle databases come with a couple of built-in users: SYS and SYSTEM.
These are administrative-level users and are quite powerful.
You'll probably want to create your own users so you can better manage access and have your own tables and data.
In this article, I'll show you how to do that. By the end of the article, you'll have a new user with a table and some data in it.

The steps in this article go through the process of trying different things, and explaining issues along the way.
If you just want the steps to create a new user, here's what to do:
- Login as an admin user (such as SYS or SYSTEM)
- Create a new user with a password
- Grant it the Create Session, Create Table, Unlimited Tablespace privileges.
Let's get into it.
Connect as SYS or SYSTEM
The first thing to do is to connect to your database as either the SYS or SYSTEM user. Both of these users have admin privileges and can create other users for you.
For this example, I've got an Oracle database set up using Docker, but you can use any method you have to access a database:
- Oracle Express on Windows (guide)
- Oracle Database on Windows
- Oracle Database in a Virtual Machine on Windows or Mac (guide)
- Oracle Database in the cloud on Windows or Mac (guide)
Step 1: Connect to your database as SYS or SYSTEM.
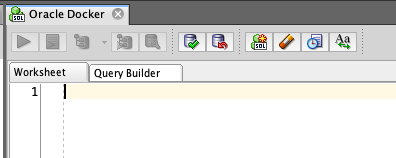
If you're using SQL Developer you should have a new tab open with this connection.
Step 2: Create a new user with the Create User command.
The command to create a new user is Create User.
The syntax looks like this:
1CREATE USER username IDENTIFIED BY password;
You substitute the username with the username you want to create, and password with the password for this new user.
For example, to create a new user called james with a password of somepassword:
1CREATE USER james IDENTIFIED BY somepassword;
The password can contain letters, numbers, and most special characters.
Note: If the password contains special characters, enclose the password in double quotes. This will ensure the command runs correctly.
1CREATE USER james IDENTIFIED BY "some!password#";
Let's say we've run the command to create the user with the password "somepassword". You should see this output:
1User JAMES created.
Connect as New User
We can try to connect as this new user.
Step 3: Connect as the new user (in SQL Developer or command line).
If you're using SQL*Plus or sqlcl you can connect using the "conn" command:
1conn james/somepassword
In this article, I'm using SQL Developer, so I'll create a new connection with the username and password.
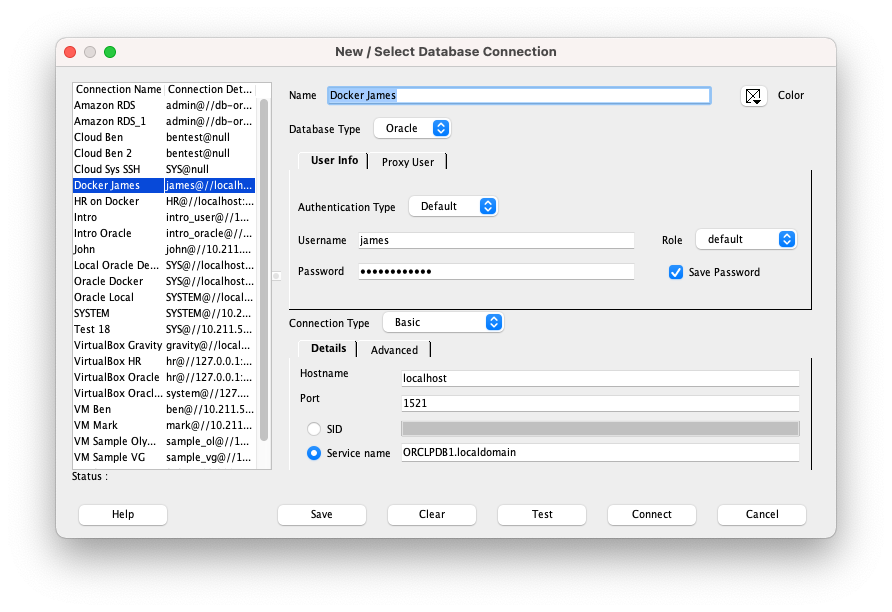
Note: the connection details here are specific to running the database on Docker, so yours may be different.
When I test the connection, I get an error message:
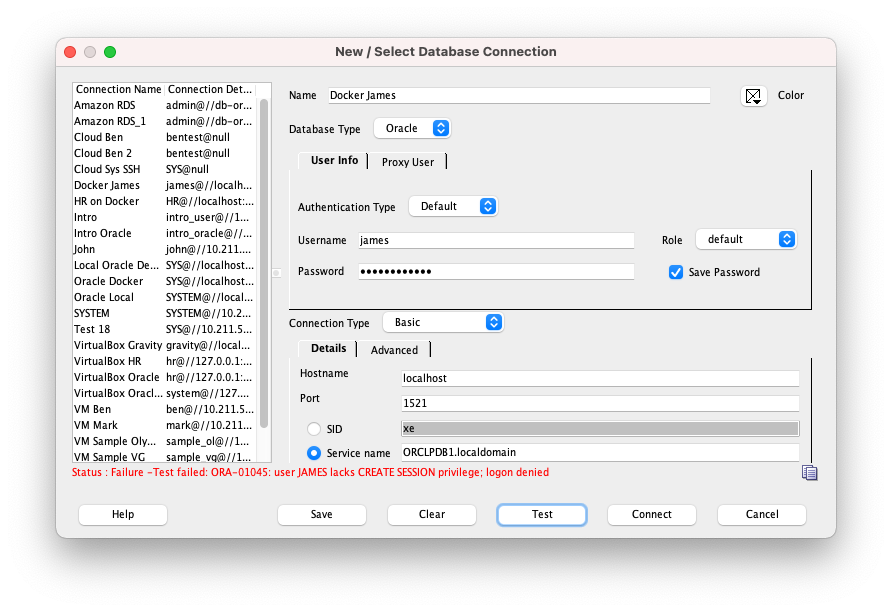
Status: Failure -Test failed: ORA-01045: user JAMES lacks CREATE SESSION privilege; logon denied
This error happens because the new user does not have permissions. New users don't have the ability to login by default.
This is easily changed though!
Grant Privileges
Step 4: Connect as System User Again
We need to go back to the SYSTEM (or SYS) user again to grant permissions. So, connect as that user, like you did in step 1.
Step 5: Grant privileges to new user
In order for our new user to connect to the database, it needs the CREATE SESSION privilege.
This can be done in one of two ways:
- Granting the CONNECT role to the user
- Granting the CREATE SESSION privilege to the user
A role is a collection of privileges that can be allocated to a user. I'll write a more detailed guide on this concept soon, but for our purposes, either of these steps will work.
Note: The CONNECT role used to contain a range of privileges, such as Create Session and Create a bunch of other objects, but as of Oracle 10g R2, the CONNECT role only contains Create Session.
So, run either of these commands:
1GRANT CONNECT TO james;
Or, to allocate the Create Session directly:
1GRANT CREATE SESSION TO james;
Let's run the command. You should see this output:
1Grant succeeded.
What's next?
Connect as New User Again
Step 6: Connect as new user again
Now we have the right privileges, we can try to connect again.
Open your new connection in SQL Developer and test it, or connect with it. You should be able to connect successfully and see a new tab opened.
Step 7: Create a new table
Now we've connected to the database as the new user, let's try creating a table and adding some data to it.
Run this command to create a simple table:
1CREATE TABLE newtable (
2  testvalue NUMBER(4)
3);
When you try to run it, you'll get this error:
1Error starting at line : 1 in command - CREATE TABLE newtable ( testvalue NUMBER(4) ) Error report - ORA-01031: insufficient privileges 01031 00000 - "insufficient privileges" \*Cause: An attempt was made to perform a database operation without the necessary privileges. \*Action: Ask your database administrator or designated security administrator to grant you the necessary privileges
How can we fix this?
We can go back to the SYSTEM or SYS user and grant more privileges.
Grant Table Privileges
Step 8: Connect as SYSTEM or SYS user.
Once again, connect to the SYSTEM or SYS user.
You don't have to connect to the user multiple times like we have in this article. You can create the user and grant all the privileges at once. But we're just demonstrating the process and the reason for each step in this guide.
Step 9: Grant table privileges.
We need to grant a couple of privileges to the new user:
- Create Table, in order for us to create a table
- Unlimited Tablespace, so the table has somewhere to be stored
We can do that with these commands:
1GRANT CREATE TABLE TO james;
2GRANT UNLIMITED TABLESPACE TO james;
Or, we can combine the granting of multiple privileges into a single statement:
1GRANT CREATE TABLE, UNLIMITED TABLESPACE TO james;
Run either of these commands and your new user should have these new privileges. You should see this output:
1Grant succeeded.
Create Table as New User
Now let's return to the new user and try to create and populate a new table.
Step 10: Connect as new user
Once you've connected as the new user, we can try creating the table again.
Step 11: Create the new table
We'll create a simple table using the same command as earlier.
1CREATE TABLE newtable (
2  testvalue NUMBER(4)
3);
The output should be:
1Table NEWTABLE created.
Step 12: Insert some data
Let's insert some data into the new table to test it.
1INSERT INTO newtable (testvalue)
2VALUES (1);
You should get the following output:
11 row inserted.
Step 13: Select from the table.
Now we've inserted into the table, we can try to select from it, just to make sure we have the right permissions.
1SELECT testvalue
2FROM newtable;
Here's the result:
| TESTVALUE |
|---|
| 1 |
Awesome! The new user can create tables, insert data, and run SELECT queries.
If you want more privileges for this user, such as creating views, or accessing other user's tables, you can grant them too.
Conclusion
So, that's how you create a new user in Oracle.
You run the Create User command. You then grant a couple of privileges in order to connect and create tables.
If you have any questions or issues with this process, let me know in the comments below.