How to Create a Simple ERD in pgAdmin
In this post you'll learn:
- how to create a new Entity Relationship Diagram in pgAdmin
- how to add tables and columns
- how to relate two tables together using a foreign key
Let's get started.

Create a New ERD
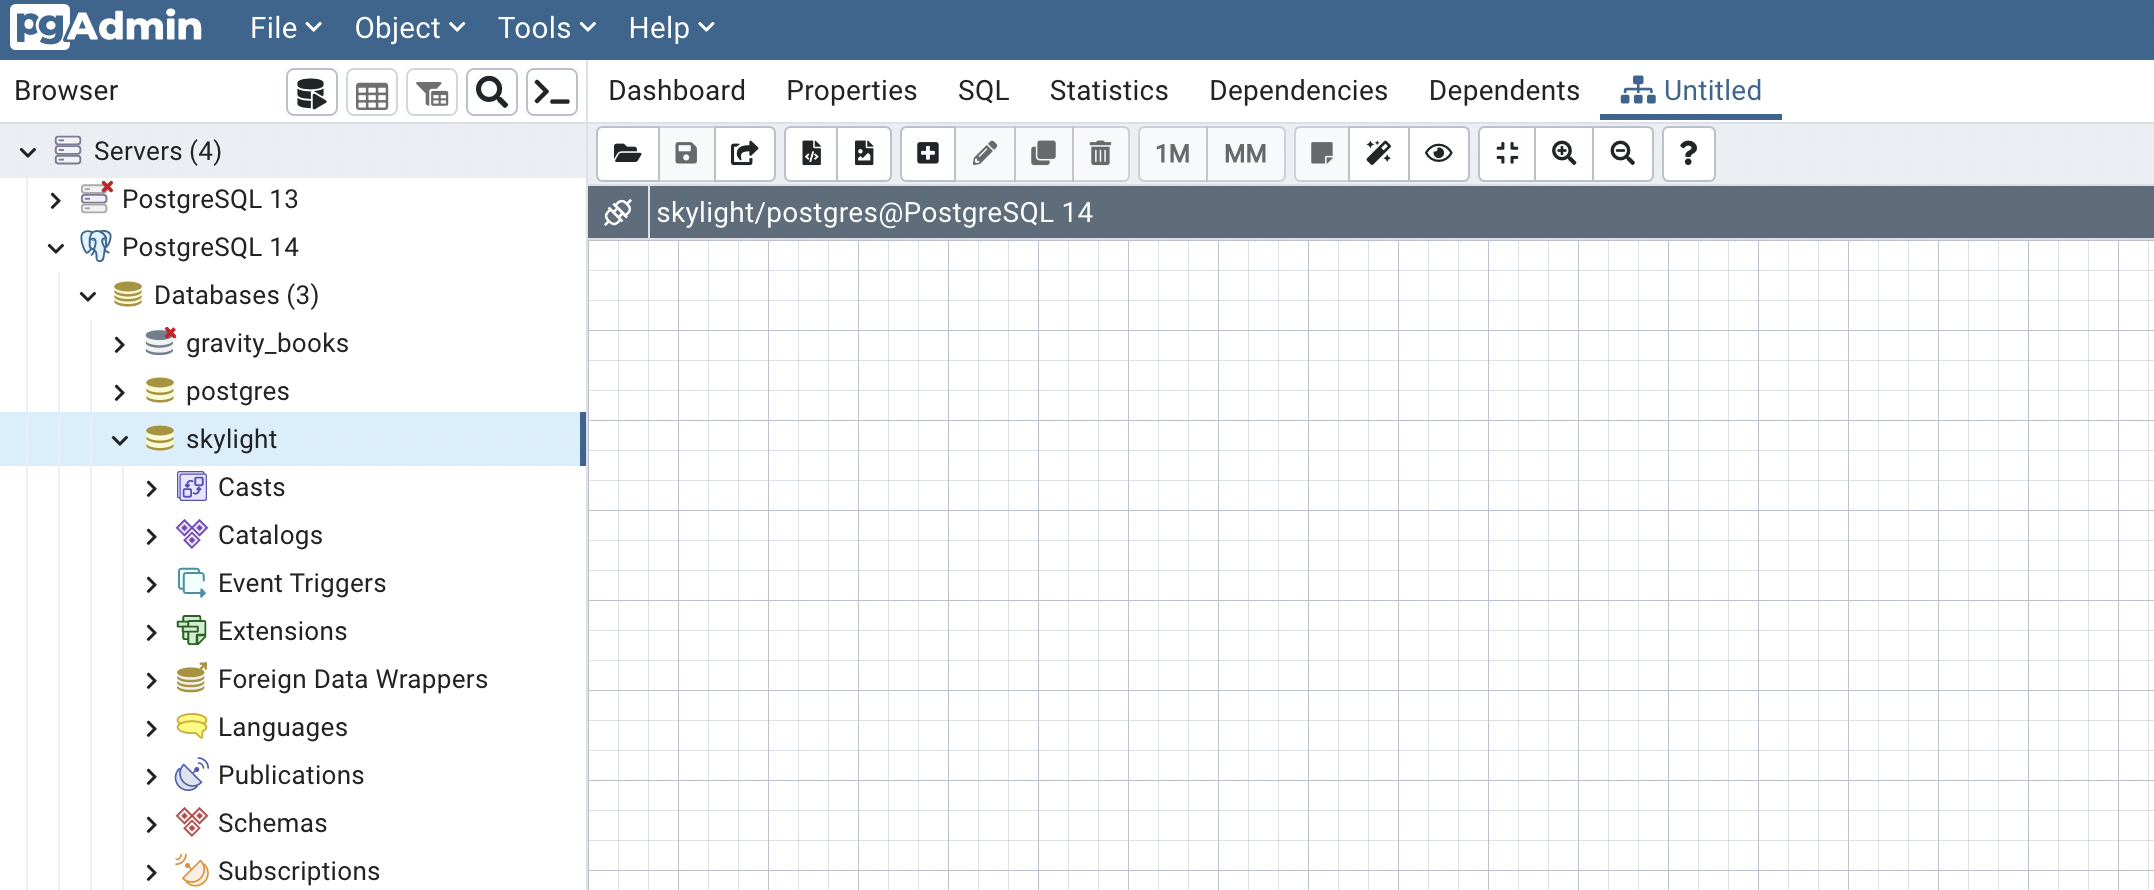
pgAdmin includes the ability to create Entity Relationship Diagrams.
To do this, start by connecting to a database.
Once you are connected, go to Tools > ERD Tool.
A new tab appears with an empty ERD.
Add a Table
Now that you have an empty diagram, the next step is to add a table.
Click on the Add Table button on the toolbar.
A window appears for you to add a new table.
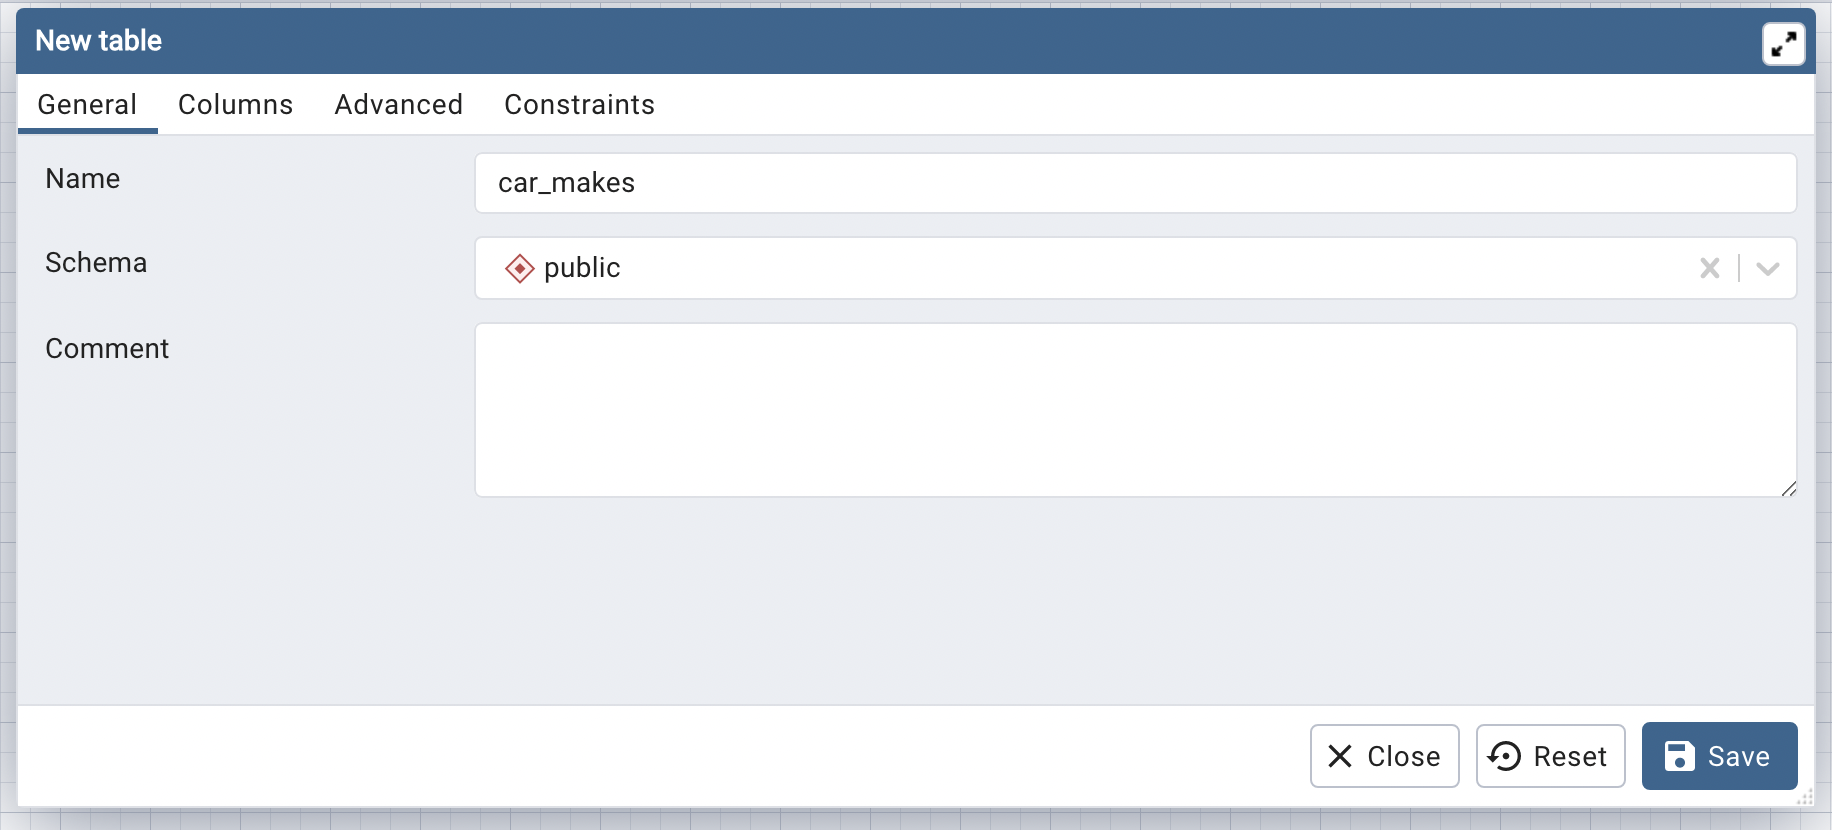
Add a name for the table. In the example above, I've named it car_makes.
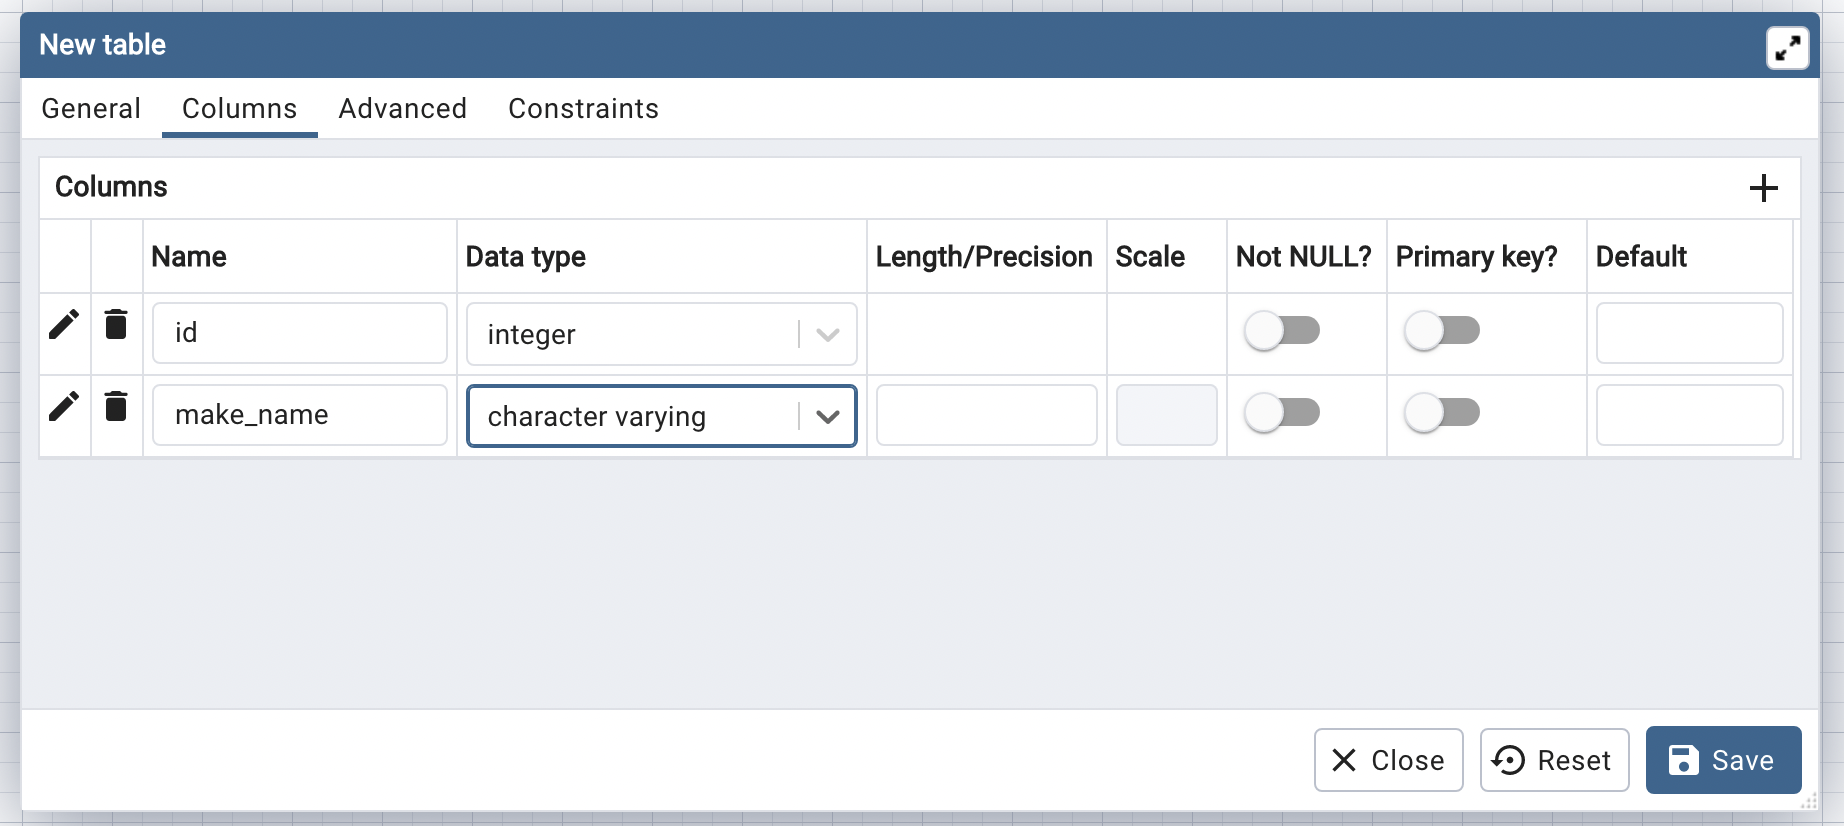
Click on the Columns tab to specify the columns to add to the table.
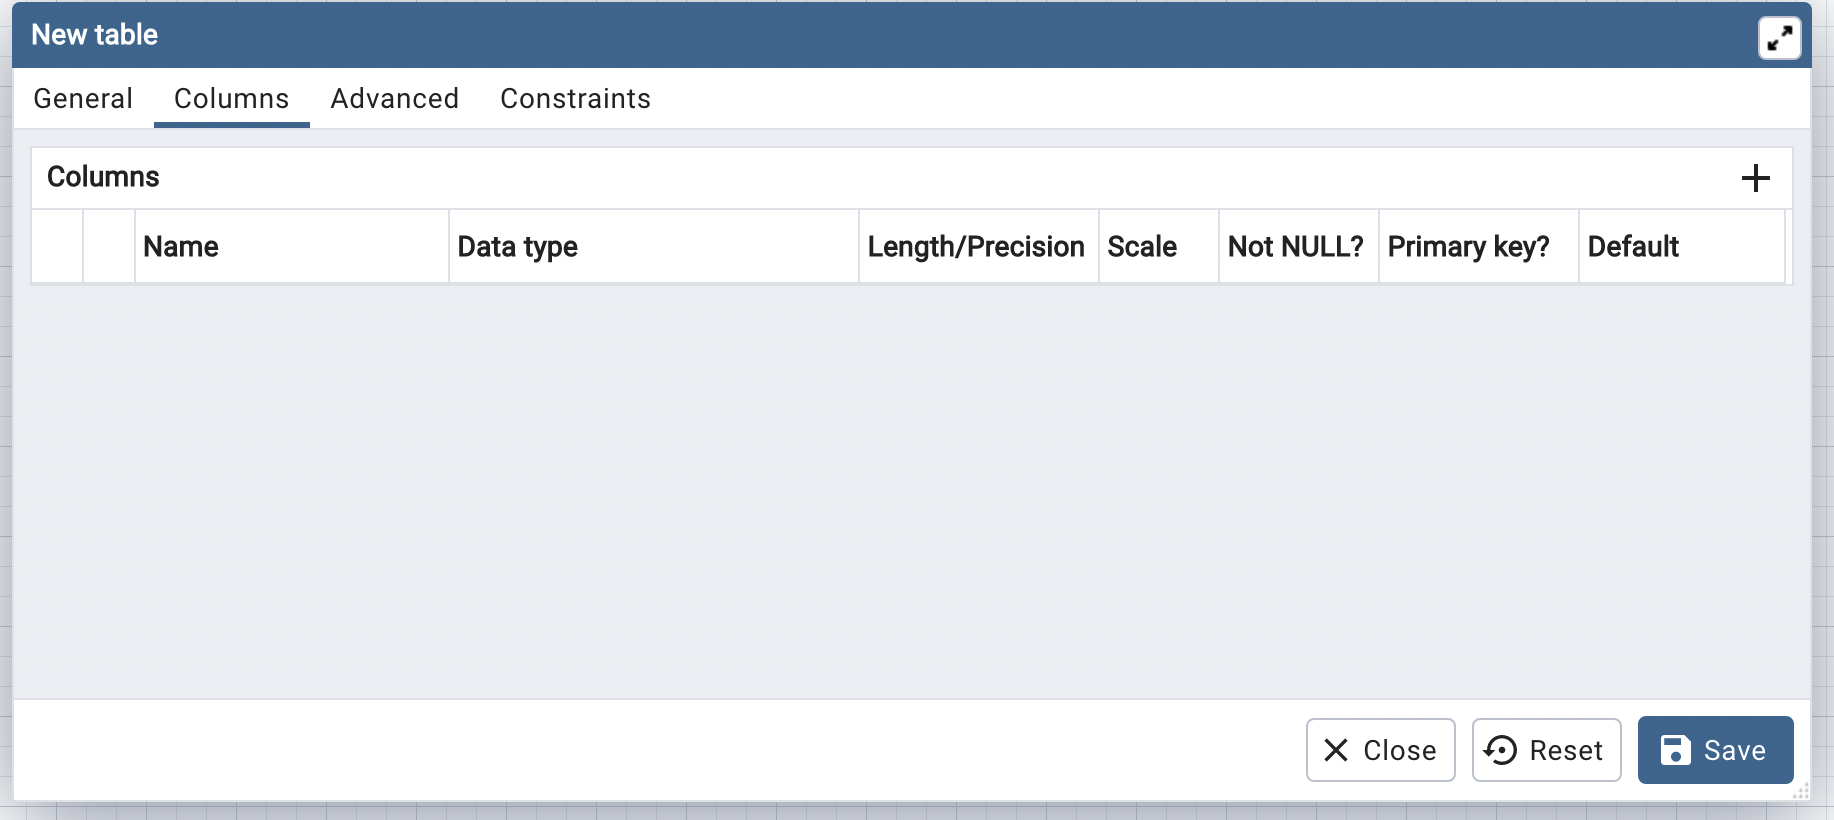
Add some columns to the table.
Once you've finished, click Save.
The window closes and you'll see the updated diagram with your newly added table.

Relate a Second Table
After you add one table, you'll probably want to add a second table and relate it to the first.
To add a second table, you follow the same process as adding the first table: click Add Table, enter a table name, enter columns, and save it.
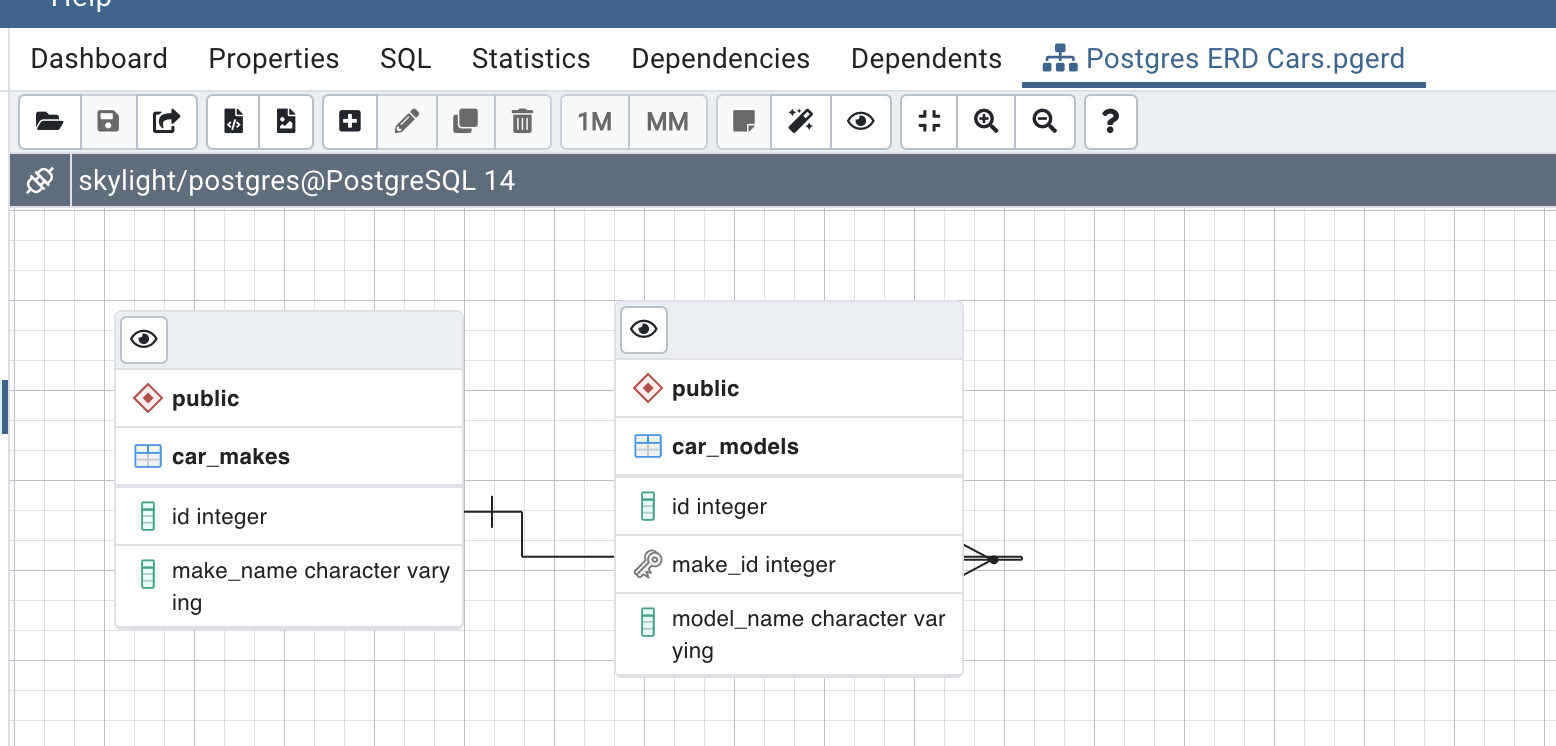
Here's what the diagram may look like with a second table:
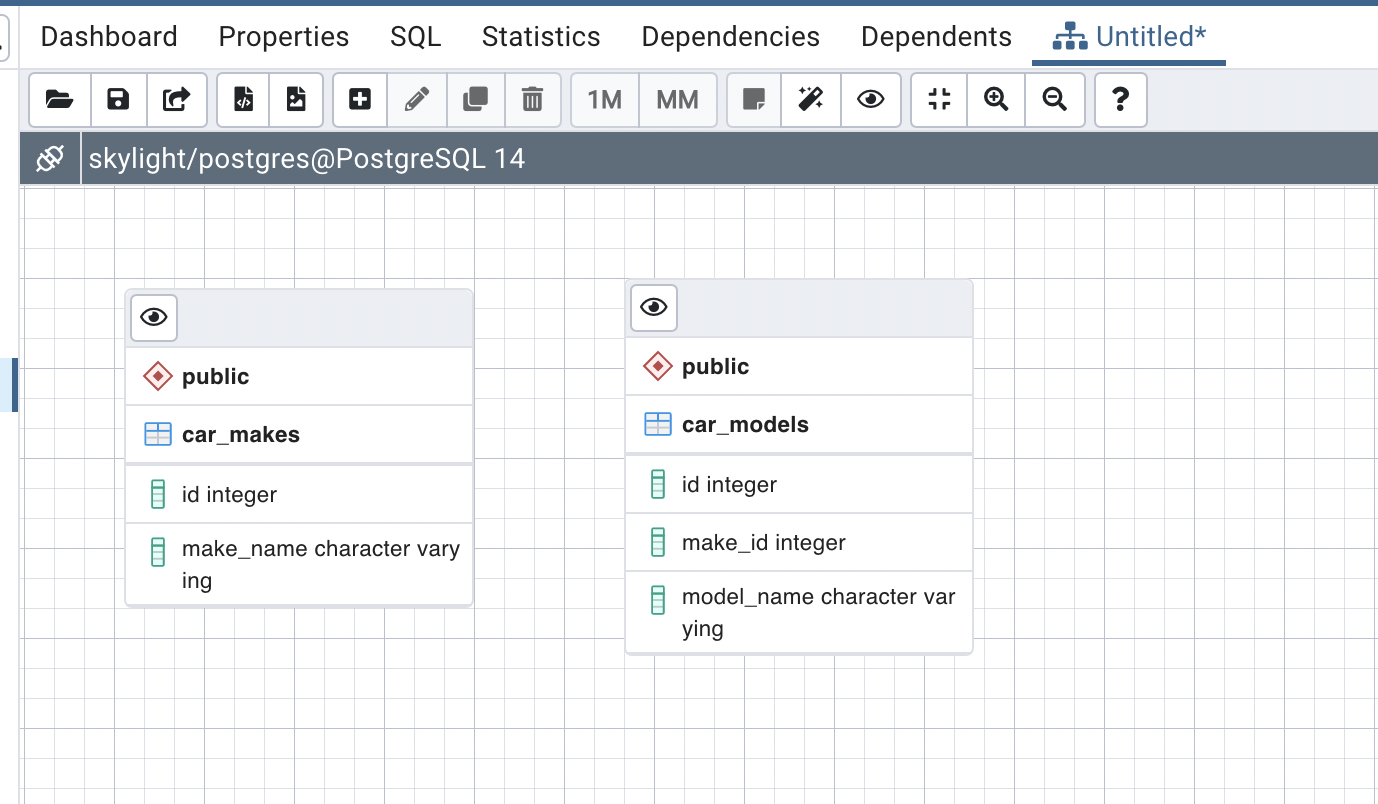
The new table may appear on top of the first table. If it does, you can drag it out of the way.
How can you relate the first table to the second table?
You can do this by adding a foreign key constraint to the table.
Open the car_models table by double-clicking on it. You'll see the table properties window.
Click on the Constraints tab, then Foreign Key.
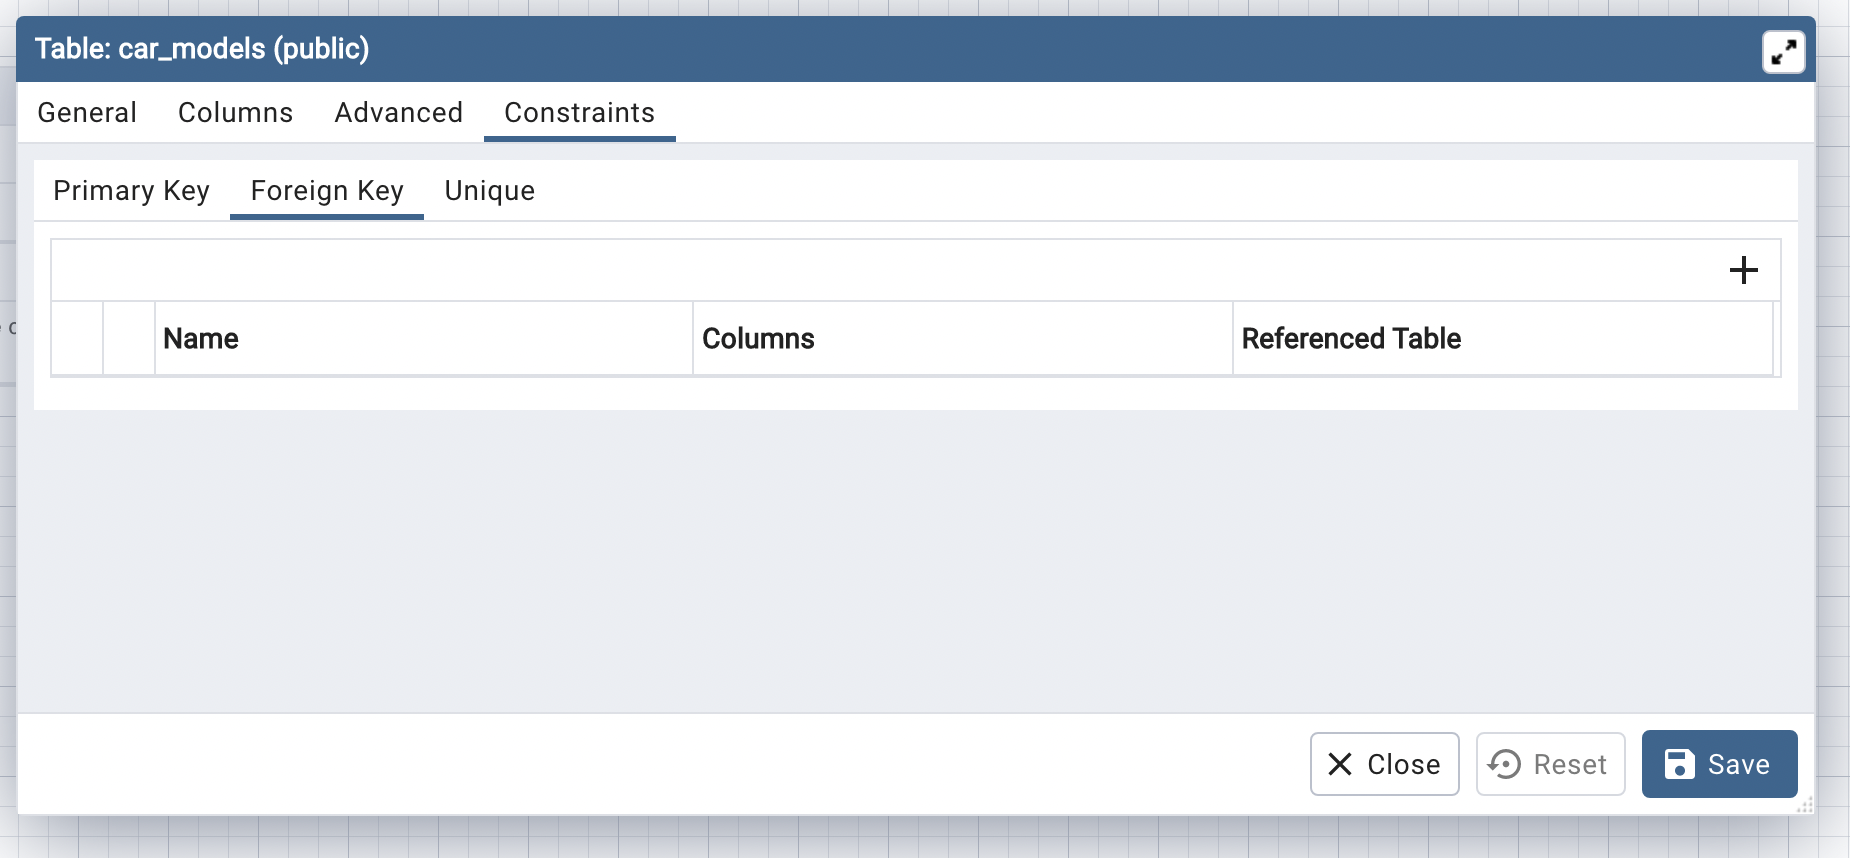
We'll add a foreign key here.
Click on the plus button on the right.
Enter a name for the new foreign key. In this example, I've called it fk_models_make.
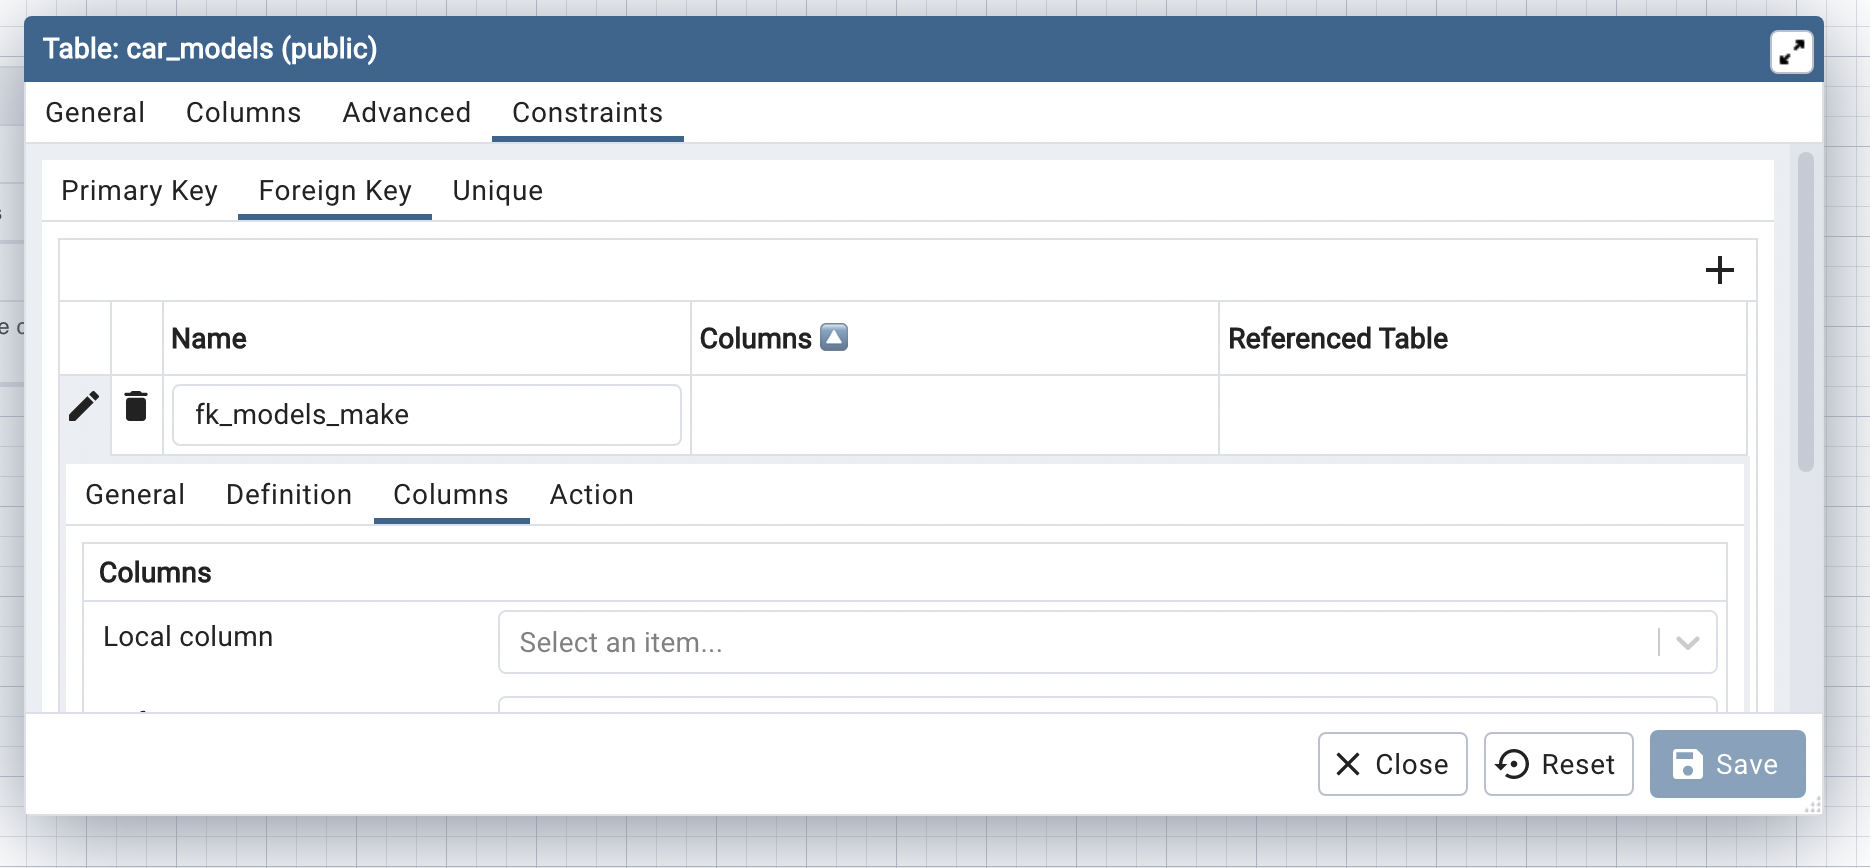
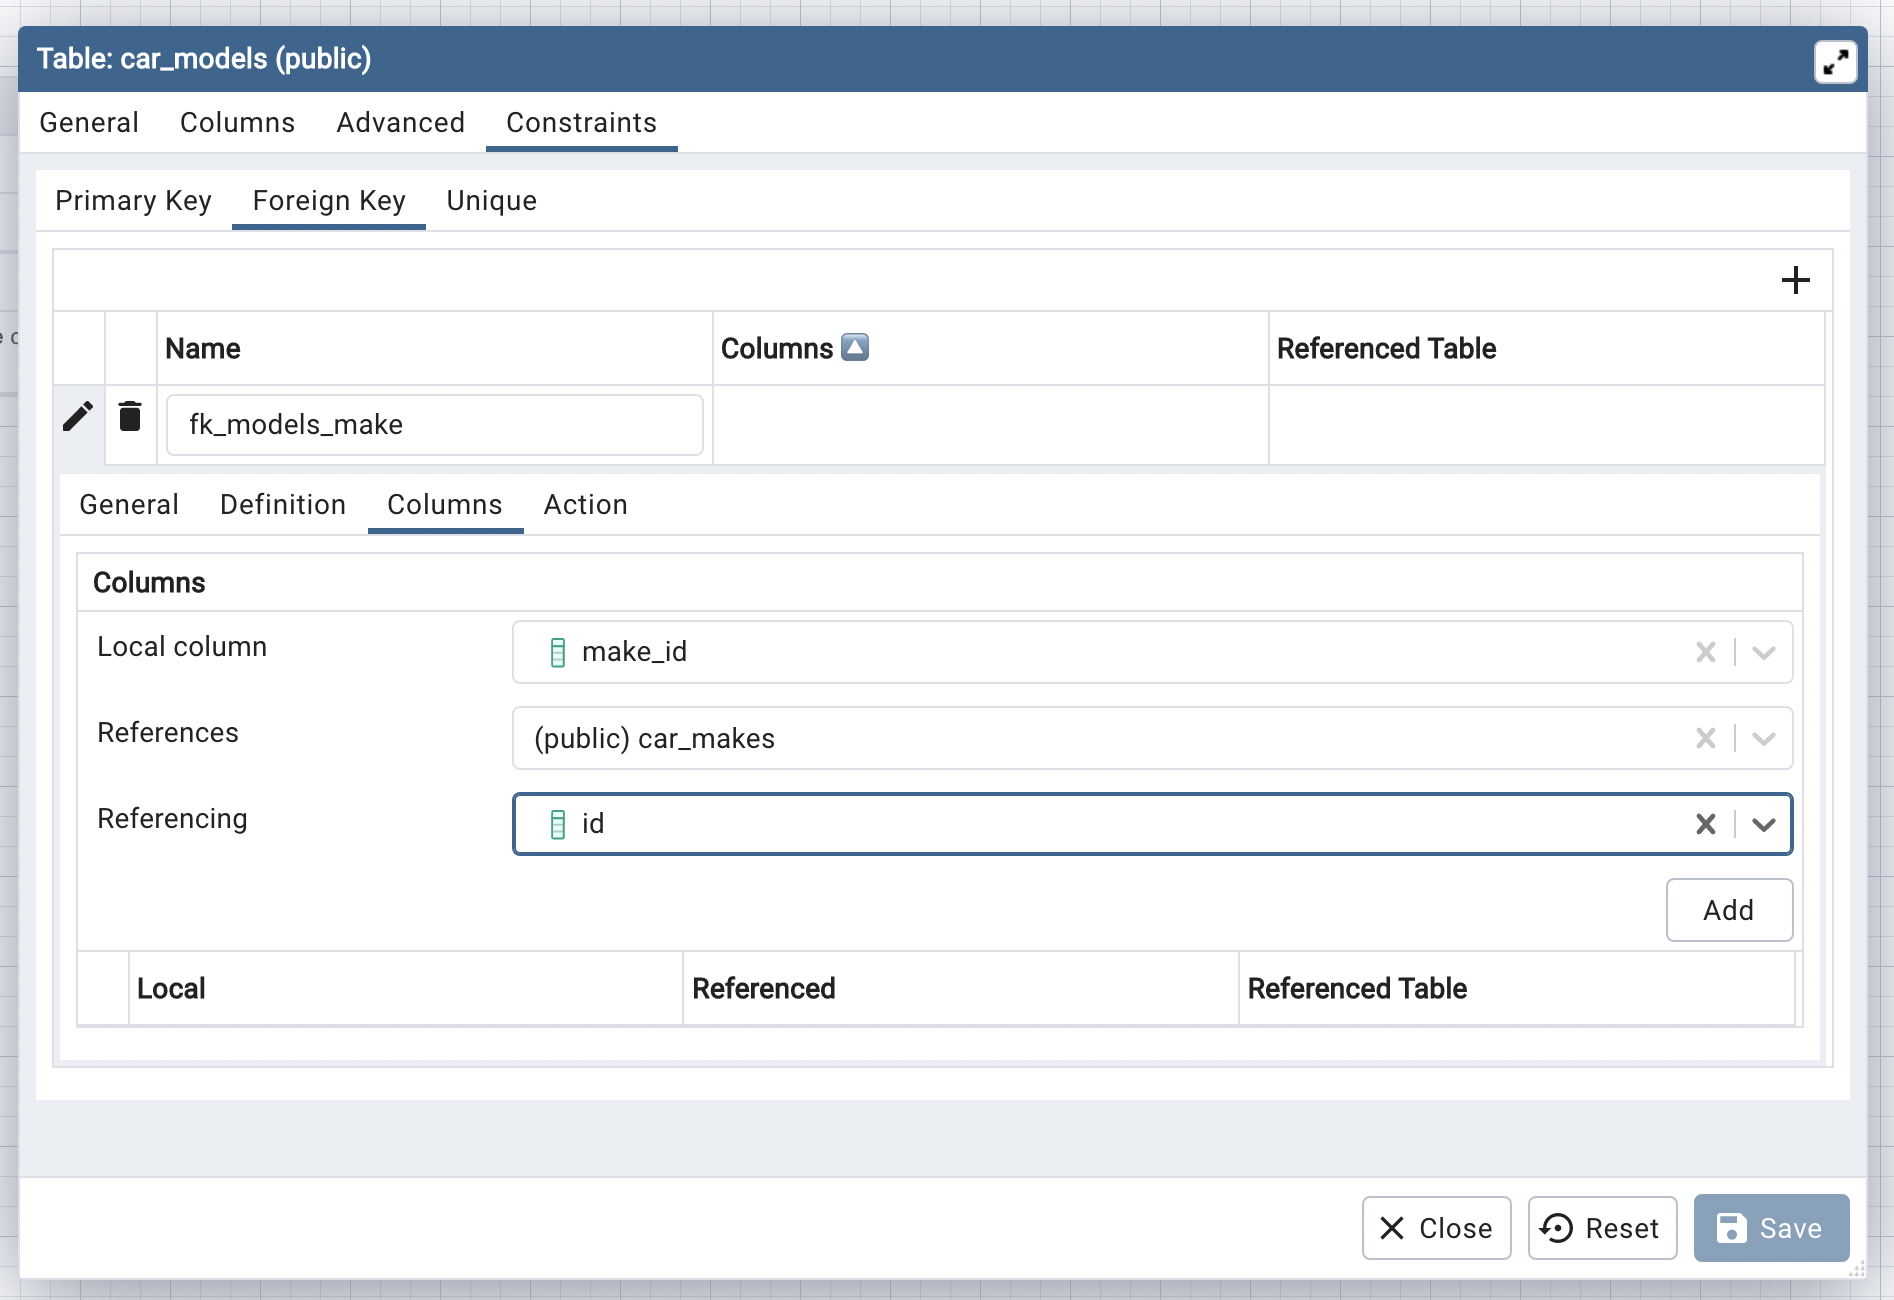
In the Columns tab further down on the screen, you can specify the columns and the related table. You may want to expand the size of the window to see all of the information.
In this section, enter:
- Local column: the column in the currently selected table
- References: the table to relate to
- Referencing: the column in the table to relate to (the primary key)
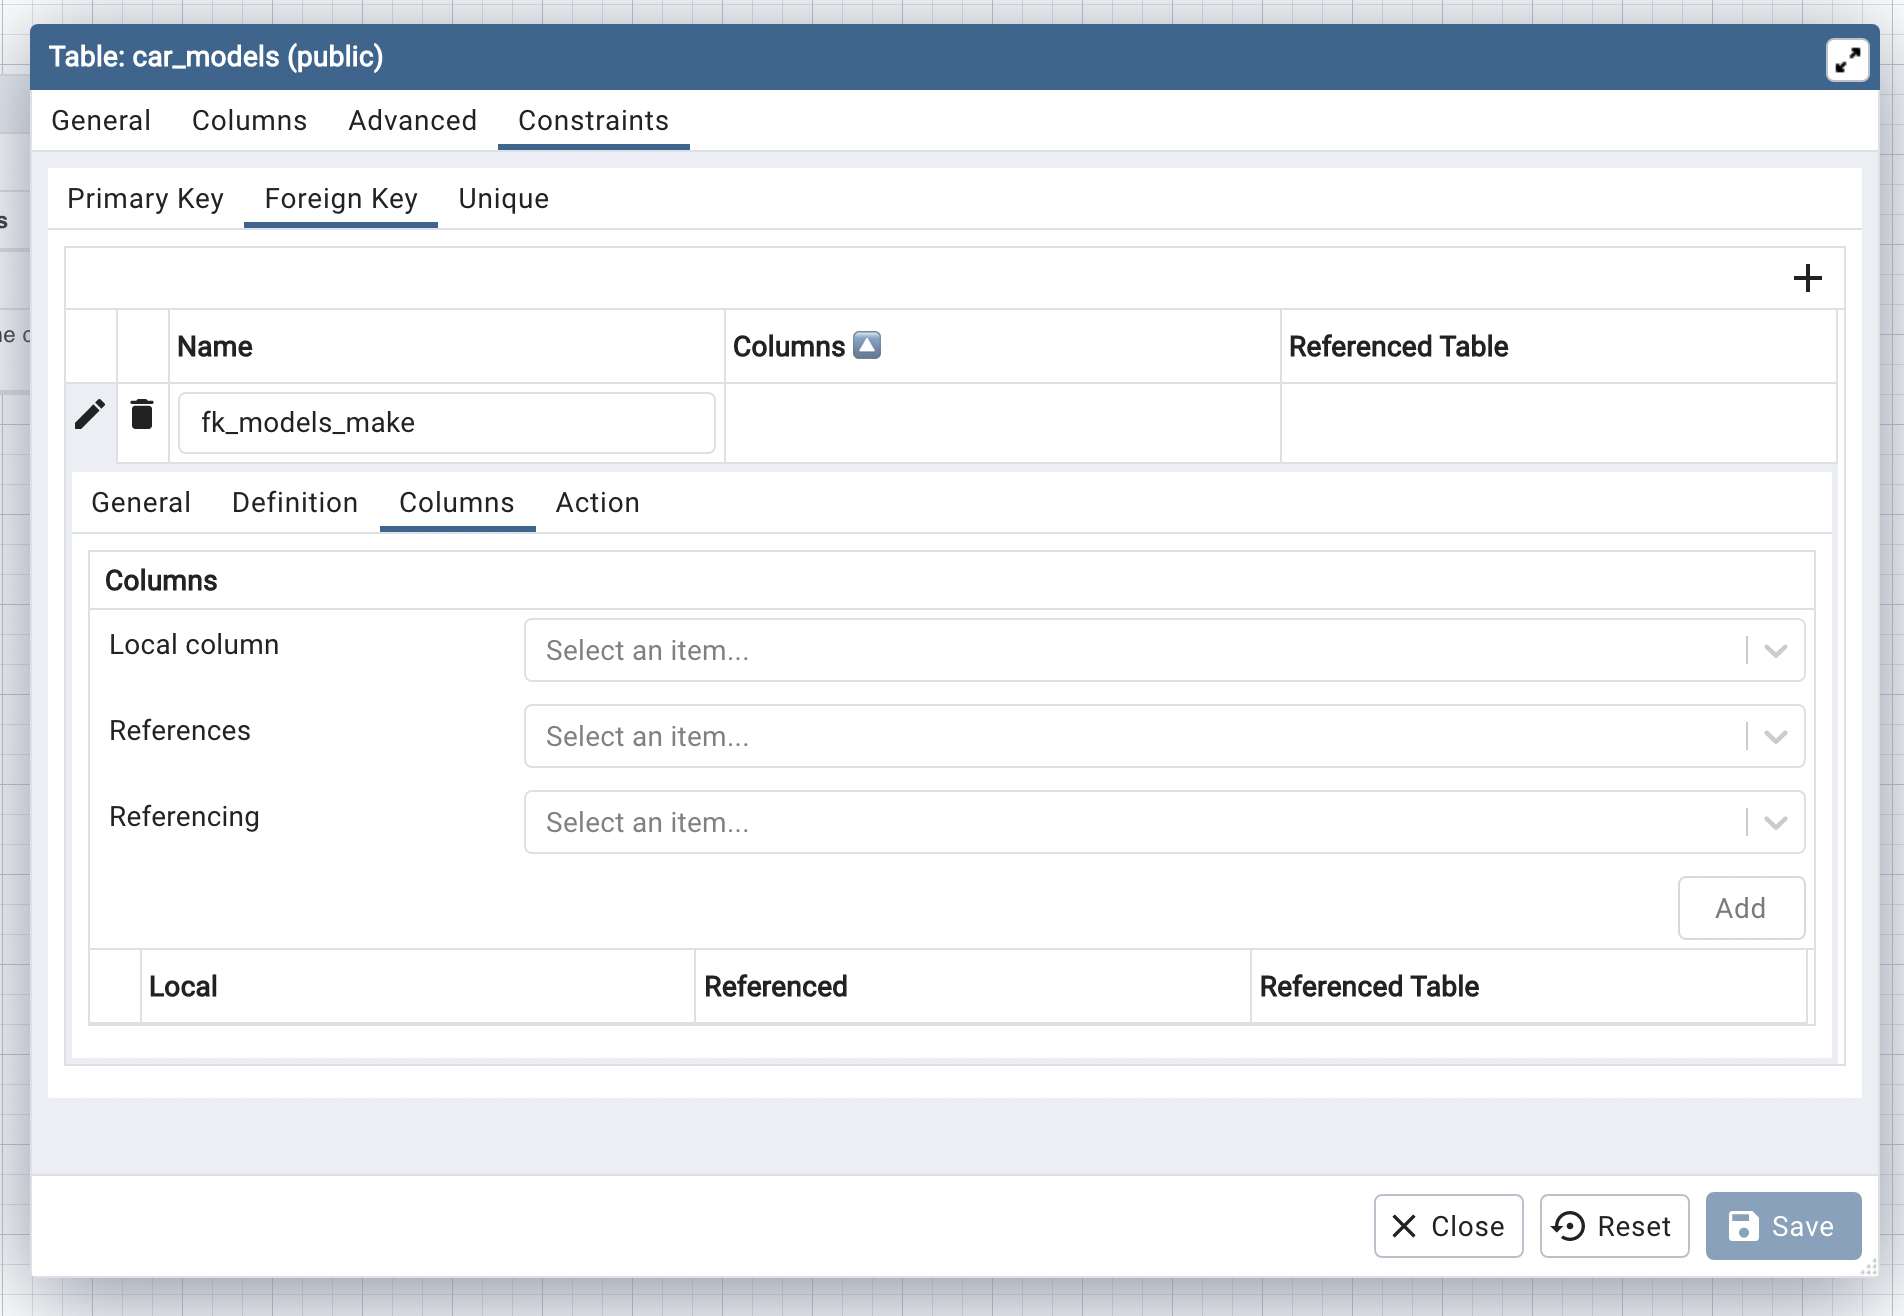
Here's an example of the selected information.
Click Add, and this information is added to the foreign key.
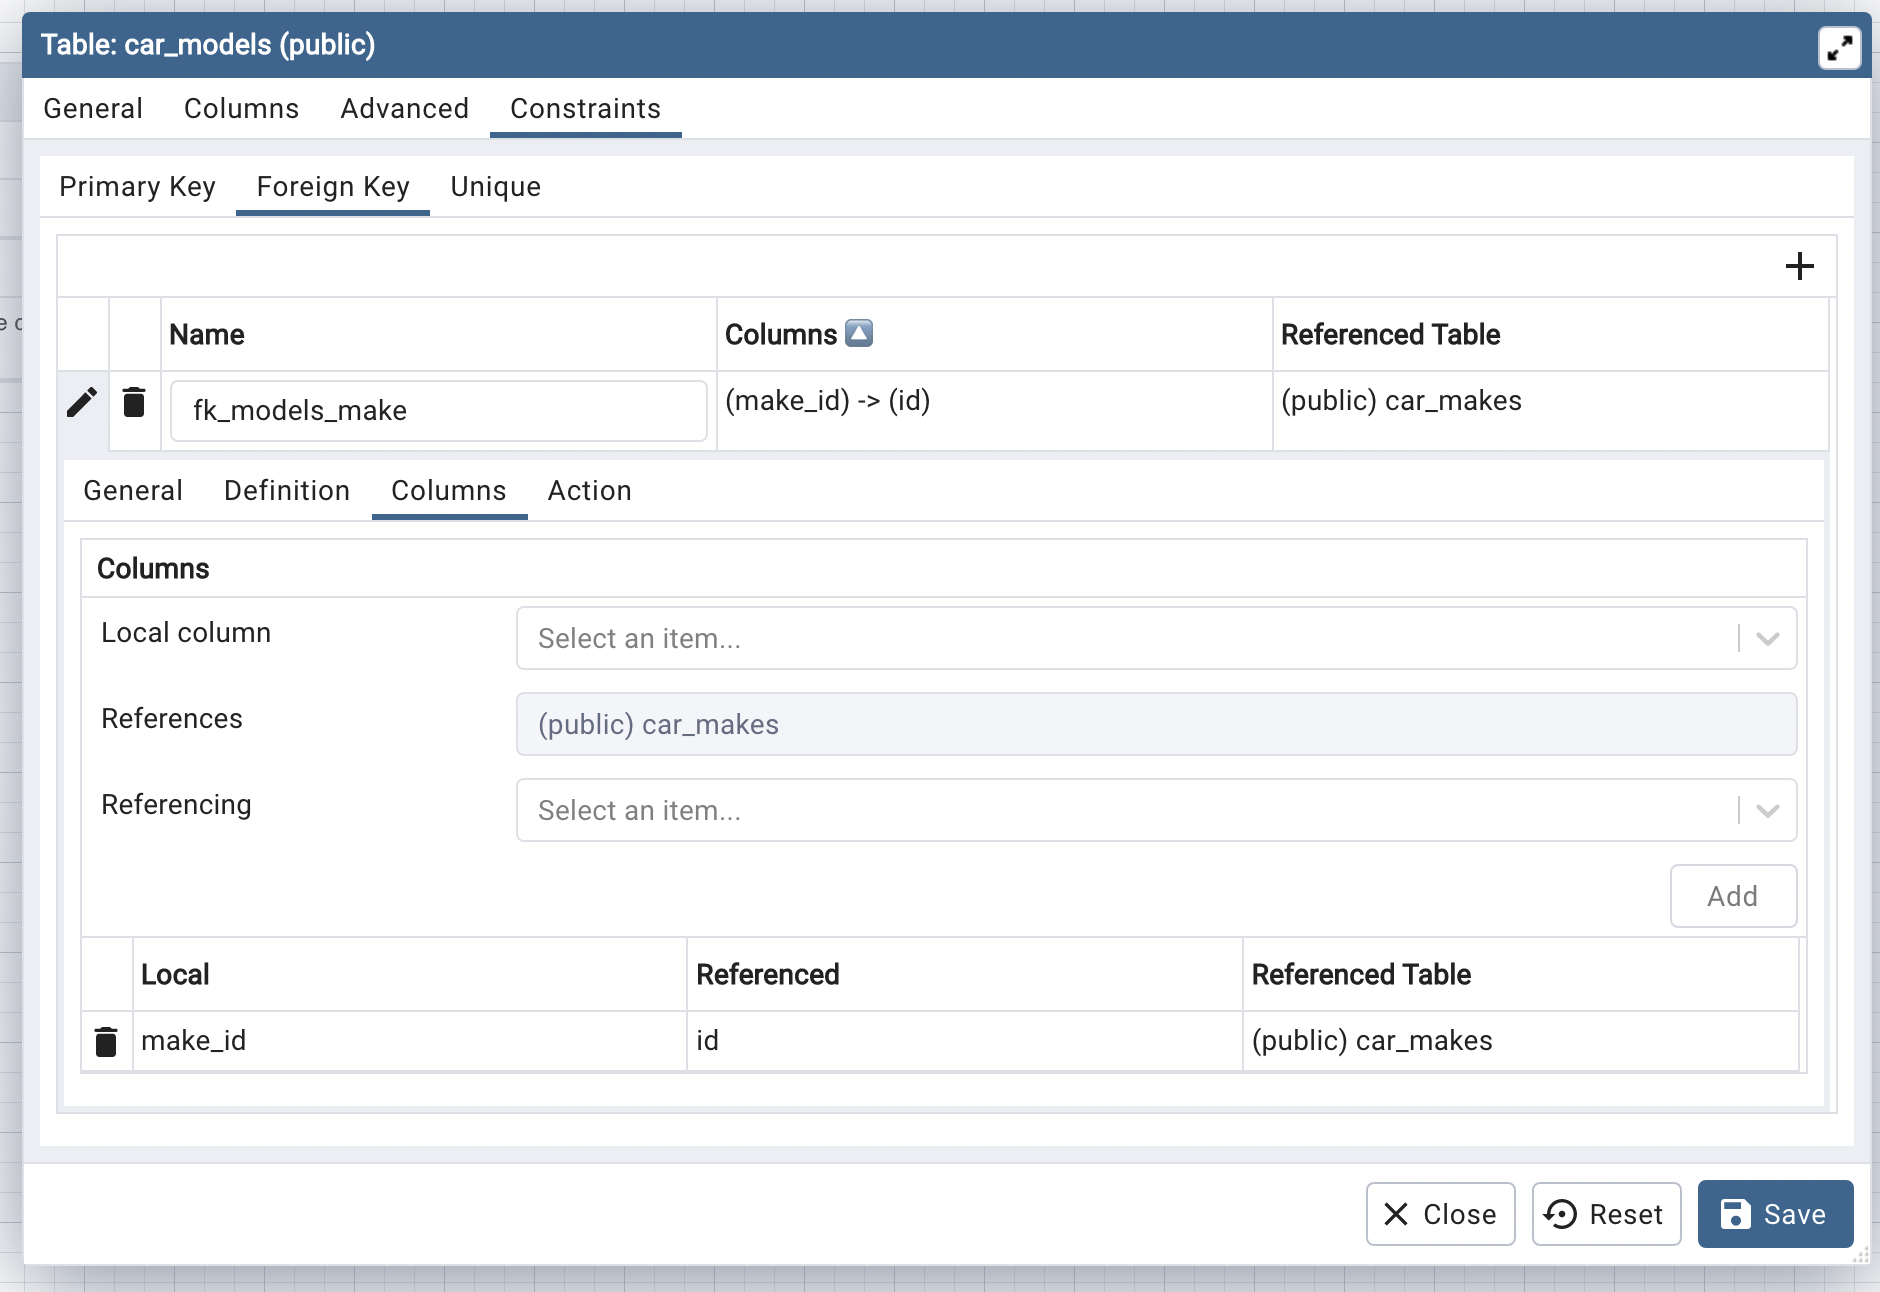
Click Save, and you'll be taken back to the diagram, which has been updated with the foreign key information and a line between the two tables.
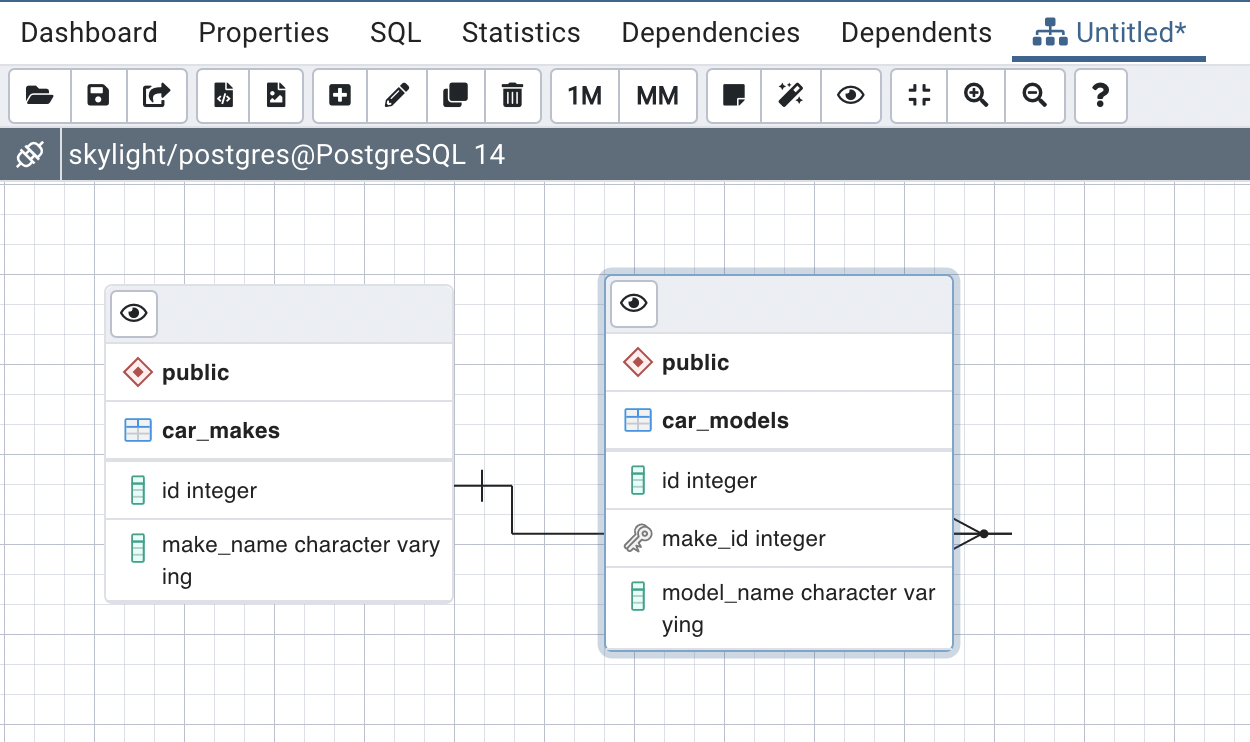
We've successfully added two tables to the diagram and related them.
Save the ERD File
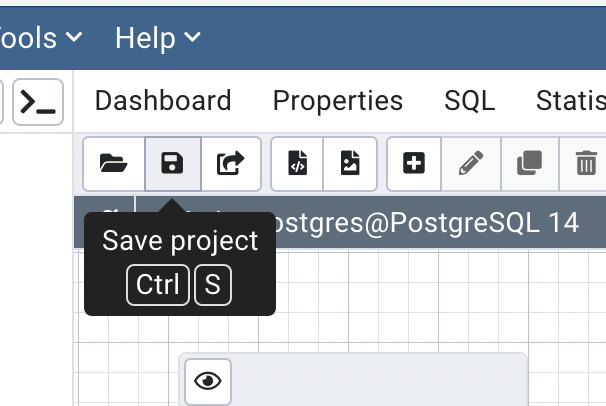
If you want to save your diagram file, you can do that easily.
Save it by clicking on the Save icon, or pressing Ctrl + S.
Choose a location to save the pgAdmin diagram, enter a filename, and click Save.
The file is then saved, and the title of the tab is changed to reflect the filename.
Conclusion
The ERD tool within pgAdmin is pretty handy and easy to use to create a quick diagram of a database. There's much more that the tool can do, but this guide has shown you some of the basics.