How to Set Up a Database on Docker
In this guide, you'll learn:
- What Docker is (briefly)
- Why you might want to use it for your database
- How to set it up
- How to get a database (Oracle, SQL Server, MySQL, or PostgreSQL) running using Docker - with screenshots and explanations
Let's get into it.

What is Docker and Why Use it for a Database?
Docker is a tool that allows you to run applications in their own areas of an operating system (inside a "container").
Using Docker is common for application development teams to run the applications in, from what I've seen. But running databases inside them is not as common.
It's a similar concept to a virtual machine. For our purposes, for running the database, we just need to know how to set up the database inside the Docker container and how to connect to it from outside the Docker container.
Why Use Docker for a Database?
Why would we use Docker for our database? There are several reasons.
- Fast setup. It's pretty fast to set up a new database using this Docker process, compared to installing a database on your operating system.
- Different versions. It's easier to have different versions of the same database running in different containers (e.g. SQL Server 2017 and 2019) if you need to test different features.
- Runs on more operating systems. Some databases (such as SQL Server and Oracle) are not available for Mac, If you have a Mac, then using Docker is a great way to set up SQL Server or Oracle.
There are probably many more advantages related to deployments and automation which I won't cover here.
The other thing you should know is that the data in the database is not persisted. Unlike a Virtual Machine, containers can be stopped and started without the data being saved. So, be aware of this when working with your database.
It's possible to persist data, and it's possible that certain settings or commands here can show the data is persisted and I may be wrong, but it's something to keep in mind.
Let's get started with setting up the database.
High-Level Steps
At a high level, here are the steps we'll take in this guide:
- Download the Docker application.
- Set up an account on Docker Hub
- Run Docker and download the database image
- Run the image
- Connect to the database and run some SQL
The screenshots in this guide are taken on a Mac, but the same process should be possible on Windows too.
Video
If you'd like to watch a video of this process, check it out here:
Oracle
SQL Server
MySQL
PostgreSQL
Download Docker
To get started, we need to download the Docker application. This will allow us to run the container which contains the database.
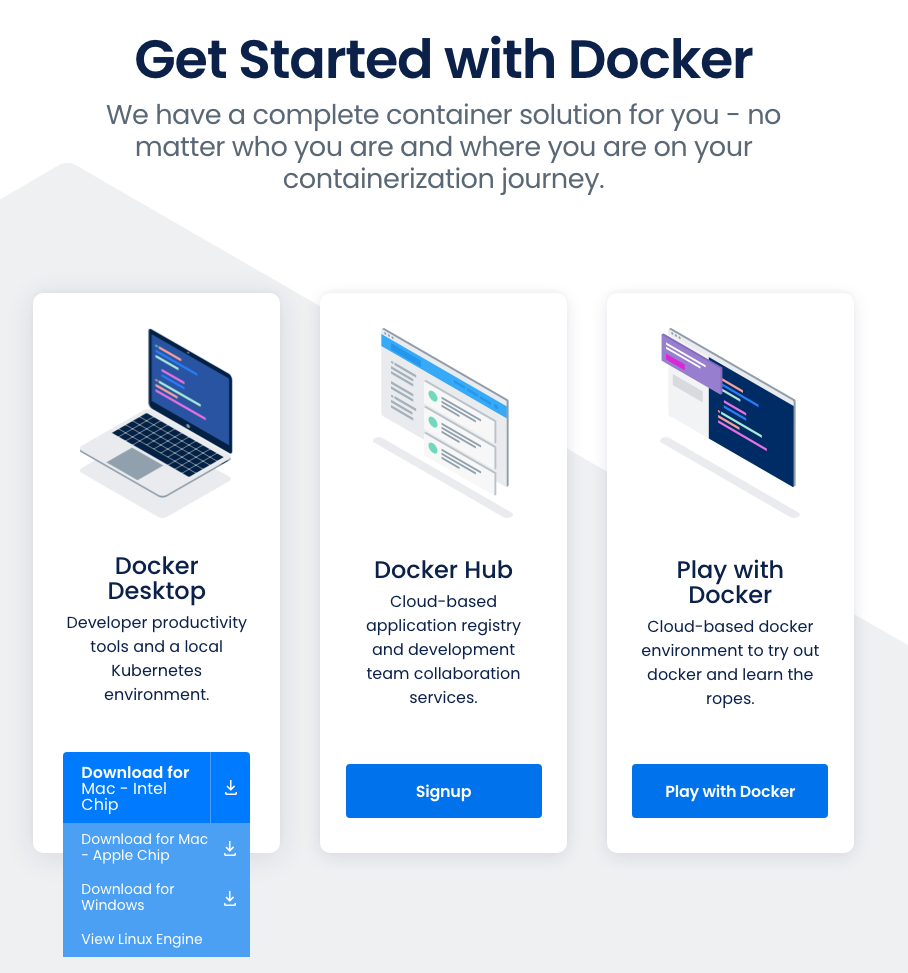
Step 1: Visit the Docker website at www.docker.com.
Step 2: Click on Get Started.

Step 3: Select the right version for your computer. This would be either of the two Mac versions or a Windows version.
The Docker setup file will then begin downloading to your computer. It's about 580 MB so it may take a few minutes to download.
Step 4: Install the Docker application once it has downloaded. This can be done by opening the file on macOS and dragging it to the Applications folder, or following the installation steps in Windows.
It takes a couple of minutes to install.
Step 5: Run Docker. This will cause the Docker service to start.
You can run this from the Applications folder, or from the Spotlight Search, or from the terminal.

Now we've got Docker installed and runnings, it's time to get our database files.
Set Up Account on Docker Hub
The files that Docker uses to run applications are called images. An image is a pre-built collection of files.
These images are available to download on a website called Docker Hub. There is a whole range of images there for different technologies. We can look for images for the database we want to install.
We'll need to visit the Docker Hub website, set up an account, find the image, and download it.
Step 1: Visit the Docker Hub website at hub.docker.com.
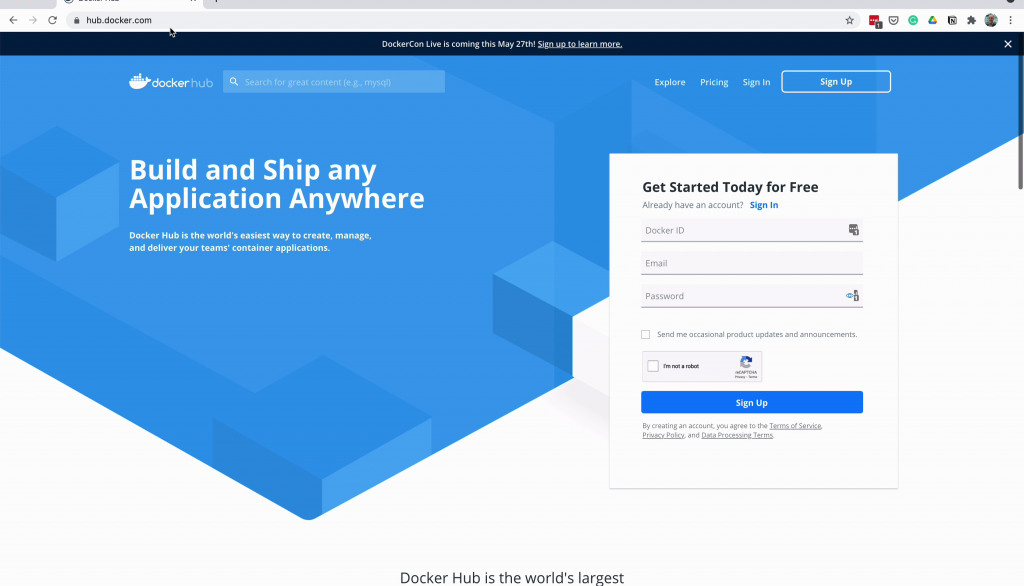
Step 2: Click on the Sign Up button. You'll need an account to be able to download the images, but it's free and easy to set up.
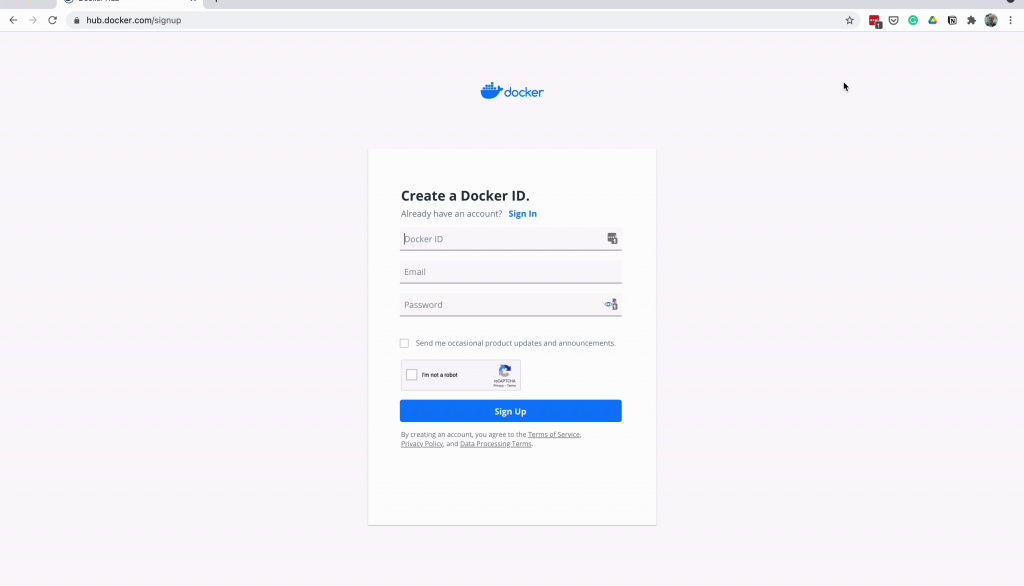
Step 3: Enter your details on the Sign Up page.
Remember your password here as you'll need it later.
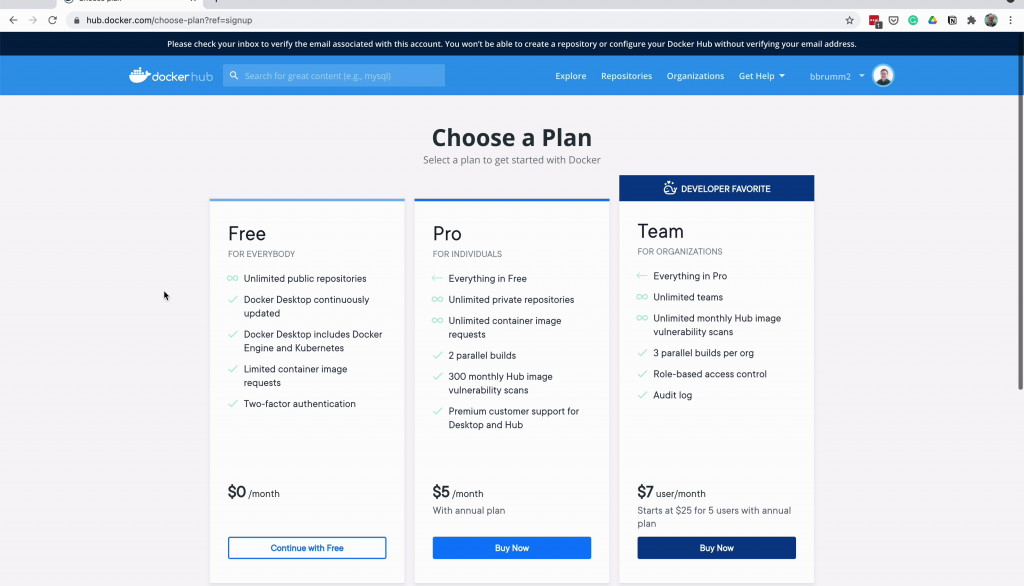
Step 4: On the Choose Your Plan page, select Free. This is enough for our purposes.
Step 5: Verify your email address by clicking the link in the email you receive.
You should end up at the Docker Hub homepage and should be logged in.
Find a Database Image
It's time to find the image for the database. This could be Oracle, SQL Server, MySQL, or PostgreSQL. We're going to get the URL for the image, and use this URL as part of a command we'll run on the command line.
Step 1: Enter the database name (such as "oracle database", "sql server", "postgres", or "mysql") into the search bar at the top of the page and press Enter.
For Oracle, it's helpful to enter "oracle database", because there is a range of Oracle products, such as WebLogic and Fusion MIddleware, and we only want the database.
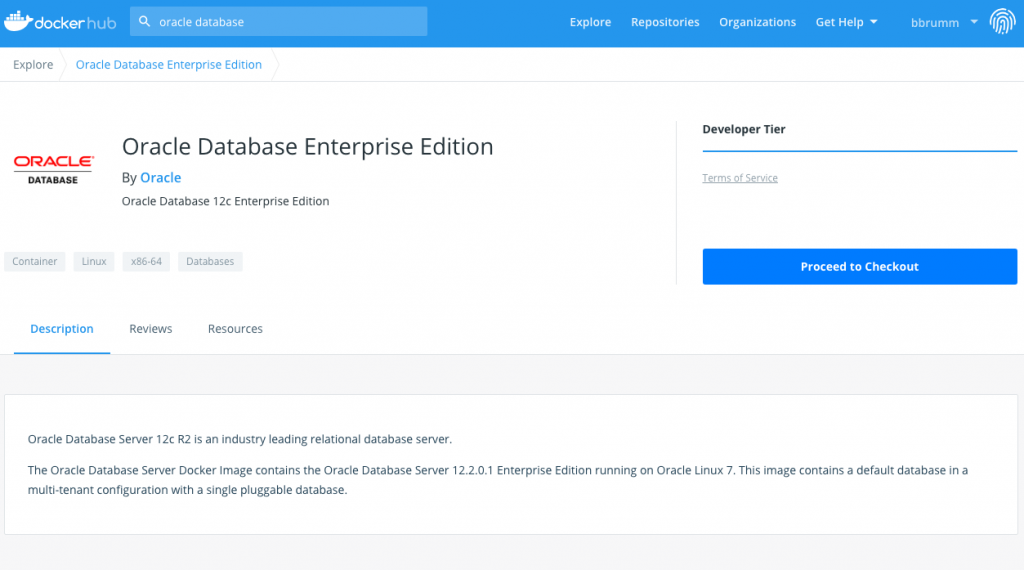
Step 2: Click on the entry in the search results.
This page shows the details of the database image.
For each database, you'll likely see different versions available. For example, for SQL Server, both 2017 and 2019 versions are available.
For Oracle, we want to click on the "Oracle Database Enterprise Edition".
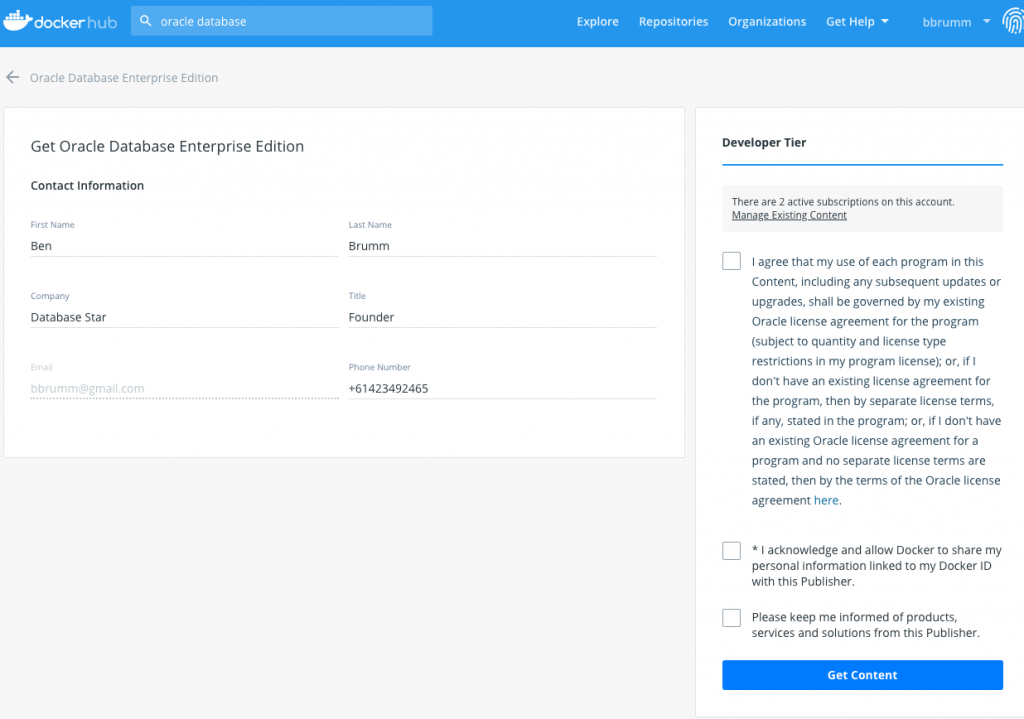
(Oracle Only) Step 3: Click Proceed to Checkout.
(Oracle Only) Step 4: Accept the Terms and Conditions in order to use the image, then click Get Content.
Step 5: Copy the command from the example.
If you scroll down a little, you can see a few sample commands under the "How to use this image" section. Copy the command from the first example here.
Oracle:
docker pull store/oracle/database-enterprise:12.2.0.1
SQL Server:
docker run -e 'ACCEPT_EULA=Y' -e 'SA_PASSWORD=yourStrong(!)Password' -p 1433:1433 -d mcr.microsoft.com/mssql/server:2017-CU8-ubuntu
MySQL:
docker run --name some-mysql -e MYSQL_ROOT_PASSWORD=my-secret-pw -d mysql:tag
PostgreSQL:
docker run --name some-postgres -e POSTGRES_PASSWORD=mysecretpassword -d postgres
There are a few things to note in this command.
- The "-e" stands for environment flags, and there are a couple of those on these commands.
- For SQL Server, the first one allows Docker to accept the EULA or End User License Agreement. The second one will set the password for the built-in "SA" account. You can change this password before you run it, which we'll see shortly.
- For MySQL, there's one parameter called MYSQL_ROOT_PASSWORD which is set to "my-secret-pw" by default.
- For PostgreSQL, there's one parameter called POSTGRES_PASSWORD which is set to "mysecretpassword" by default.
- The "-p" indicates the port numbers. This means that port 1433 (for SQL Server) is used both inside the container and outside the container for us to connect to the database.
- The "-d" means detached mode, which means the container runs in the background and we can use our terminal for other commands.
- The final part is the path to the image on docker hub, which will be downloaded. This often specifies the version, and can be changed if you want a different version.
- For Oracle, it's 12.2.0.1
- For SQL Server, it's 2017 CU8.
- For MySQL, it says "tag", which can be replaced with a specific version or removed.
Step 6: You may want to modify the command before running it, such as changing port numbers or password. This can be easily done in a text editor like Notepad or Atom.
You should also add a name for the container. This makes it easier to refer to in the future. To do this, add this to the end of the command: --name sqlserver. That's two dashes, then name, then space, then the name you want to give it such as sqlserver.
Here are the commands I suggest you run:
Oracle
1docker run -d -p 1521:1521 --name oracle store/oracle/database-enterprise:12.2.0.1--slim
This command adds the port of 1521, allowing you to connect to it from an IDE. It adds the name of "oracle". It also adds the "slim" word at the end, which is a version that has a smaller file size and faster startup time, but does not come with some features such as Application Express and Analytics.
SQL Server
1docker run -e 'ACCEPT\_EULA=Y' -e 'SA\_PASSWORD=yourStrong(!)Password' -p 1433:1433 -d --name sqlserver mcr.microsoft.com/mssql/server:2017-CU8-ubuntu
The only change is to add a name to the image, which is "--name sqlserver".
MySQL
1docker run --name some-mysql -p 3306:3306 -e MYSQL\_ROOT\_PASSWORD=my-secret-pw -d mysql
This command adds the port of 3306 and removes the ":tag" from the command. This means the latest version is downloaded.
PostgreSQL
1docker run --name some-postgres -p 5432:5432 -e POSTGRES\_PASSWORD=mysecretpassword -d postgres
This command adds the port of 5430 to the command.
Download the Database Image
We have an account on Docker Hub and have found the database image to download.
The next steps are to download the image. We'll do this on the command line.
Step 1: Open the Terminal (MacOS) or Command Line (Windows).
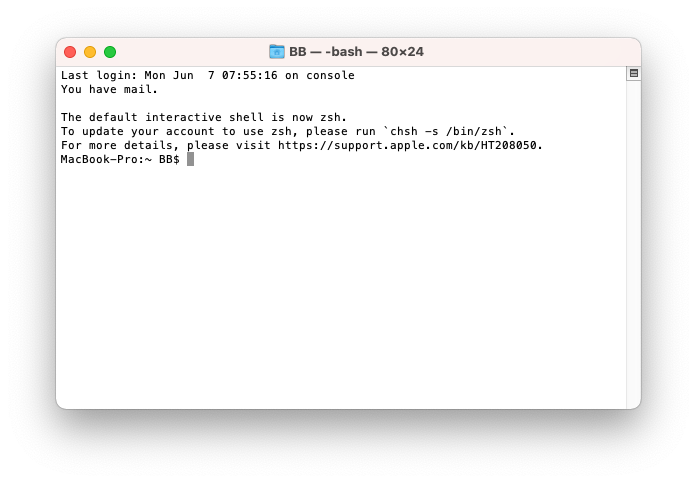
Step 2: Enter "docker login" at the command line and press Enter.
1MacBook-Pro:~ BB$ docker login
2Authenticating with existing credentials
3Login Succeeded
We need to login to Docker before downloading the image, and this is the command to do it.
Step 3: Enter your username and password, which is what you entered when you set up your Docker Hub account.
Step 4: Enter the docker run command from the earlier steps after you modified your command.
Now we have logged in, we can download the image. This can be done using the "docker pull" command, which is the command in the black box we saw on the Docker Hub page.
However, we can also use the "docker run" command, which will run the container if it exists on your computer already, and download it if it does not exist.
Here's the command to run:
Oracle:
1docker run -d -p 1521:1521 --name oracle store/oracle/database-enterprise:12.2.0.1--slim
SQL Server:
1docker run -e 'ACCEPT\_EULA=Y' -e 'SA\_PASSWORD=yourStrong(!)Password' -p 1433:1433 -d mcr.microsoft.com/mssql/server:2017-CU8-ubuntu
MySQL:
1docker run --name some-mysql -p 3306:3306 -e MYSQL\_ROOT\_PASSWORD=my-secret-pw -d mysql
PostgreSQL:
1docker run --name some-postgres -p 5432:5432 -e POSTGRES\_PASSWORD=mysecretpassword -d postgres
Step 5: Run this command.
Oracle:
1MacBook-Pro:~ BB$ docker run -d -p 1521:1521 --name oracle store/oracle/database-enterprise:12.2.0.1--slim
SQL Server:
1MacBook-Pro:~ BB$ docker run -e 'ACCEPT_EULA=Y'
2-e 'SA_PASSWORD=yourStrong(!)Password' -p 1433:1433
3-d --name sqlserver mcr.microsoft.com/mssql/server:2017-CU8-ubuntu
MySQL:
1MacBook-Pro:~ BB$ docker run --name some-mysql -p 3306:3306 -e MYSQL_ROOT_PASSWORD=my-secret-pw -d mysql
PostgreSQL:
1MacBook-Pro:~ BB$ docker run --name some-postgres -p 5432:5432 -e POSTGRES_PASSWORD=mysecretpassword -d postgres
The image will then start downloading. It can be up to a few gigabytes so it may take some time.
If you get an error about the name already being used, then it's likely because you have run this command in the past and the container name (of "sqlserver", for example) is already created. If so, you can start the existing container. To do this, type "docker start sqlserver".
After the image is downloaded, it's time to run it. Because you ran the "docker run" command earlier, this will run the image after it's downloaded and the container will be created.
Step 6: Run docker ps to check the status.
We can check the status of the container by running the "docker ps" command.
Oracle:
1MacBook-Pro:~ BB$ docker ps
2CONTAINER ID   IMAGE                                            COMMAND                  CREATED
3STATUS                            PORTS                              NAMES
4d29364816b73   store/oracle/database-enterprise:12.2.0.1--slim  "/bin/sh -c '/bin/..."   3 days ago
5Up 7 seconds (health: starting)   0.0.0.0:1521->1521/tcp, 5500/tcp   oracle
SQL Server:
1MacBook-Pro:~ BB$ docker ps
2CONTAINER ID   IMAGE                                            COMMAND                  CREATED
3STATUS        PORTS                              NAMES
4af8a9a521797   mcr.microsoft.com/mssql/server:2017-CU8-ubuntu   "/opt/mssql/bin..."   1 days ago
5Up 4 seconds  0.0.0.0:1433->1433/tcp, 5500/tcp   sqlserver
MySQL:
1MacBook-Pro:~ BB$ docker ps
2CONTAINER ID   IMAGE   COMMAND                    CREATED
3STATUS        PORTS                                                  NAMES
4baa63eb01035   mysql   "docker-entrypoint.s..."   10 seconds ago
5Up 8 seconds  0.0.0.0:3306->3306/tcp, :::3306->3306/tcp, 33060/tcp   some-mysql
PostgreSQL:
1MacBook-Pro:~ BB$ docker ps
2CONTAINER ID   IMAGE      COMMAND                    CREATED
3STATUS         PORTS                                       NAMES
444f96ef5d204   postgres   "docker-entrypoint.s..."   19 seconds ago
5Up 17 seconds  0.0.0.0:5432->5432/tcp, :::5432->5432/tcp   some-postgres
This shows a list of all containers that are running.
In the Status column, you'll see something like "starting" that indicates the container is starting up.
Run the command in a minute or two and you should see a status of "Up X seconds". This means the container is running.
We now have a Docker container running with our database!
Connect to the Database and Run SQL from an IDE
Now the container is running, we can connect to it.
Many tutorials online specify you can login to the container itself using the command line. But we want to use an IDE on our computer to connect, as it's easier to do and easier to work with.
The steps below outline how to do it for an IDE for each database.
Connect to the Oracle Database using an IDE
We'll use SQL Developer in this example, but you can use any IDE you like that can connect to Oracle (see the full list here).
Step 1: Open SQL Developer.
Step 2: Click Create Connection. You'll see this New Connection window here.
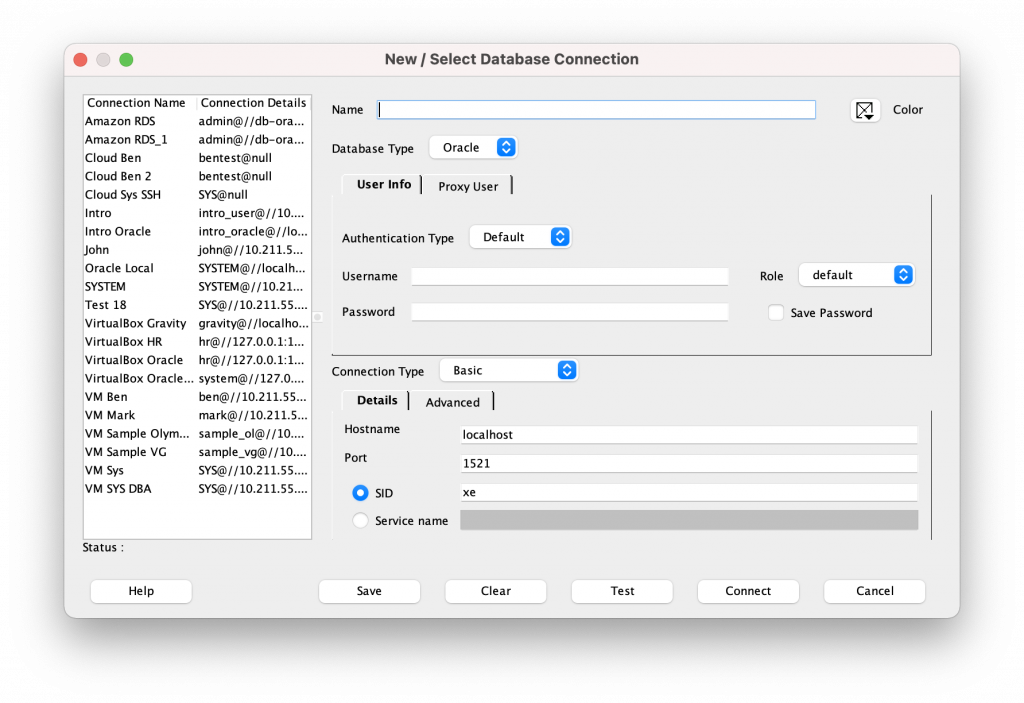
Step 3: Enter the connection details.
These details are available on the Docker Hub page for the Oracle Database, but there are a few things missing there that you'll need to know.
- Host: localhost
- Service Name: ORCLPDB1.localdomain
- User: SYS
- Role: AS SYSDBA
- Password: Oradoc_db1
If you want to connect to the Container Database instead (which is the overall Oracle database, nothing to do with the Docker container), then:
- Select SID instead of Service Name
- Enter ORCLCDB for the SID
Read more on container databases and pluggable databases here.
Step 4: Click Test Connection. This should be successful.
If you get an error, take a look at this article for some common connection issues and solutions.
Step 5: Click Save to save your connection.
Step 6: On the new SQL Worksheet tab that appears, enter a simple SQL query to test.
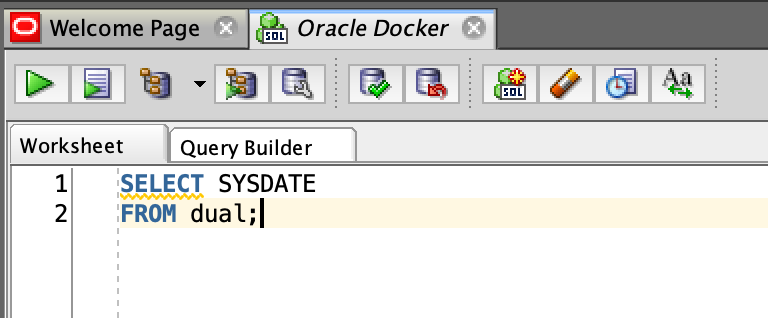
For example:
1SELECT SYSDATE
2FROM dual;
Step 7: Run the query and see the results.
You should see the results of the query at the bottom of the screen.
Congratulations! You've successfully set up an Oracle database inside a Docker container and connected to it!
If you have any errors, let me know in the comments below.
Connect to the SQL Server Database using an IDE
We'll use Azure Data Studio to connect, which is Microsoft's freely available IDE that works on Windows and macOS. You can use whatever IDE you want. I'm not using SQL Server Management Studio in this demo, as it doesn't run on a Mac, but the process should work with Management Studio. But you can use any IDE you like that can connect to SQL Server (see the full list here).
Step 1: Open your IDE, such as Azure Data Studio.
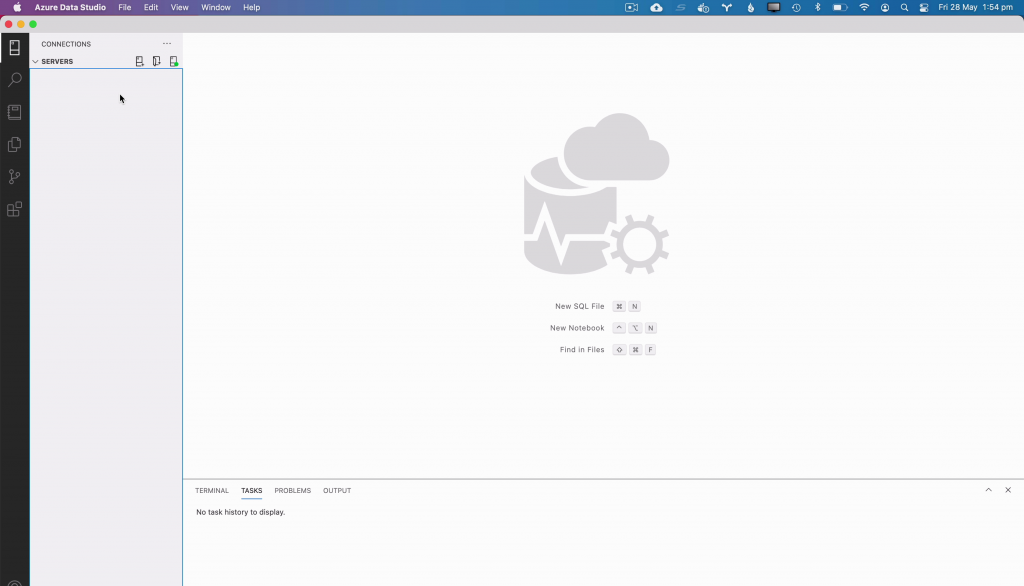
Step 2: Click Create New Connection.
You'll see this tab here.
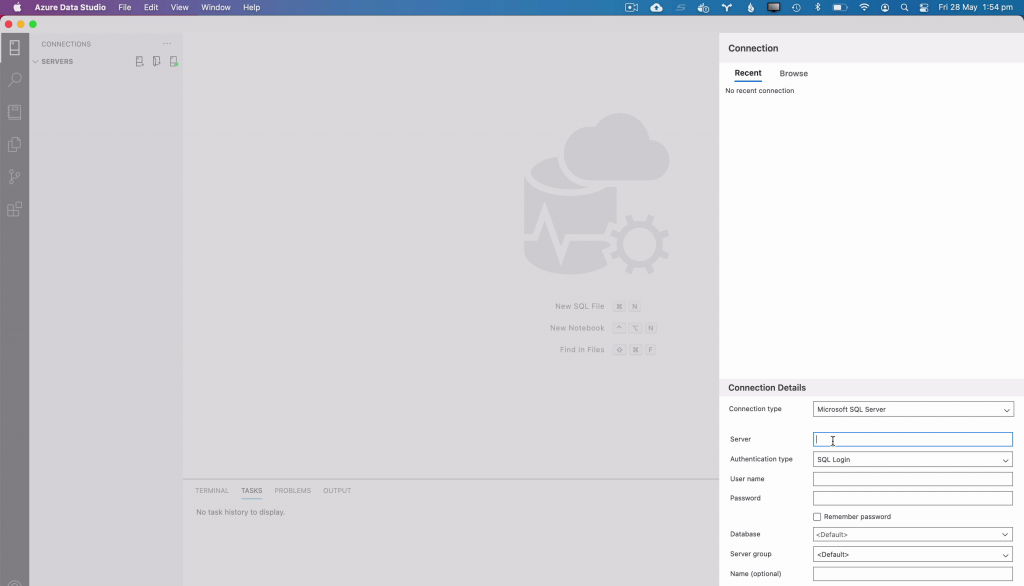
The connection details to use are available on the image page on Docker Hub, and are also in the command we ran. We'll enter them here.
- Host: localhost, 1433
- Username: sa
- Password: your password from when you ran the command
Check the Remember Password box if you want the password to be stored with the connection (and not have to enter it each time).
Leave everything else as the default.
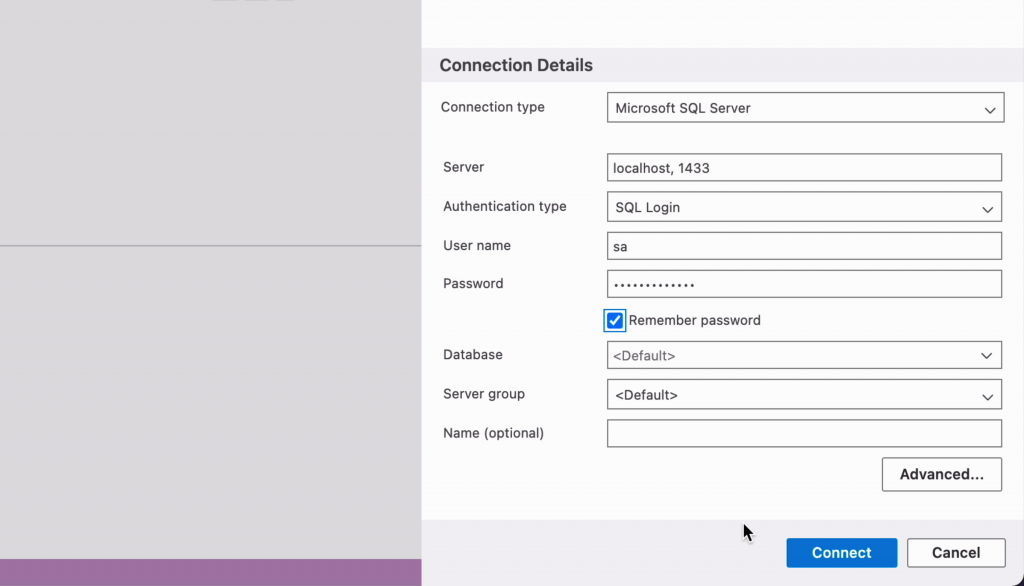
Step 3: Click Connect.
If everything has been set up correctly, the connection should be successful. If there are any errors, take a look at the description and comments where I'll list a few ways to resolve them.
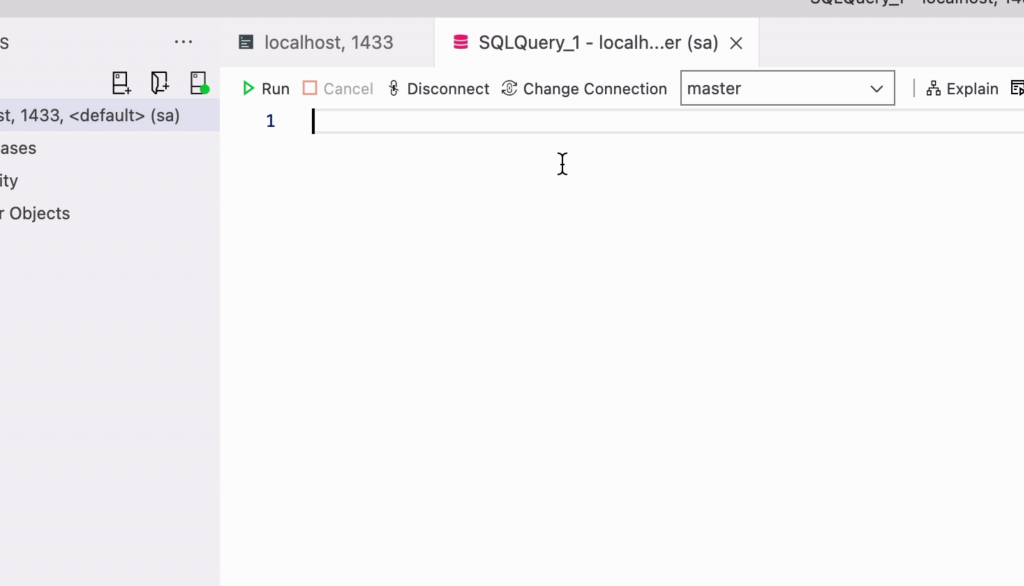
You should see a screen that looks like this.

In other IDEs, you may get taken directly to an SQL editor screen.
Step 4: Click New Query.
In Azure Data Studio, click on the New Query button. A new SQL tab will be displayed.
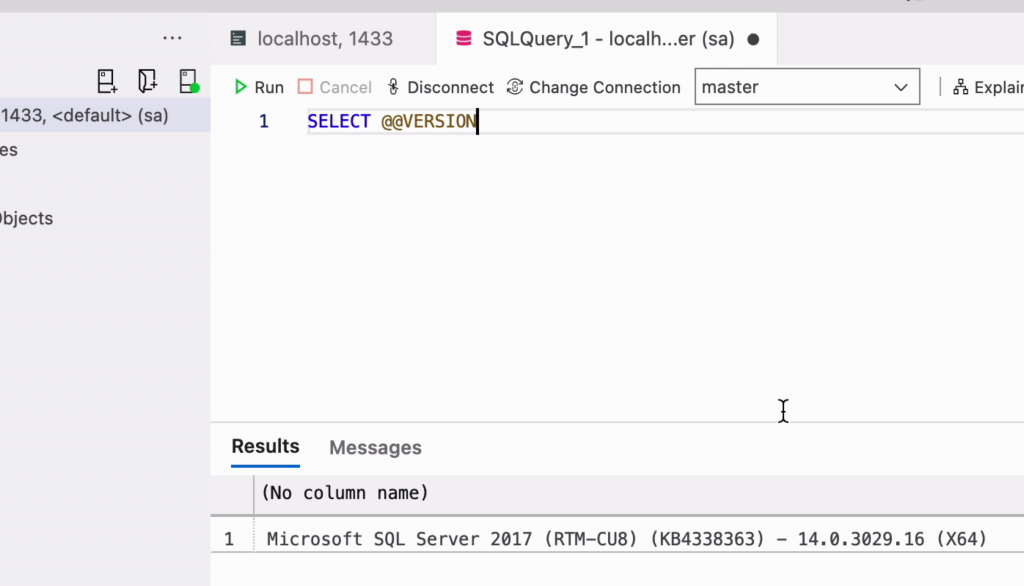
Step 5: Enter and run an SQL query.
Enter a simple query, such as:
1SELECT \@@VERSION;
This should show the version of SQL Server you're running.
You'll see the output on the screen. This is the result of the query on the SQL Server Database inside the container. It shows SQL Server 2017 which is the version we chose on Docker Hub.
Congratulations! You've successfully set up an SQL Server database inside a Docker container and connected to it!
If you have any errors, let me know in the comments below.
Connect to the MySQL Database using an IDE
We'll use MySQL Workbench to connect, which is a freely available IDE that works on Windows and MacOS. You can use whatever IDE you want. The process should be similar but the screens will just look different in each IDE.
For now, I'll assume you have an IDE ready, such as MySQL Workbench, so open it now.
Step 1: Click Create a new connection and you'll see this window here.
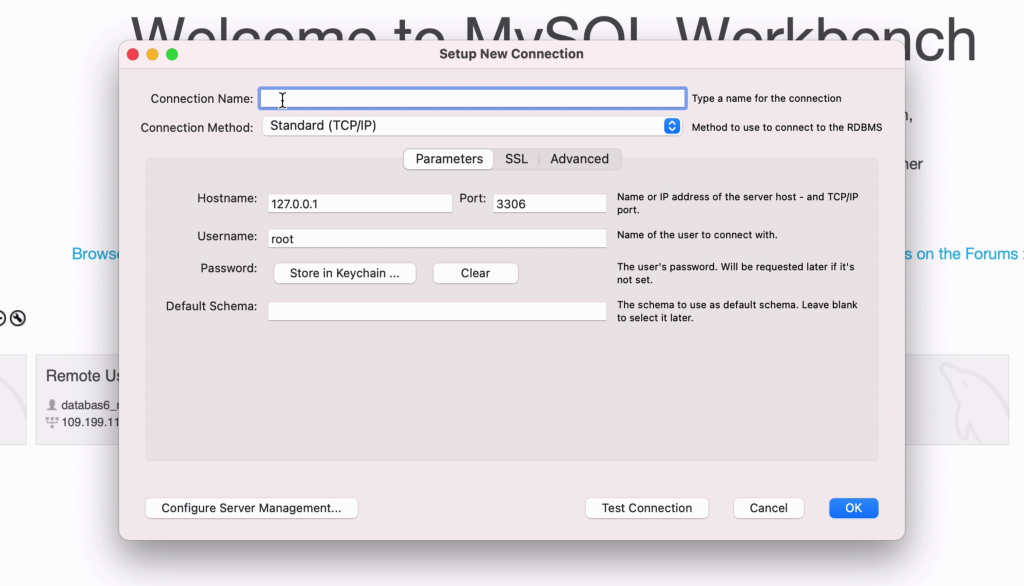
The connection details are available on the image page on Docker Hub and are also in the command we ran, and we'll enter them here.
- Host: localhost.
- Username: root
- Password: my-secret-pw (unless you changed it when you ran the command earlier)
Step 2: Enter a name for the connection, such as MySQL Docker.
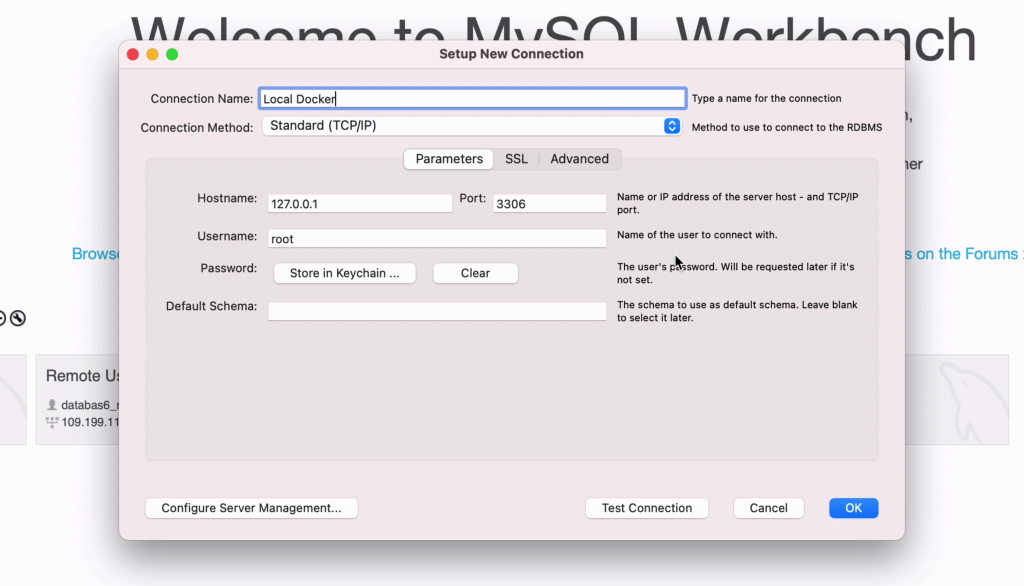
Step 3: Leave everything as the default, and click Test.
If everything has been set up correctly, the connection should be successful. If there are any errors, take a look at the description and comments where I'll list a few ways to resolve them.

Step 4: Click OK to save the connection.
Step 5: Click on the new connection on the grid here, and after a moment, you'll be connected to the database.
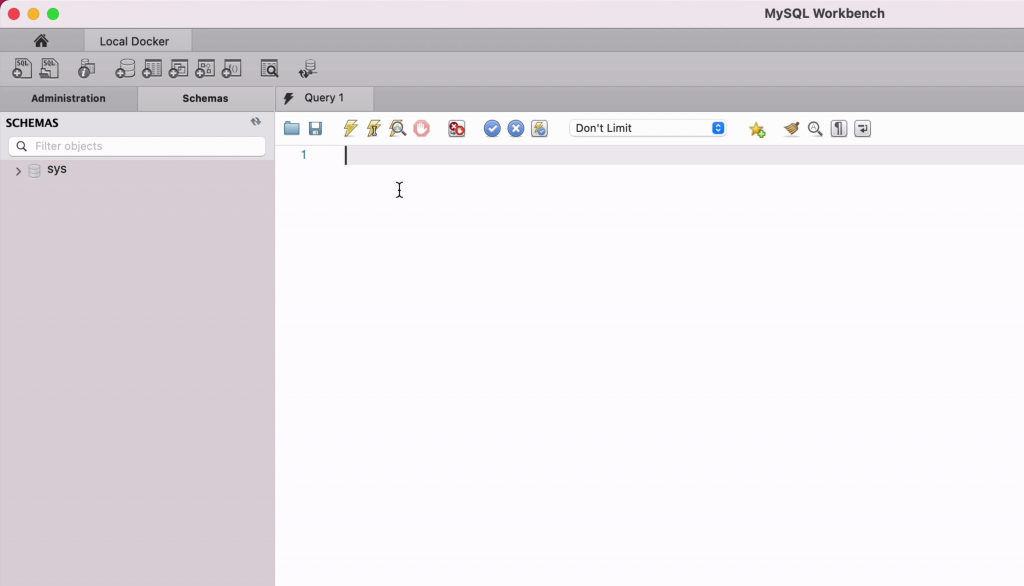
You should see a screen that looks like this. A new SQL tab will be displayed.
Step 6: Enter a simple query, such as SELECT NOW(), and run it. This should show the current date and time.
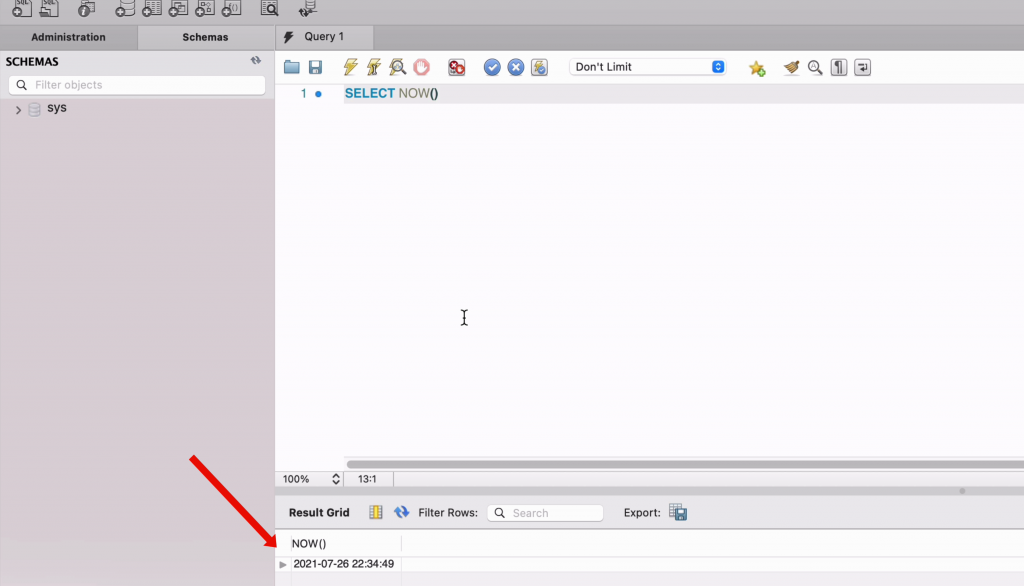
Congratulations! You've successfully set up a MySQL database inside a Docker container and connected to it!
Connect to the PostgreSQL Database using an IDE
We'll use DBeaver to connect, which is a freely available IDE that works on Windows and MacOS. You can use whatever IDE you want. The process should be similar but the screens will just look different in each IDE.
So, open DBeaver now.
Step 1: Click Create a new connection.
You'll see this window here.
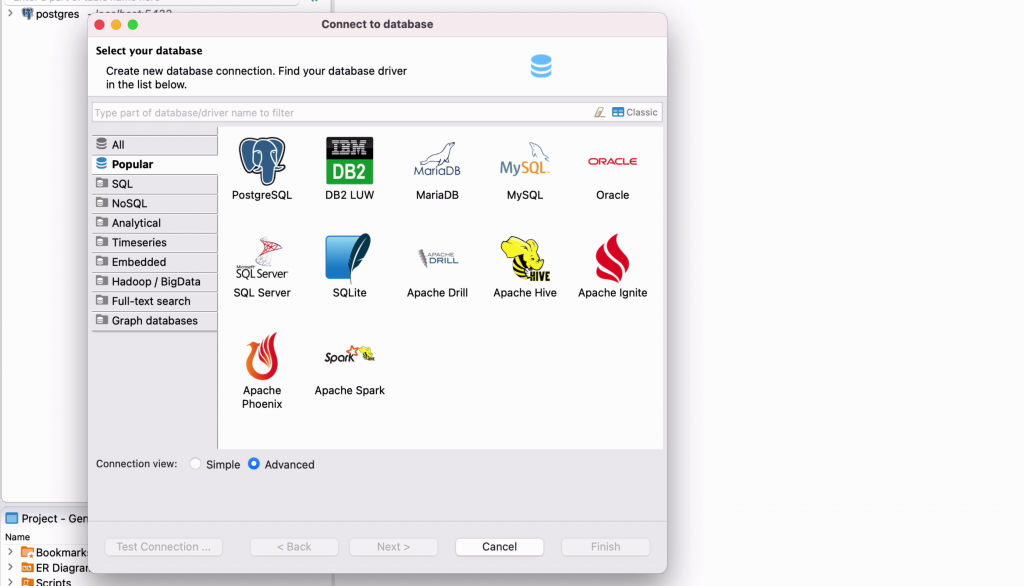
Step 2: Select Postgres and click Next.

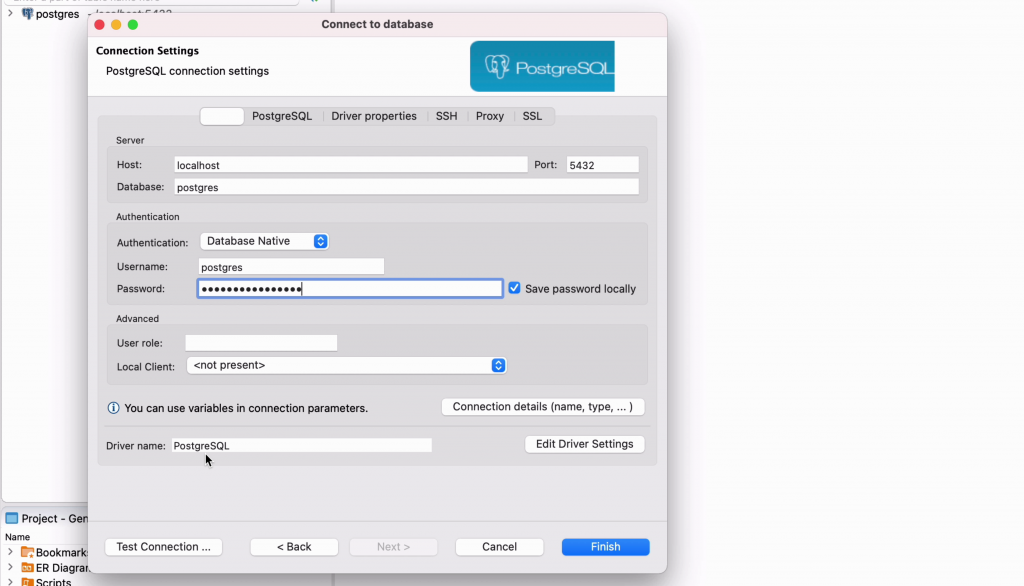
- Host: localhost
- Port: 5432
- Username: postgres
- Password: mysecretpassword
Leave everything else as the default.
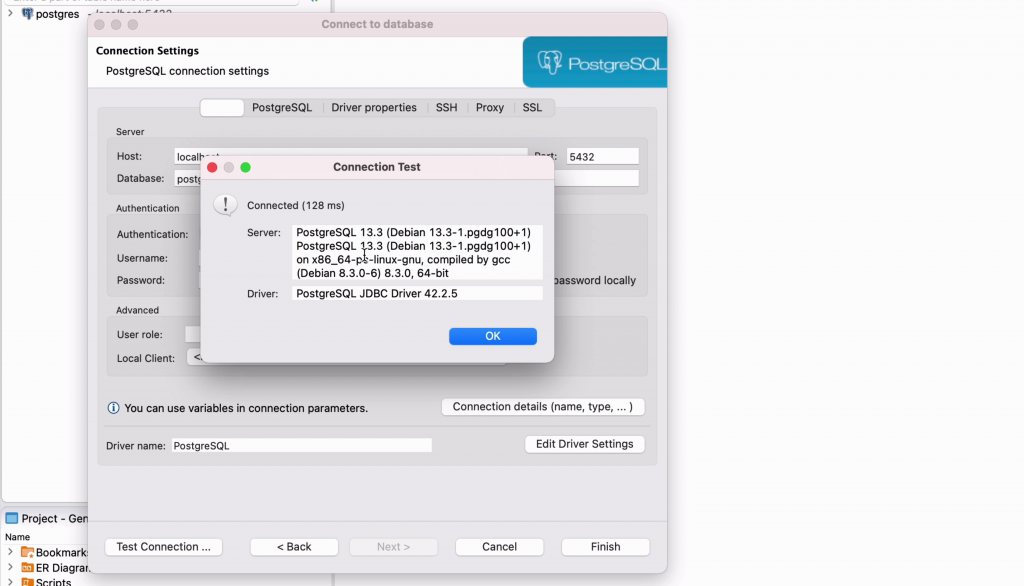
Step 3: Click Test Connection.
If everything has been set up correctly, the connection should be successful.
Step 4: Click OK to save the connection.
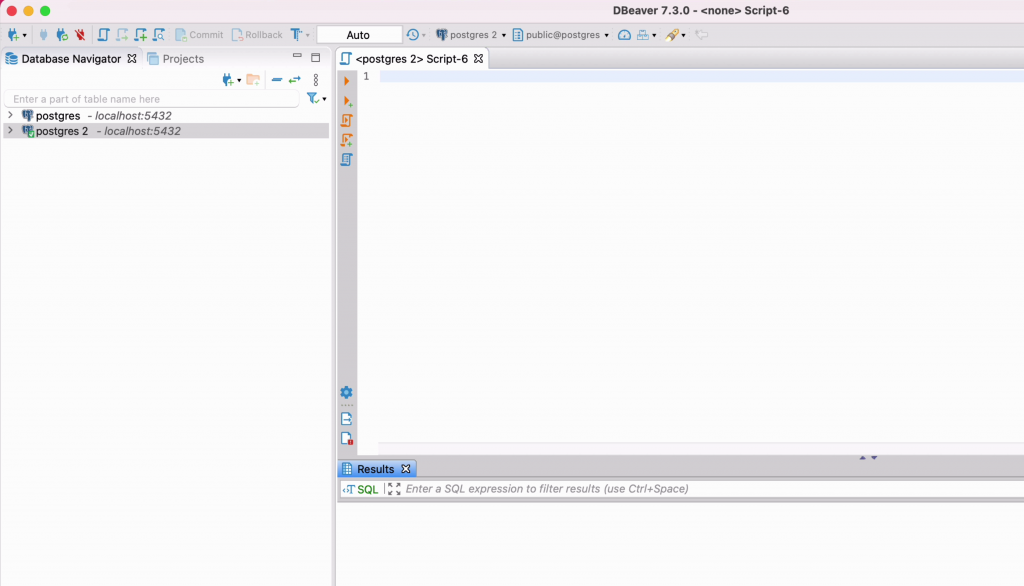
Step 5: Click on the new connection and you'll be connected to the database.
Step 6: Click on the New Tab button, if a new tab does not appear.
You should see a new tab.
Step 7: Enter a simple query, such as selecting the current date, and run it.
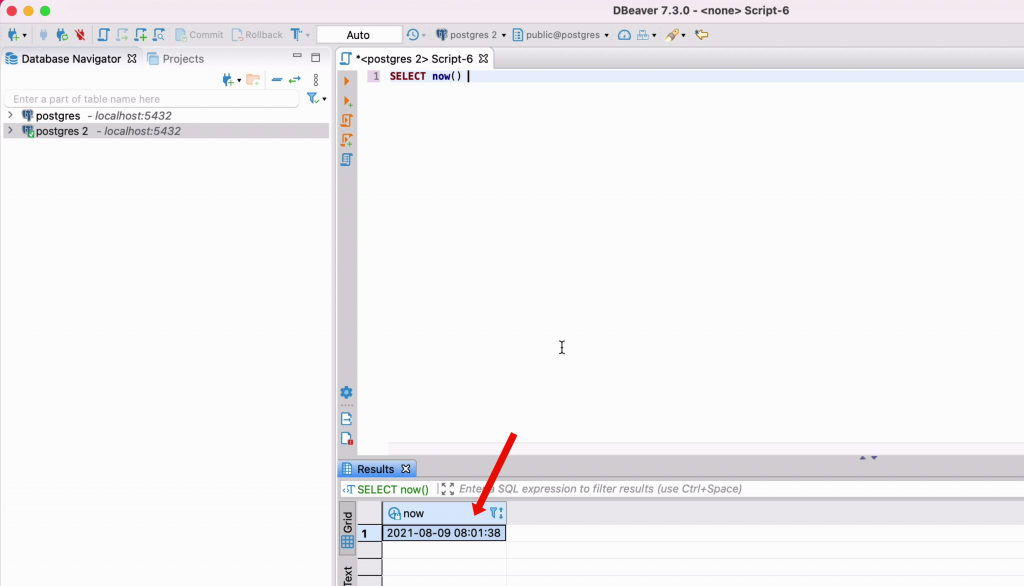
Congratulations! You've successfully set up a PostgreSQL database inside a Docker container and connected to it!
Stopping the Database
If you want to stop the database, you can use the docker stop command.
Step 1: Return to the terminal.
Step 2: Run the docker stop command.
docker stop sqlserver
This command will stop the container called sqlserver. Substitute the name of sqlserver with the name of your database.
To start it again, use the docker run command we saw earlier.
Conclusion
Using Docker for an SQL database is useful for many reasons, especially if you use a Mac and want to get started with learning SQL. It's fairly simple to set up and can be started and stopped pretty easily.